Would you like some bread with that butter? There is a running joke in my family when I say I’m going to be head baker in heaven so I can have all the bread I want. haha. While I’ve found over the years, our modern-day loaves are not quite healthy as our ancestors would have enjoyed, my adoration for a fresh-baked heel of bread never wanes. I even share my no-knead recipe HERE. Eating grains are limited in my home, but I do still enjoy when I find a vintage bread box on my adventures.
You may be wondering why, but who can resist turning them into:
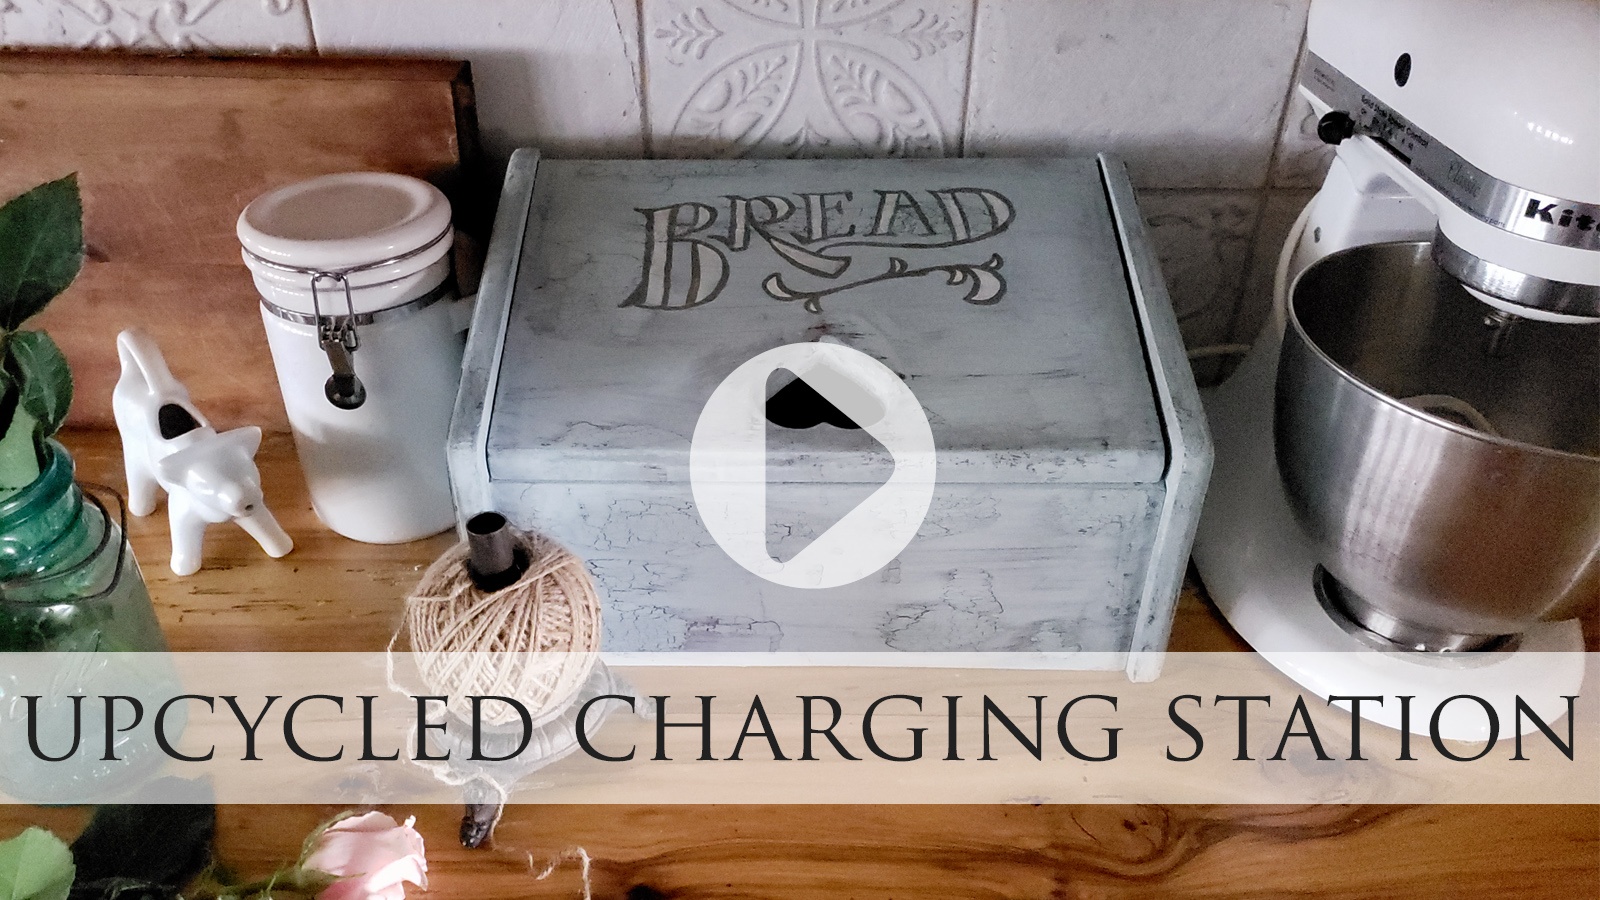
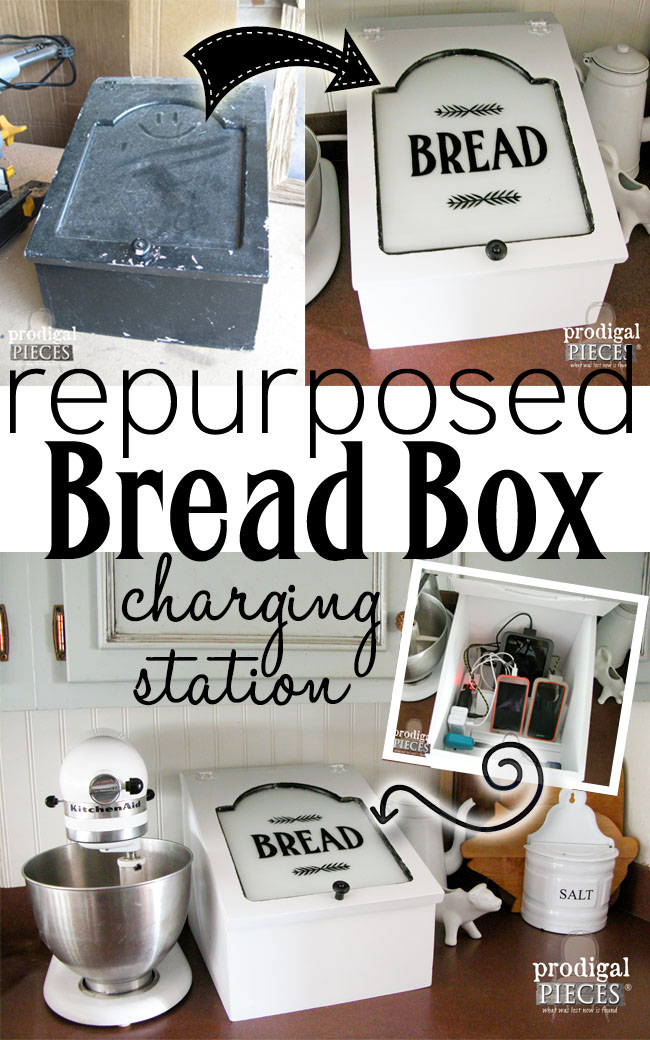
- charging stations
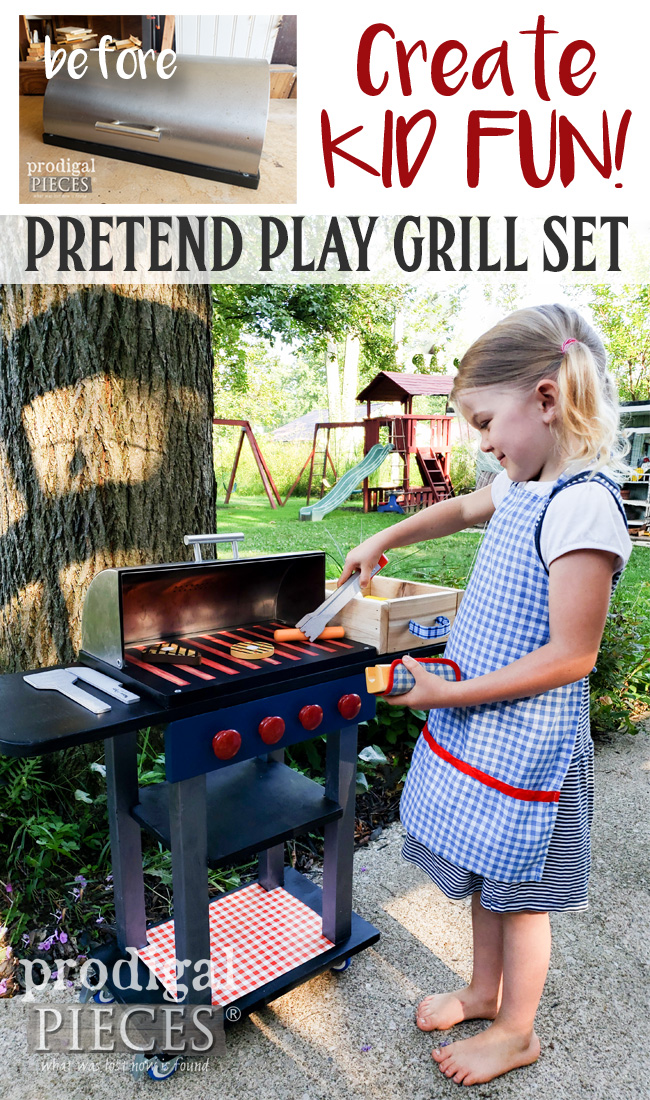
- pretend play grill from a vintage metal bread box
- #trashure makeover
- zinc finish with typography
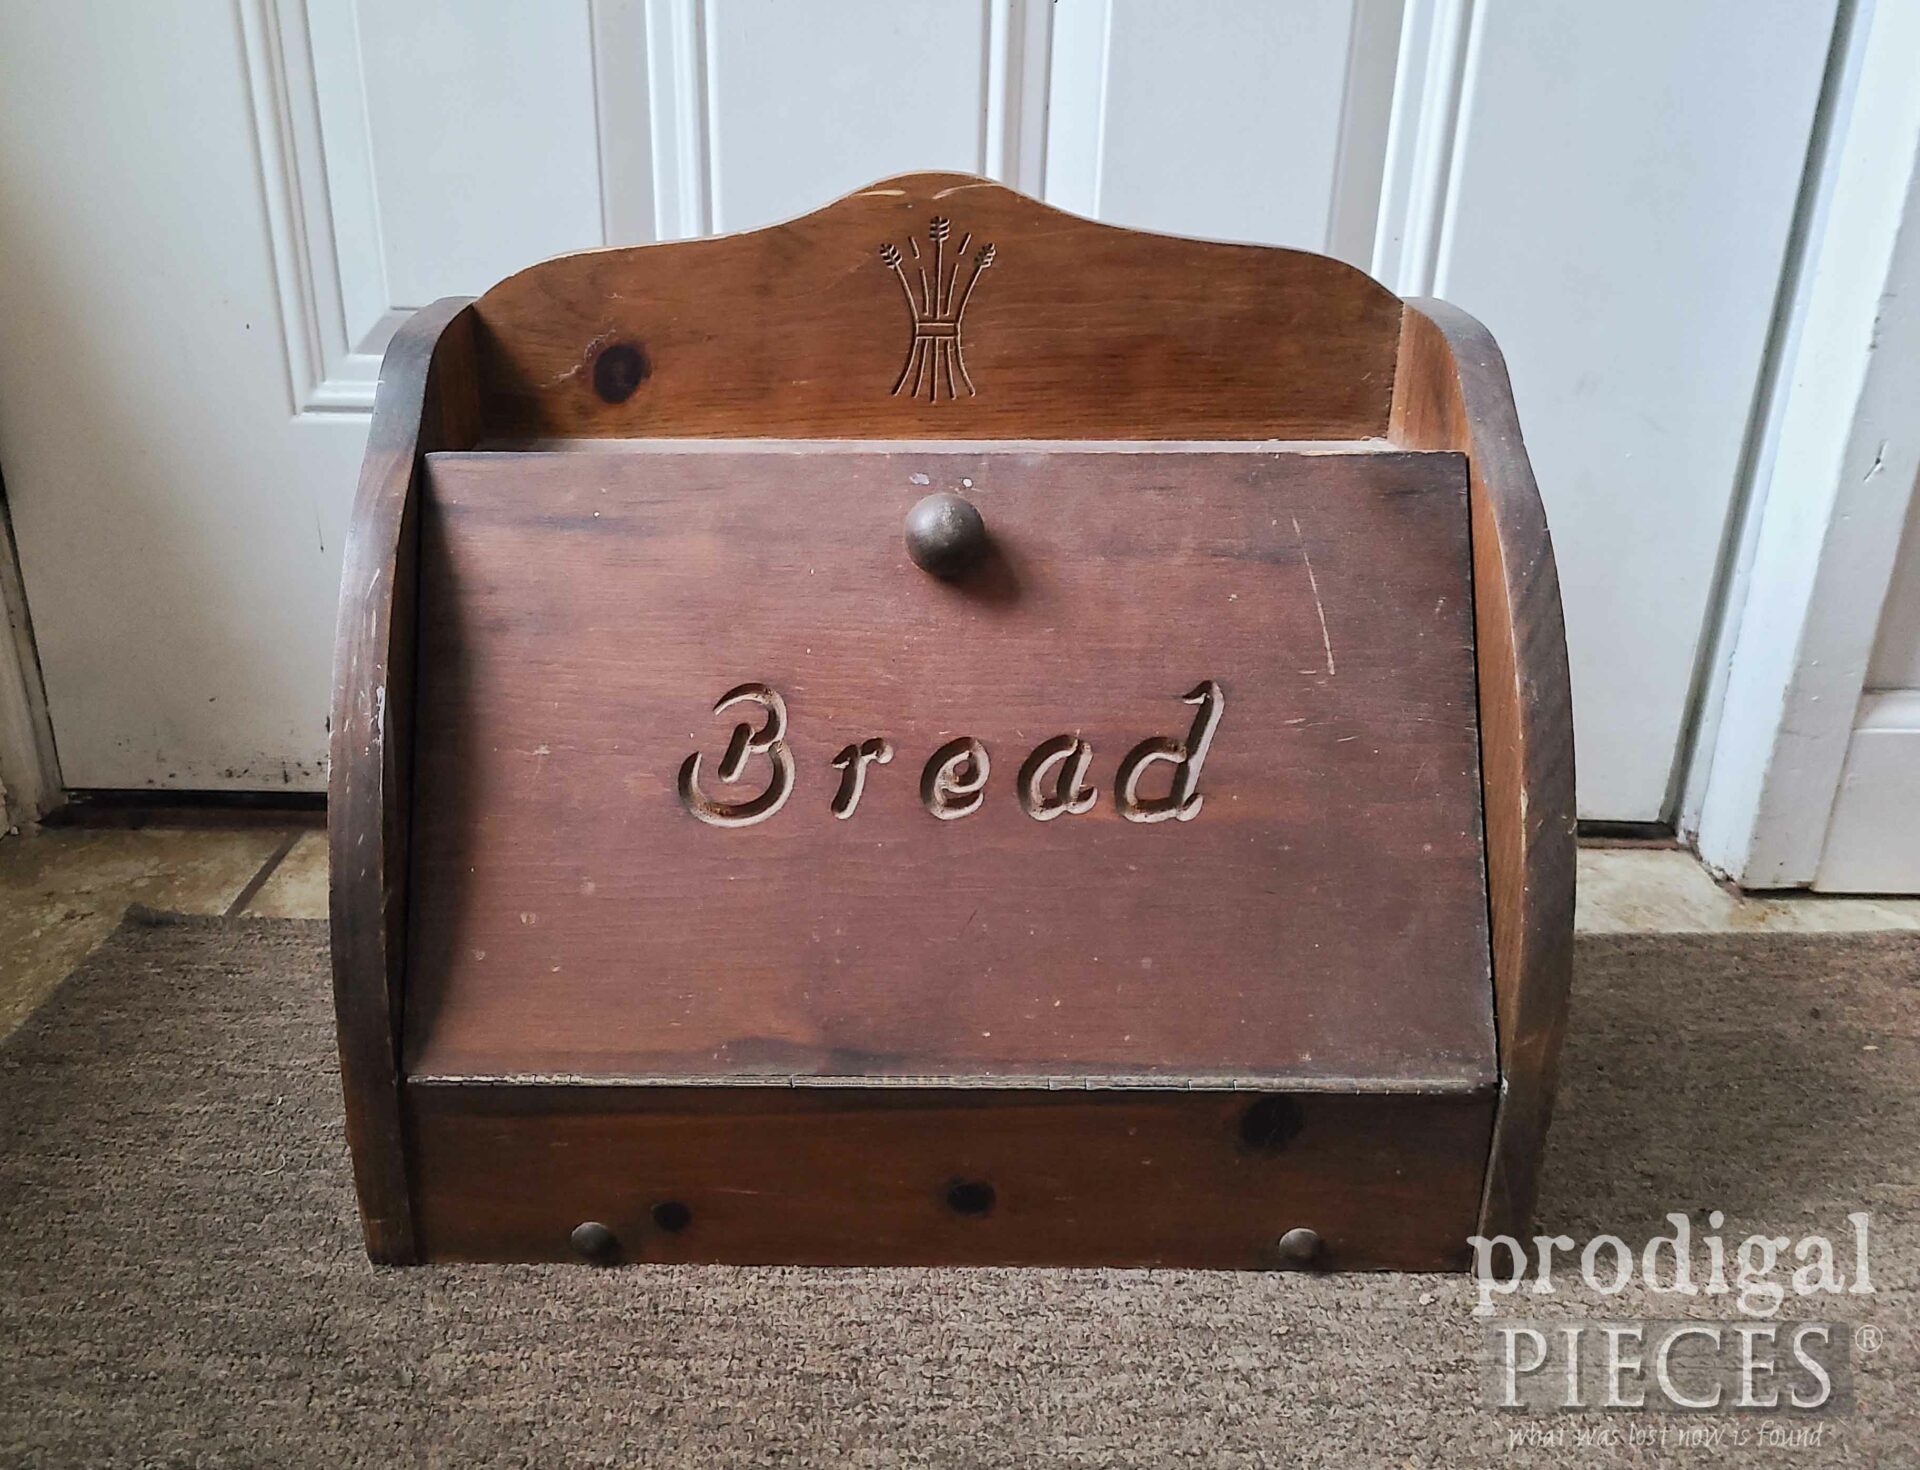
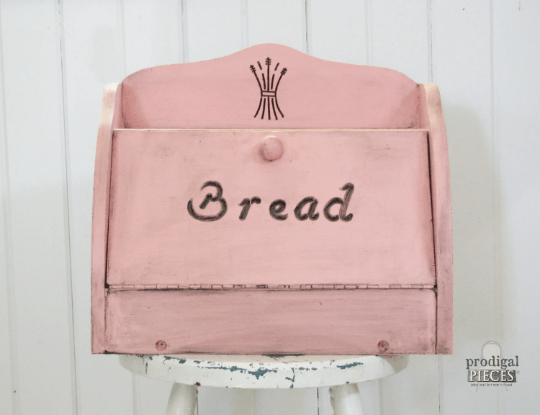
The funny thing about this lil’ brown beast is that I’ve already had one just like it in my possession. However, that one became pink with yellow interior and sold quickly in my shop.
No pink for me this time. I simply want to create a vintage style on this already vintage piece but give it a fresh new look. So many times, folks ask me about how I decorate for my home decor while on a budget. Honestly, it’s mostly because I create my own decor from things I build, but also my finds at Curb le Chic, thrift stores, and garage sales.
STORAGE
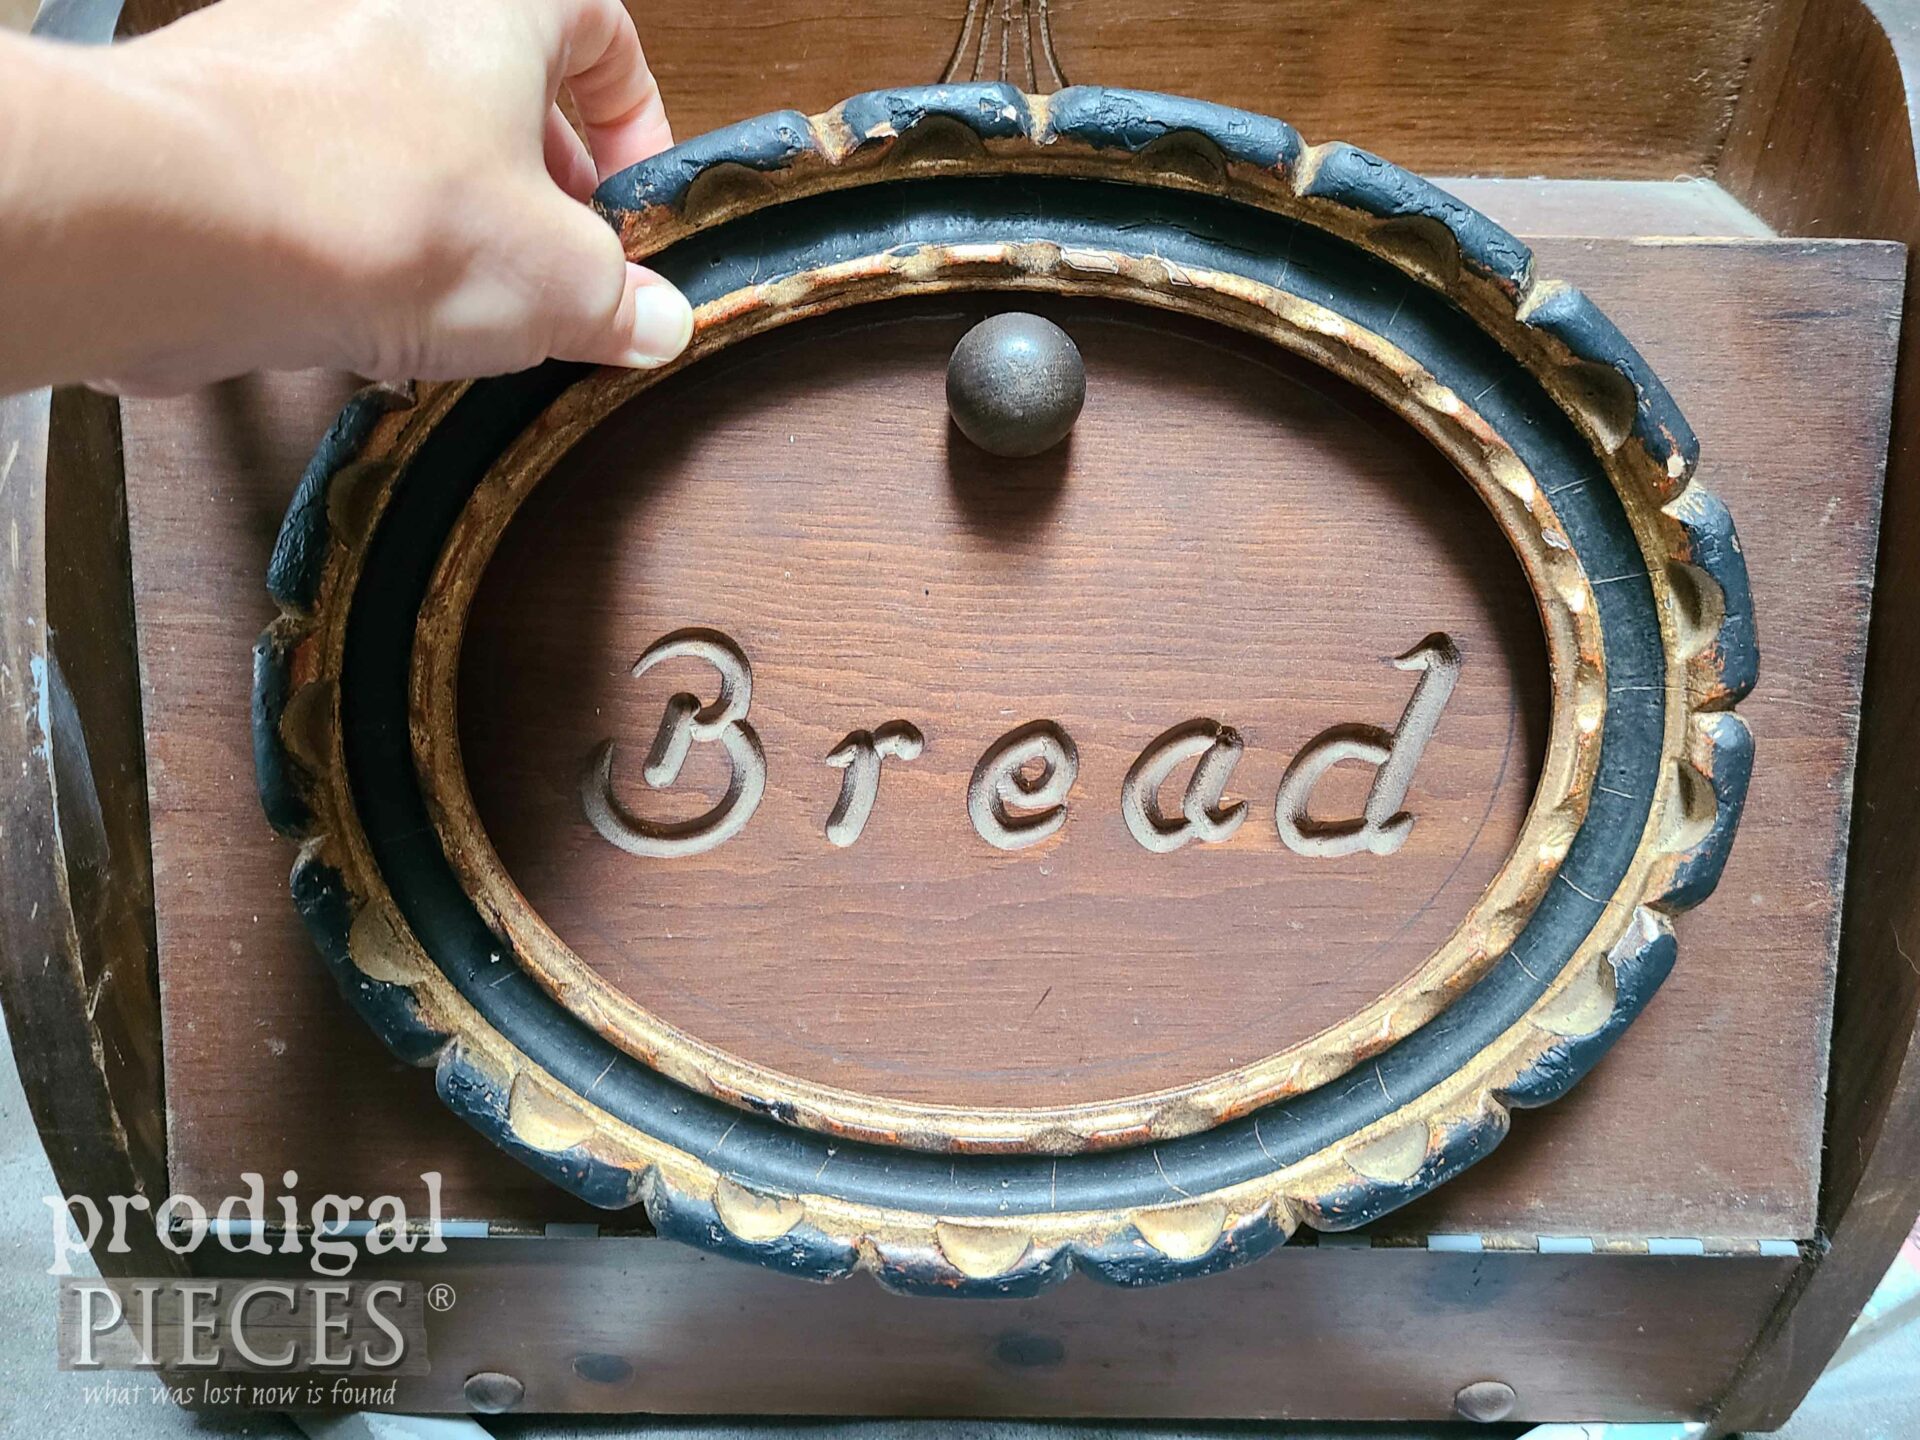
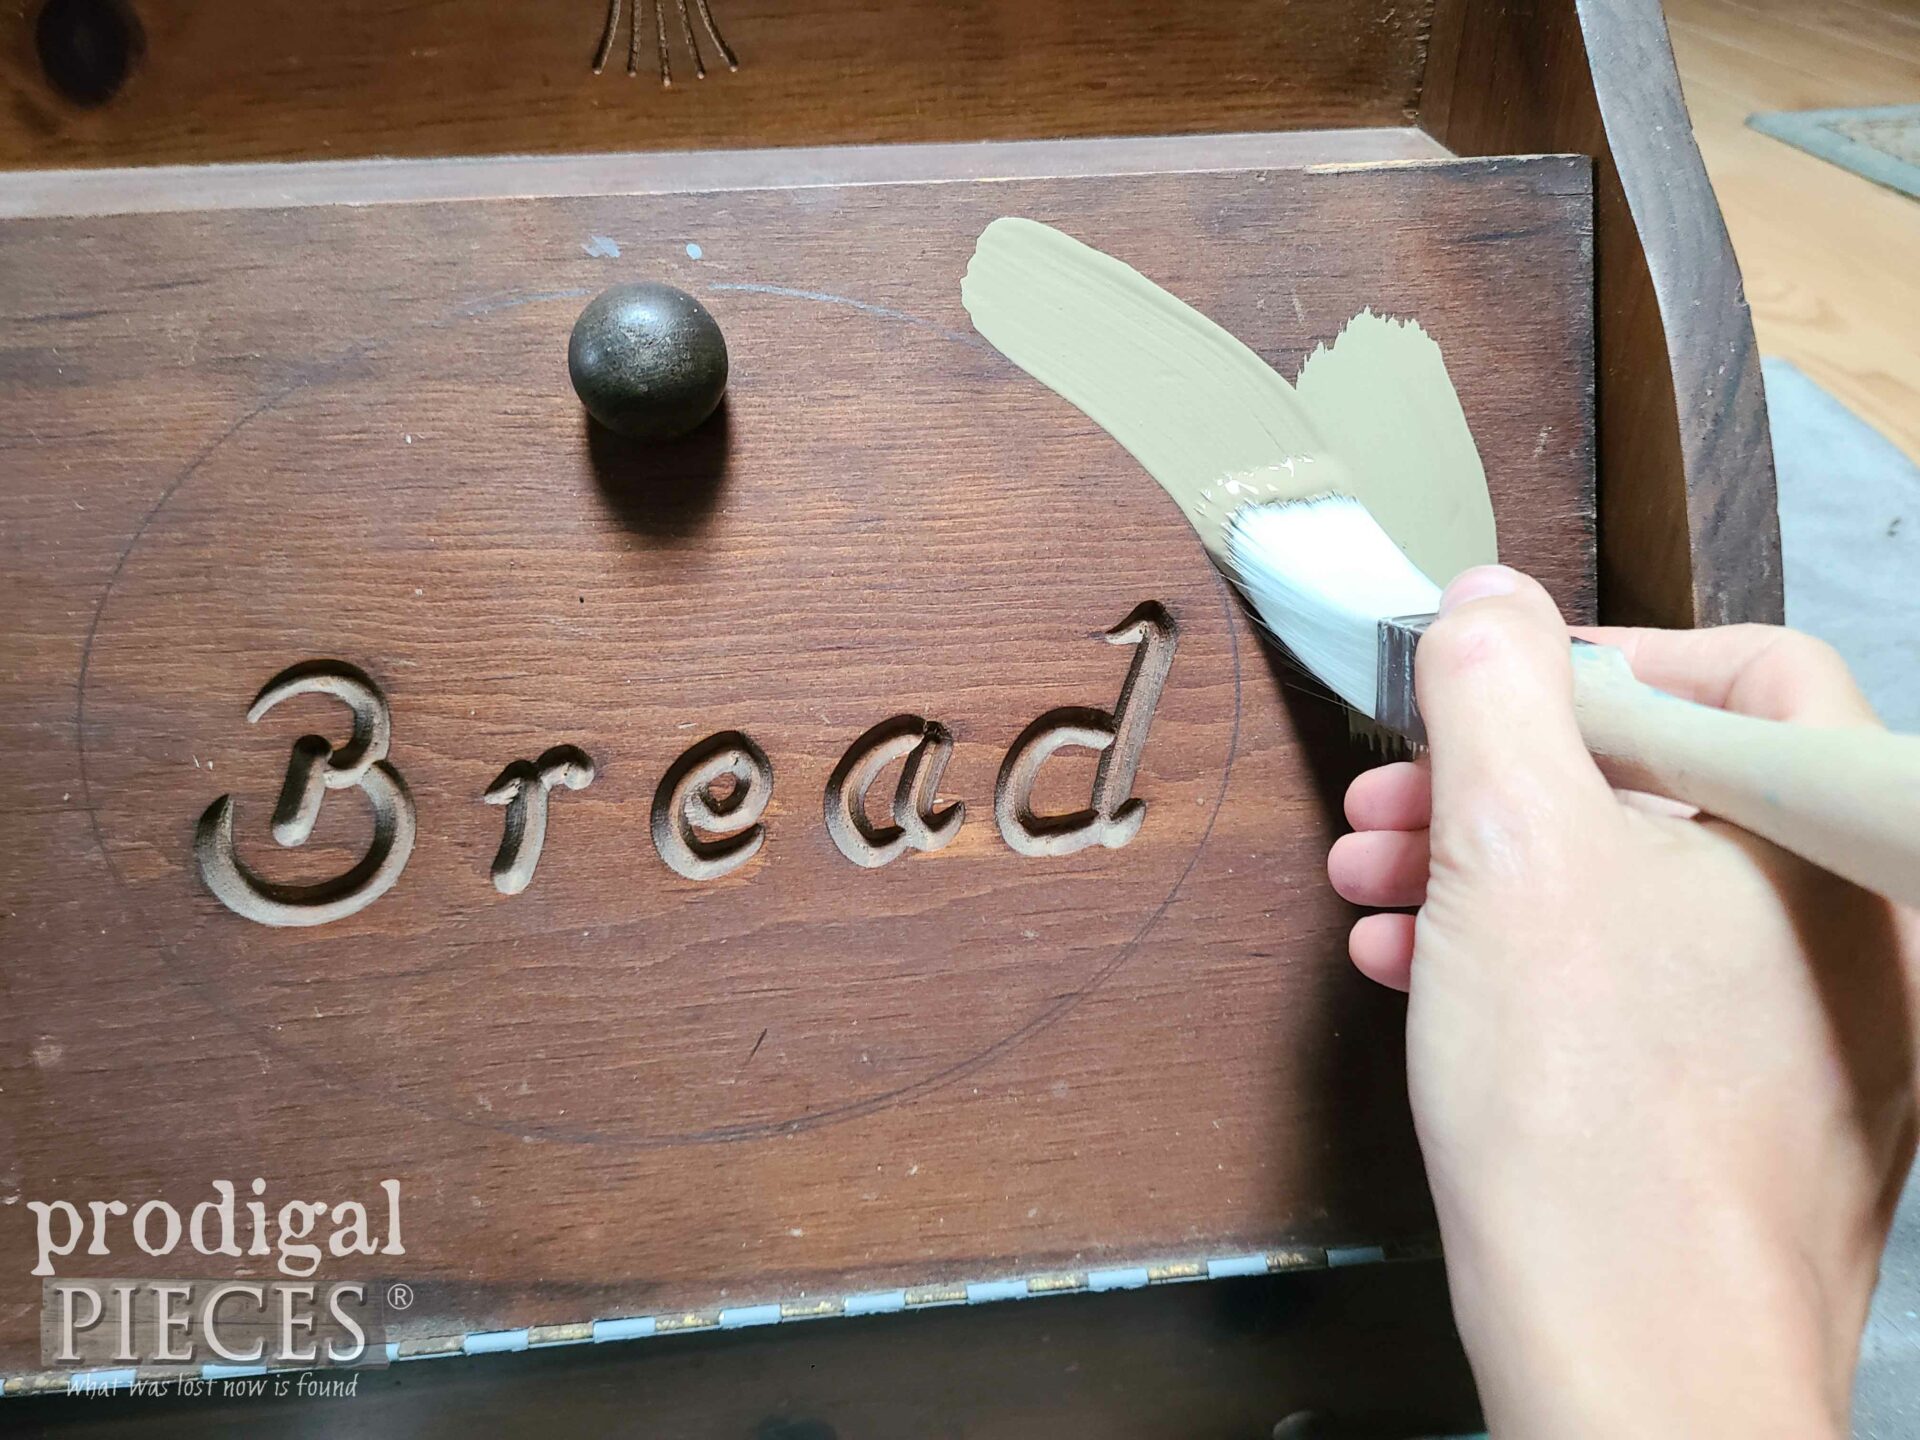
Let’s get this DIY dressing up party started, shall we? First, if you haven’t noticed, this is basically a blank slate. I could refresh the wood with new stain or use paint to make it my own. To begin, I grab my wooden oval frame to use as a template to set apart the routed “bread” text on the lid.
Then, I grab an assortment of paints and outline the oval I just traced in a taupe color.
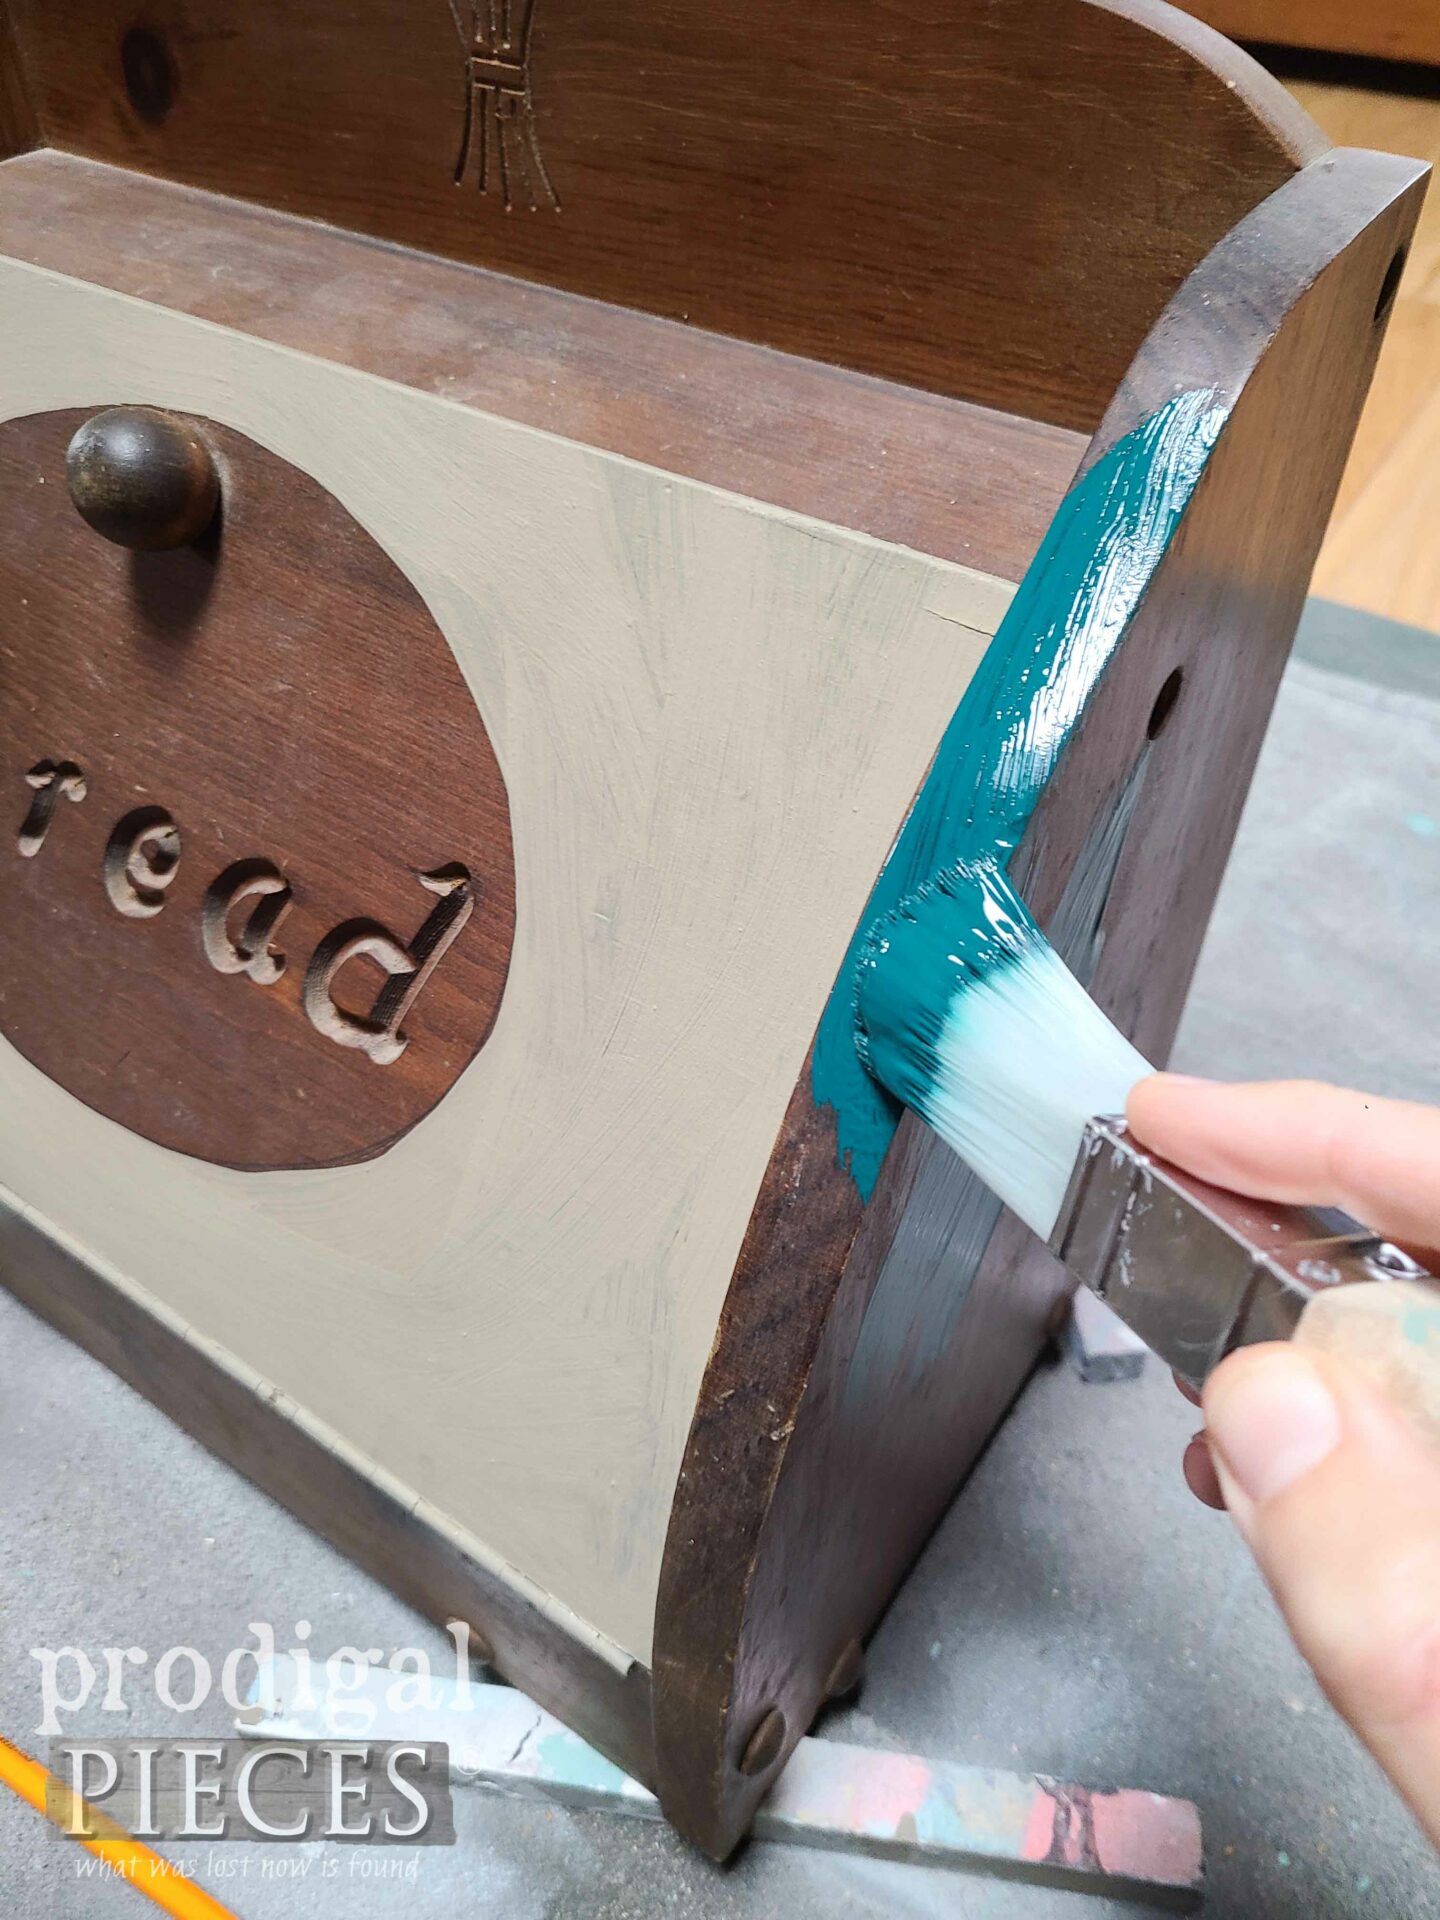
Next, I use this same green I used on my farmhouse bench makeover to coat the rest of the wooden bread box. I know many are hooked on chalk paint, but I’m using flat and eggshell finish in acrylic latex for different reasons. Likewise, flat paint is basically chalk paint and bonds just the same if you use a high-quality brand. No sanding needed! Just a good cleaning.
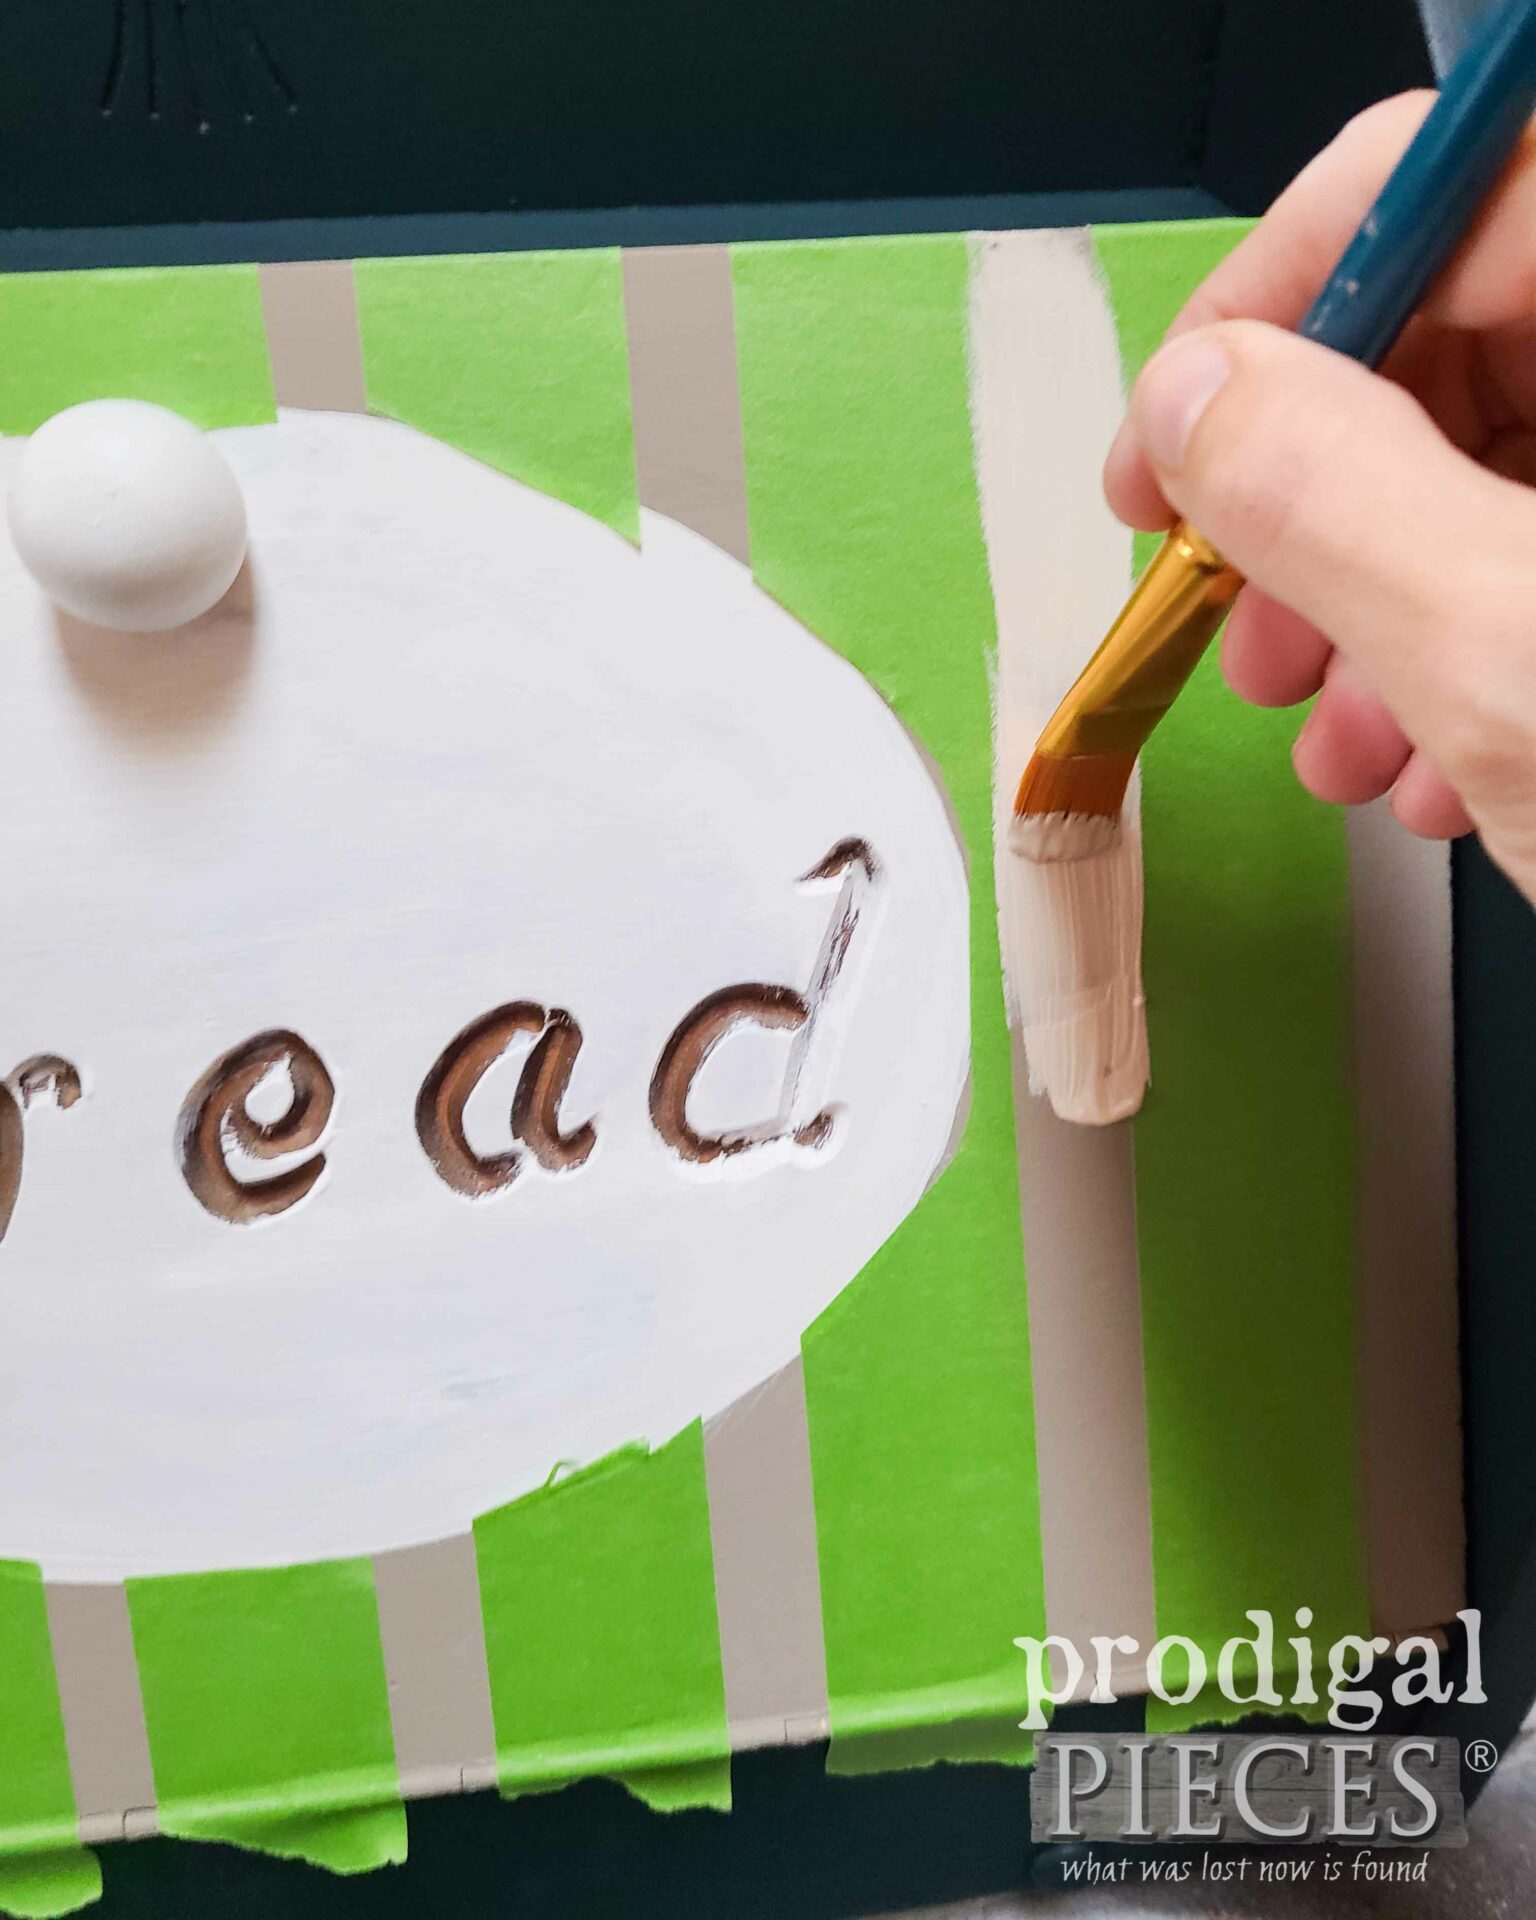
Finally, as soon as the lid paint dries, I take extraordinary care and use my painter’s tape to make stripes and fill those in with a lighter shade of taupe. Additionally, I take time to highlight details and add dimension.
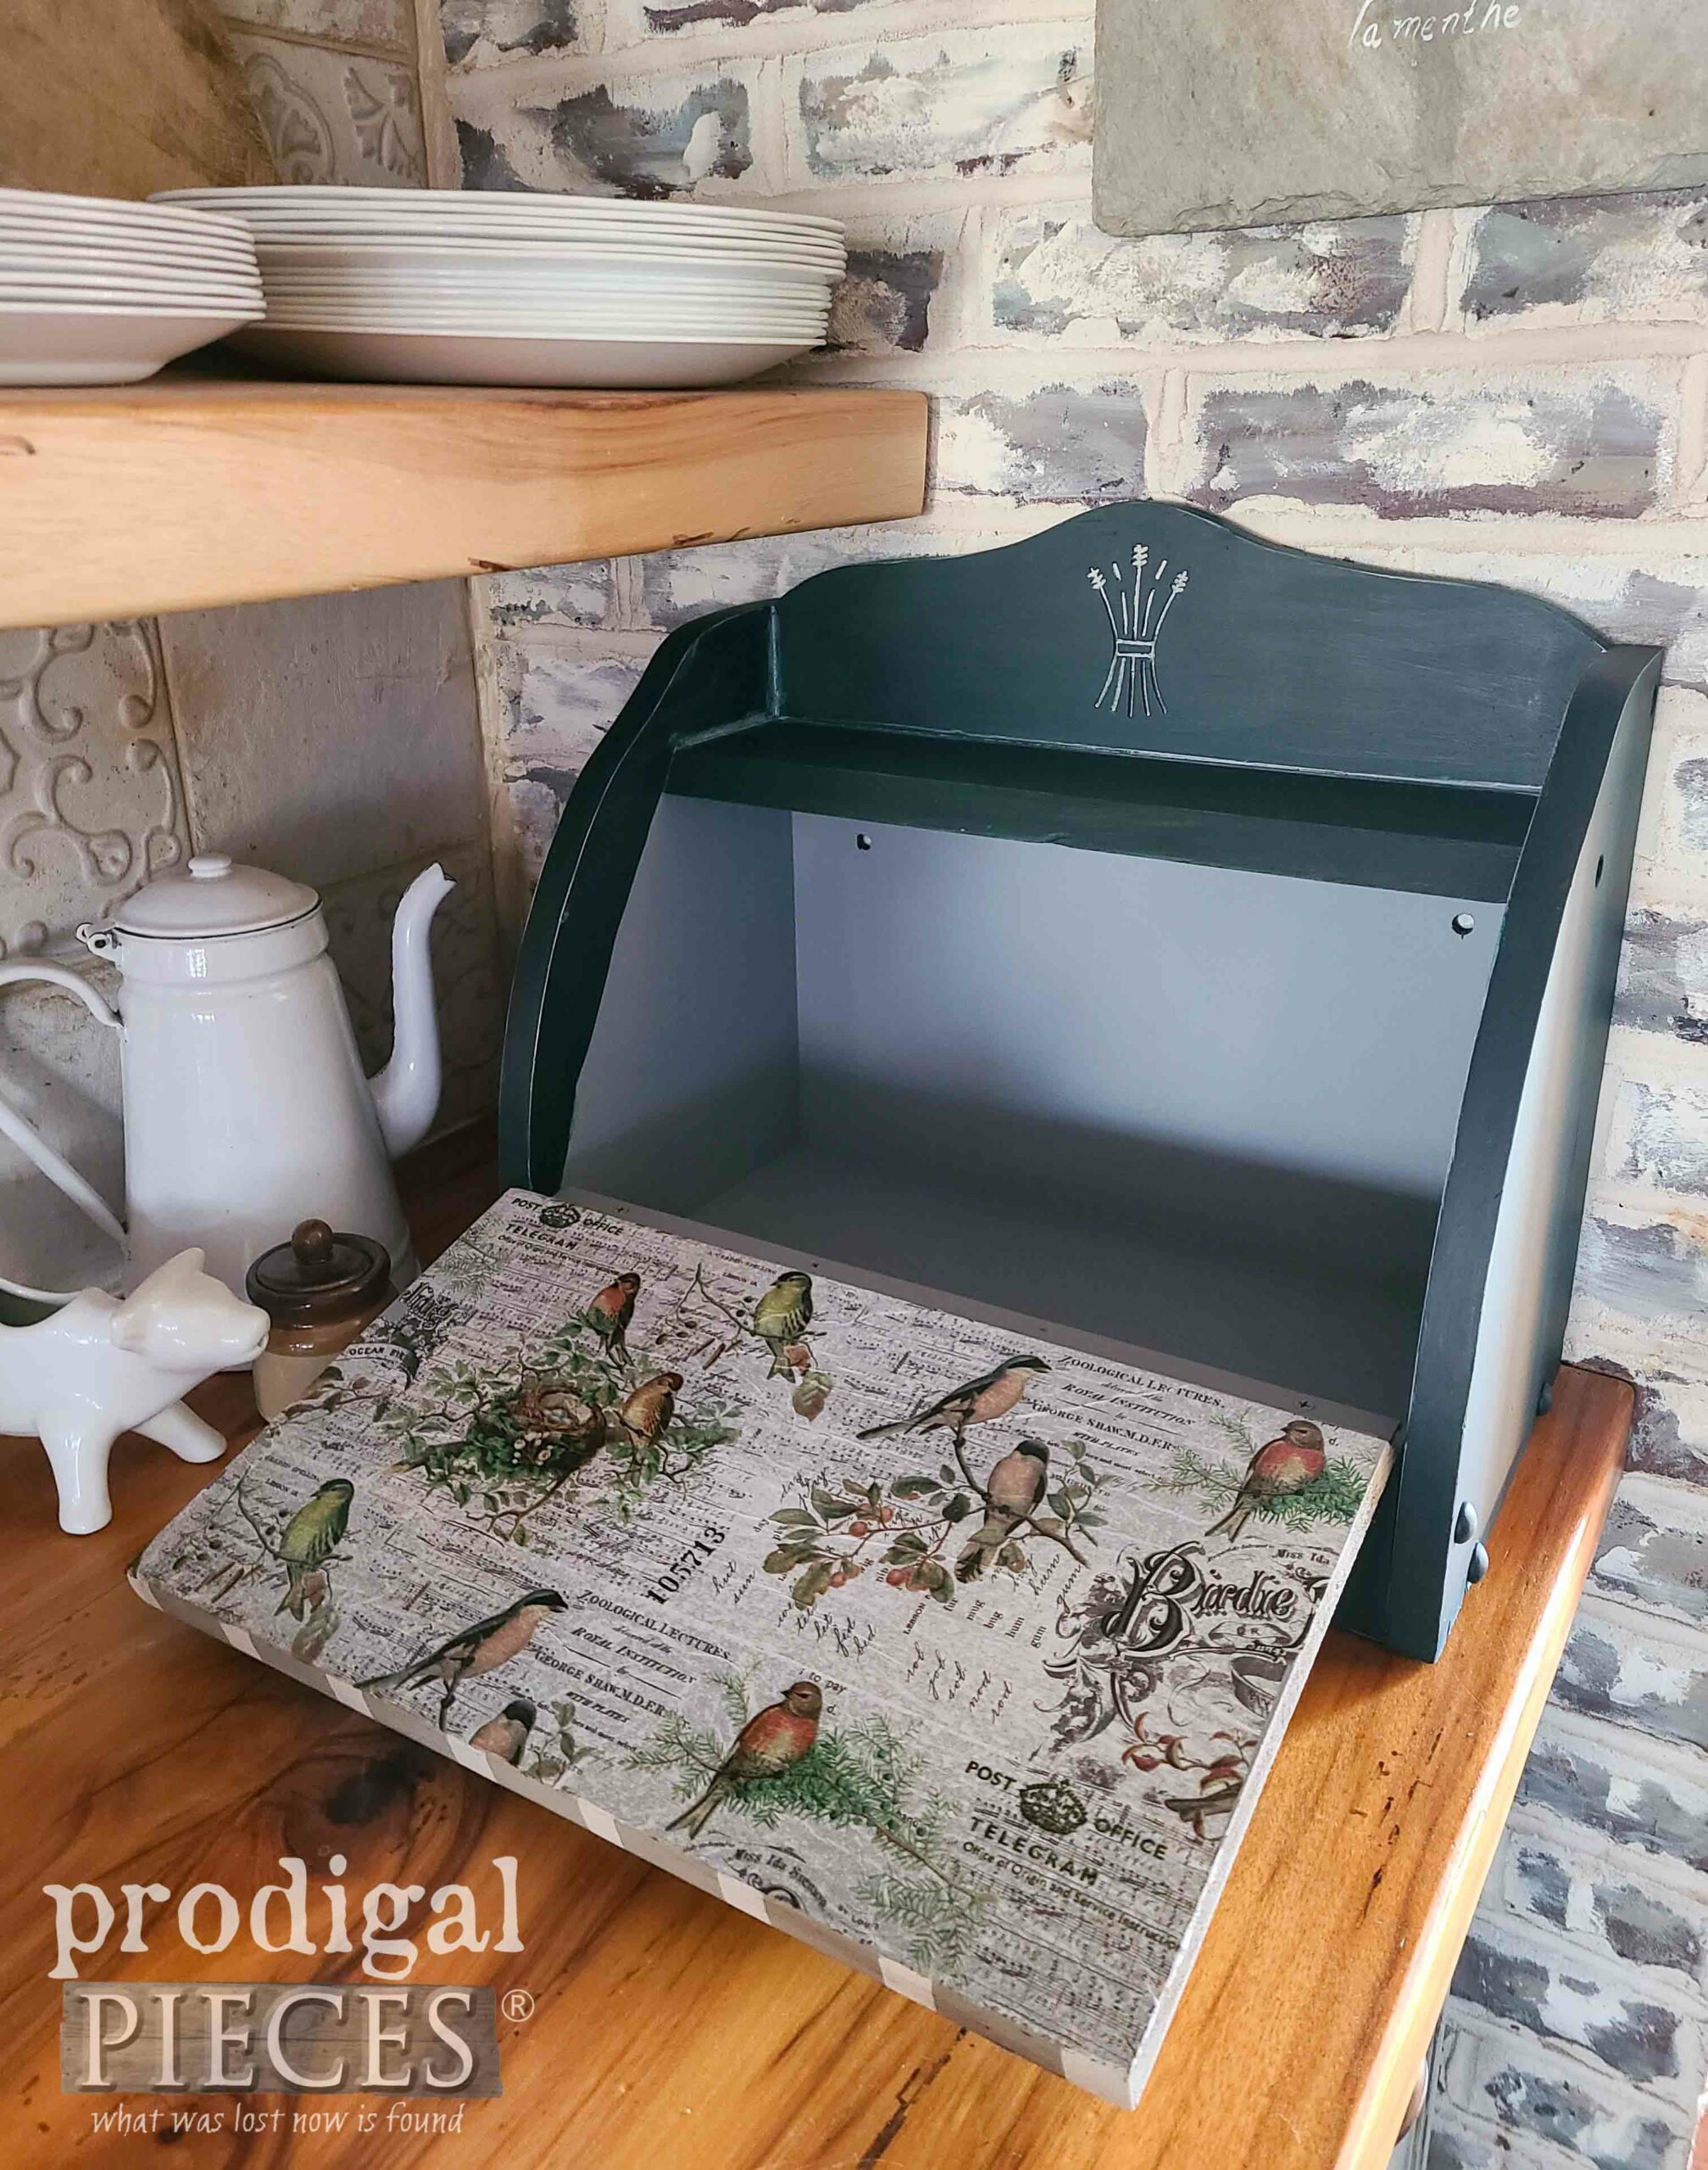
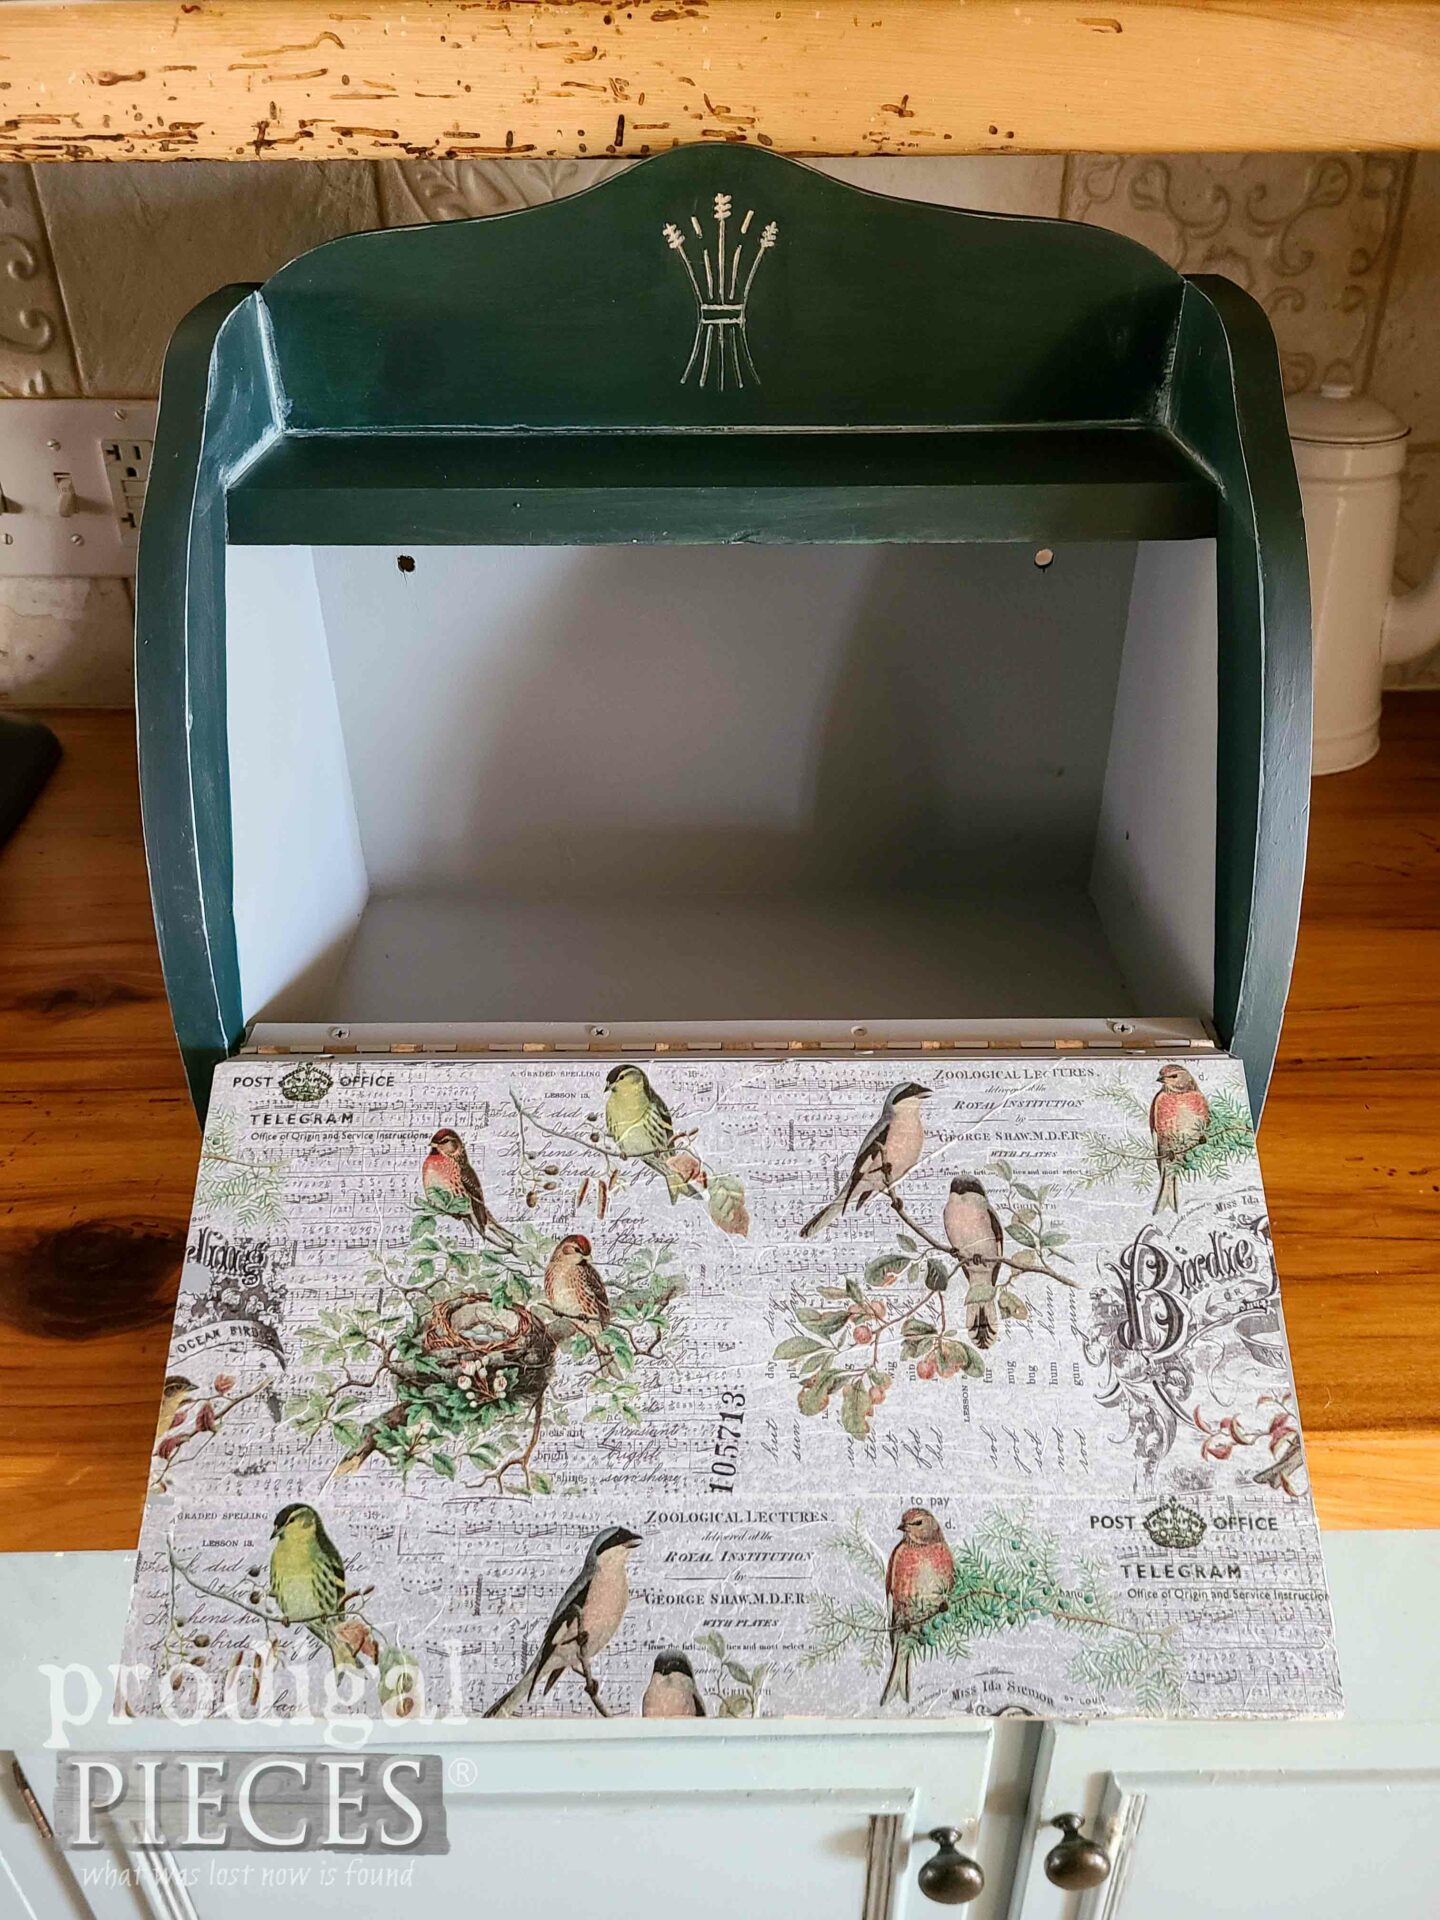
At last, after I finish the exterior, I paint the interior with a soft gray and add decoupage. woot!
BREAD NOT COOKIES
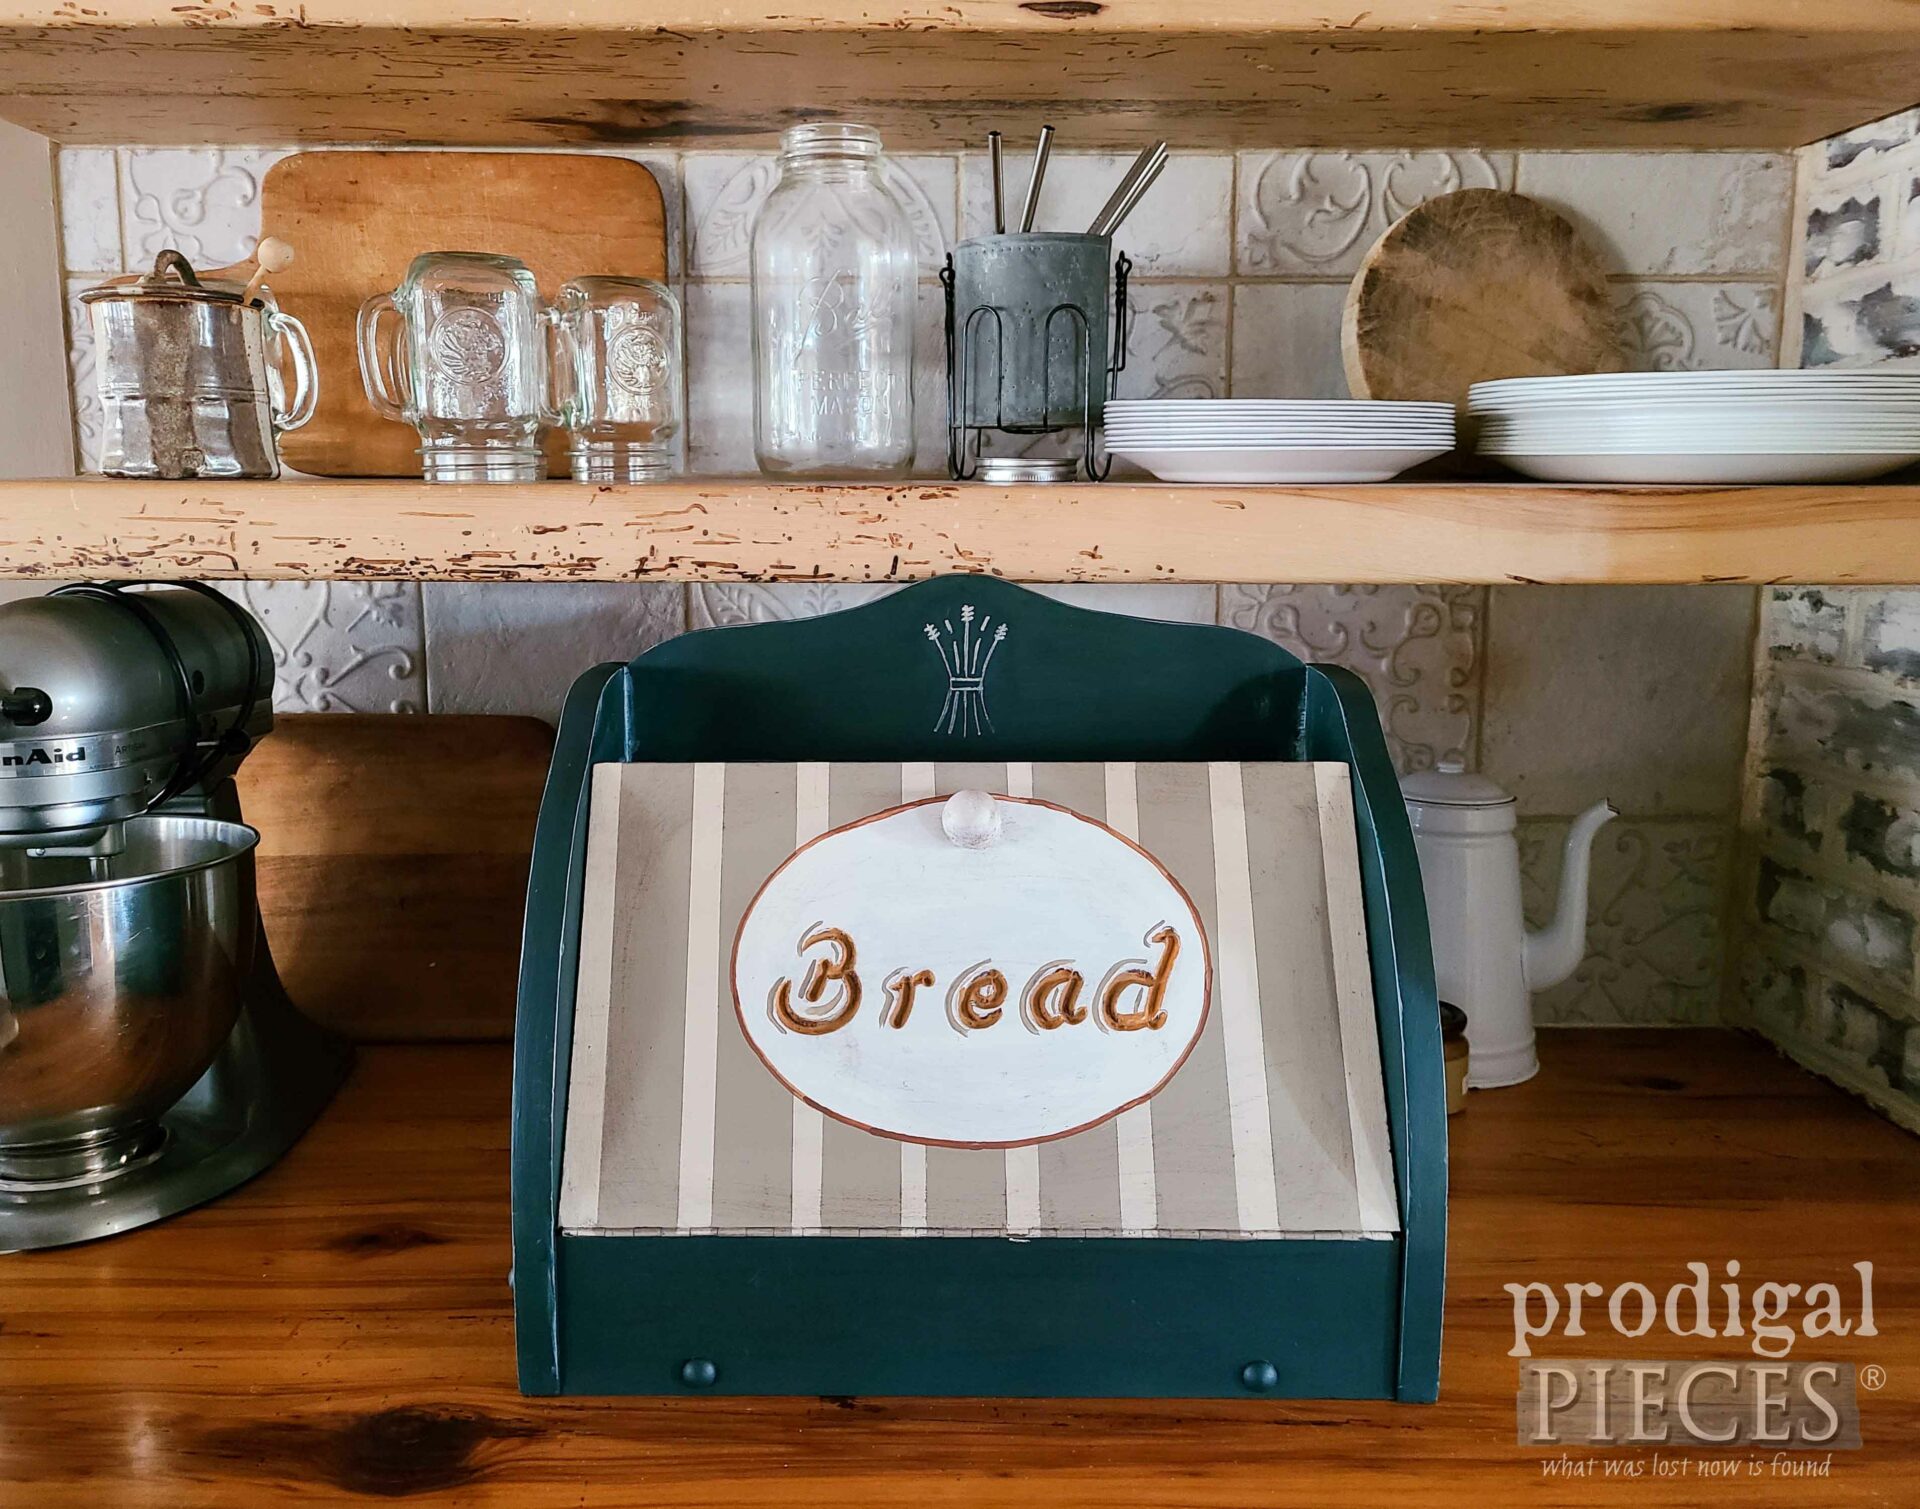
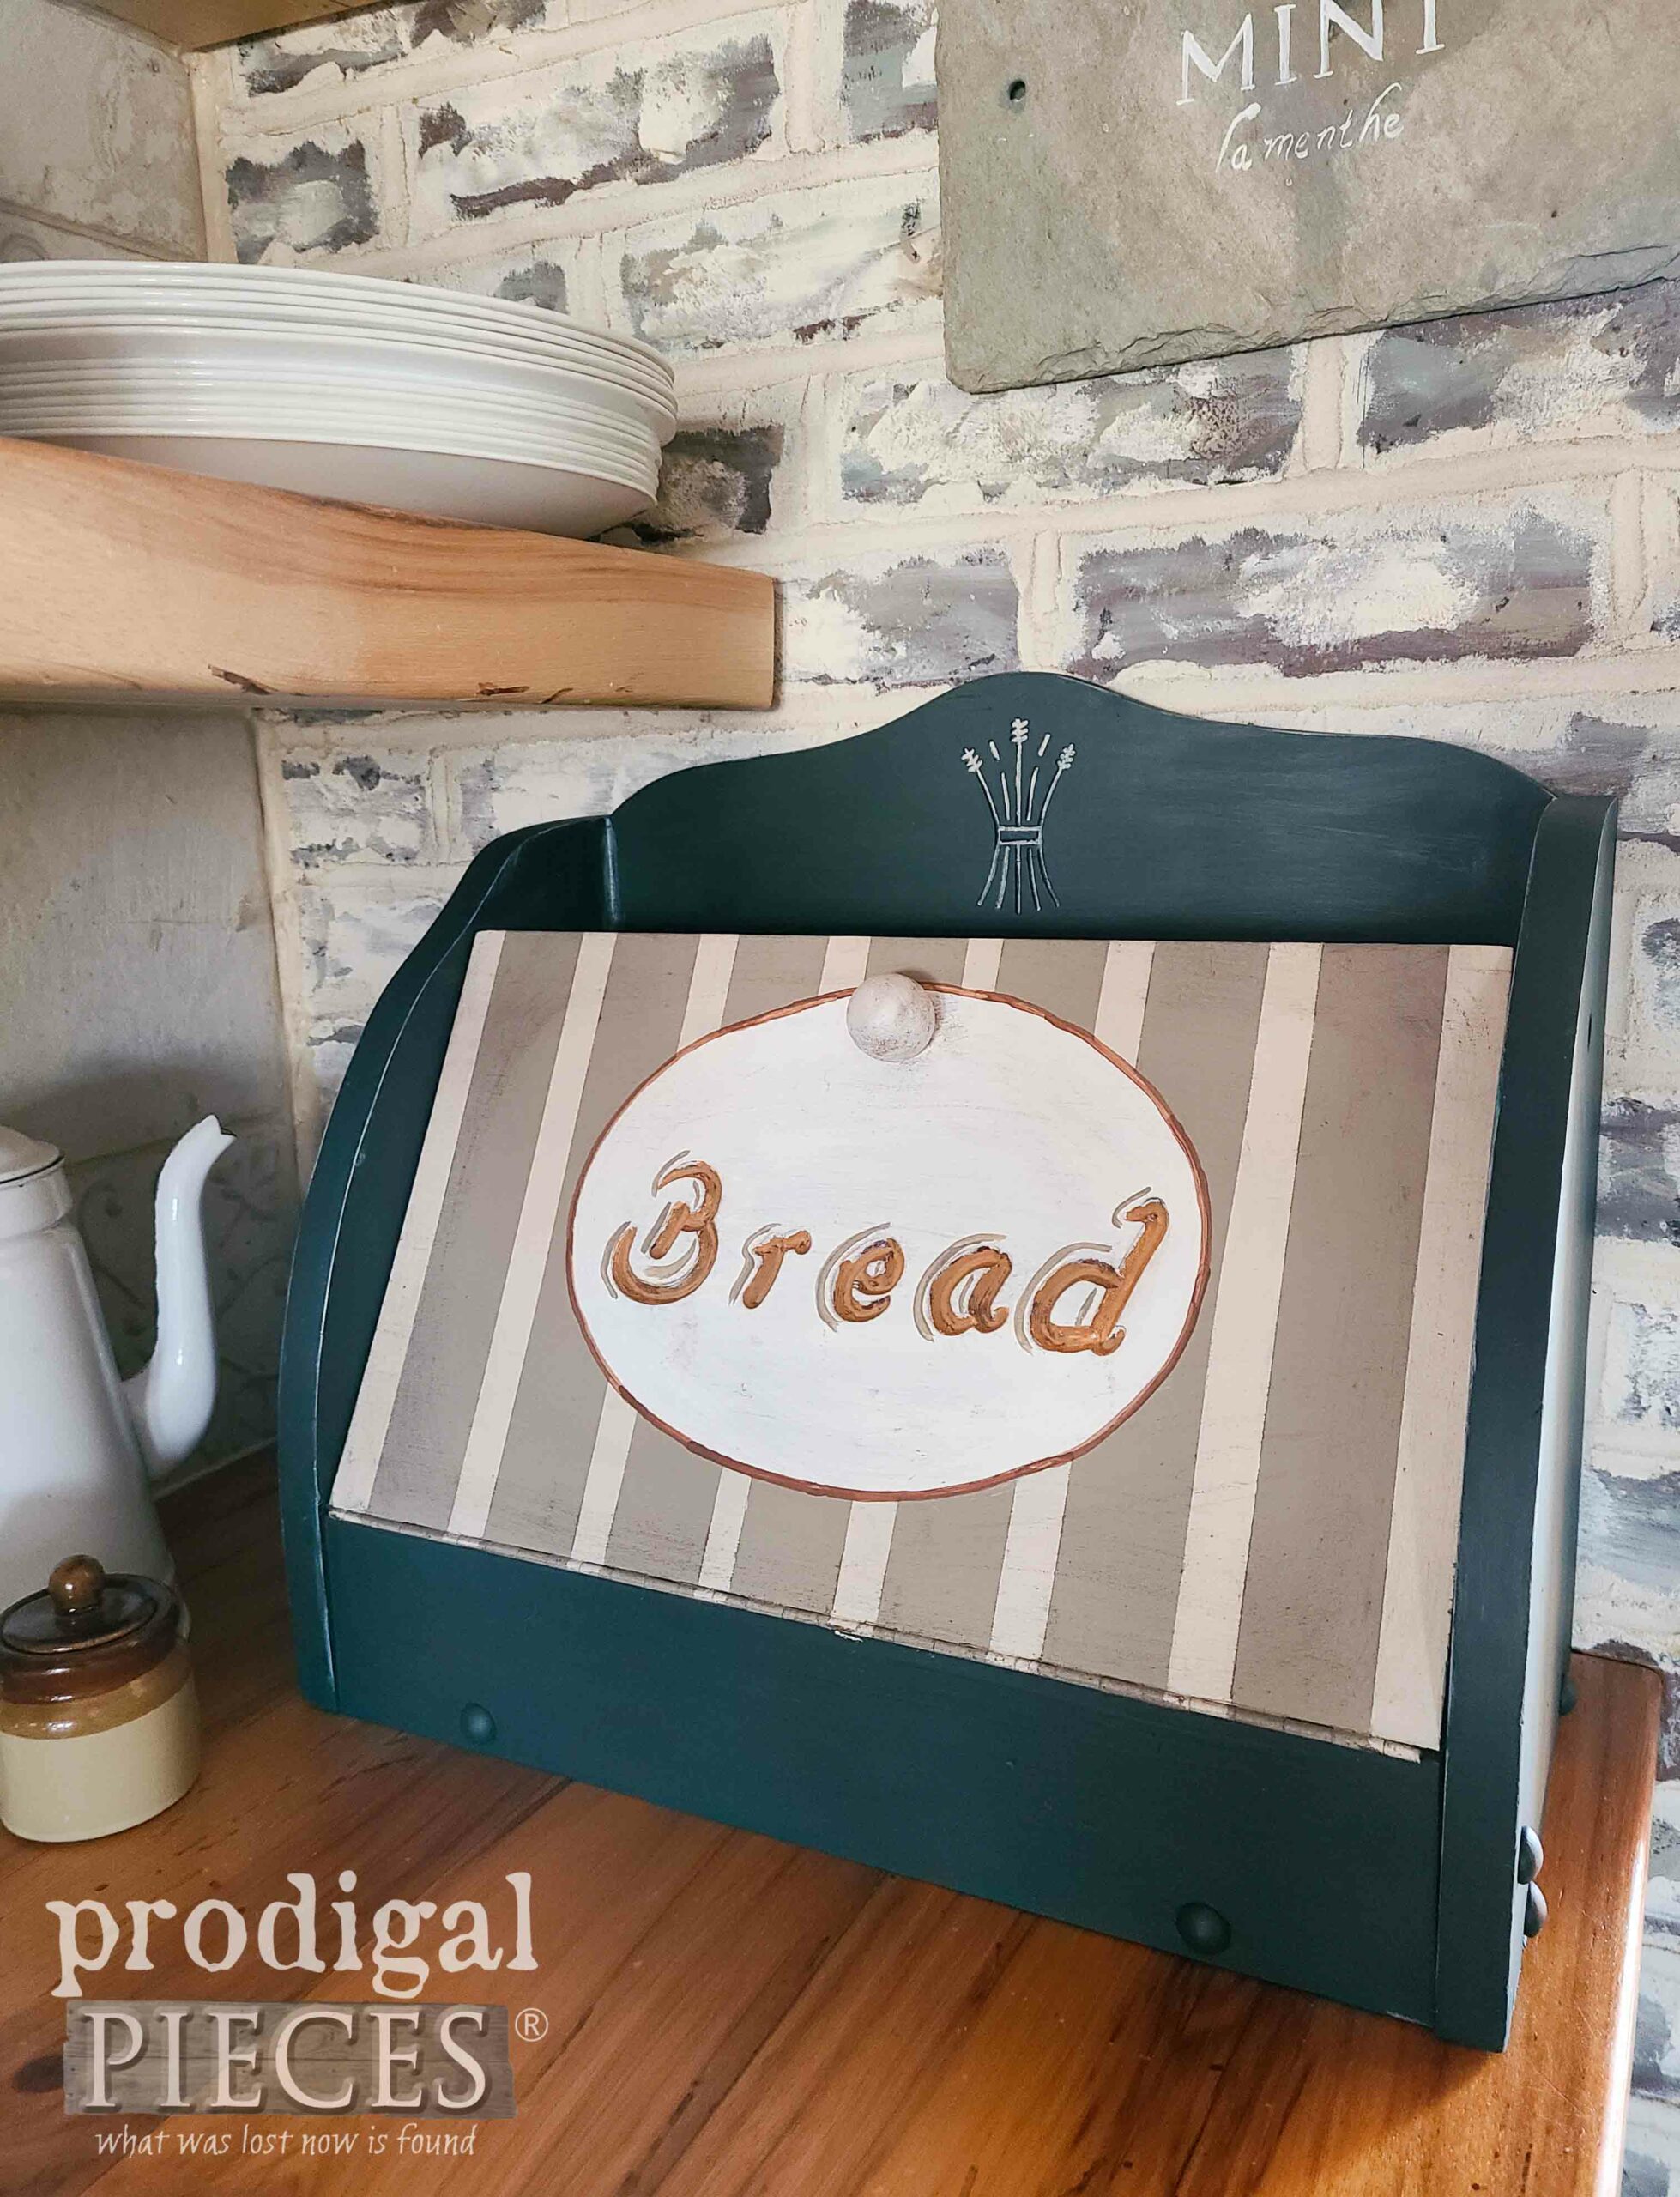
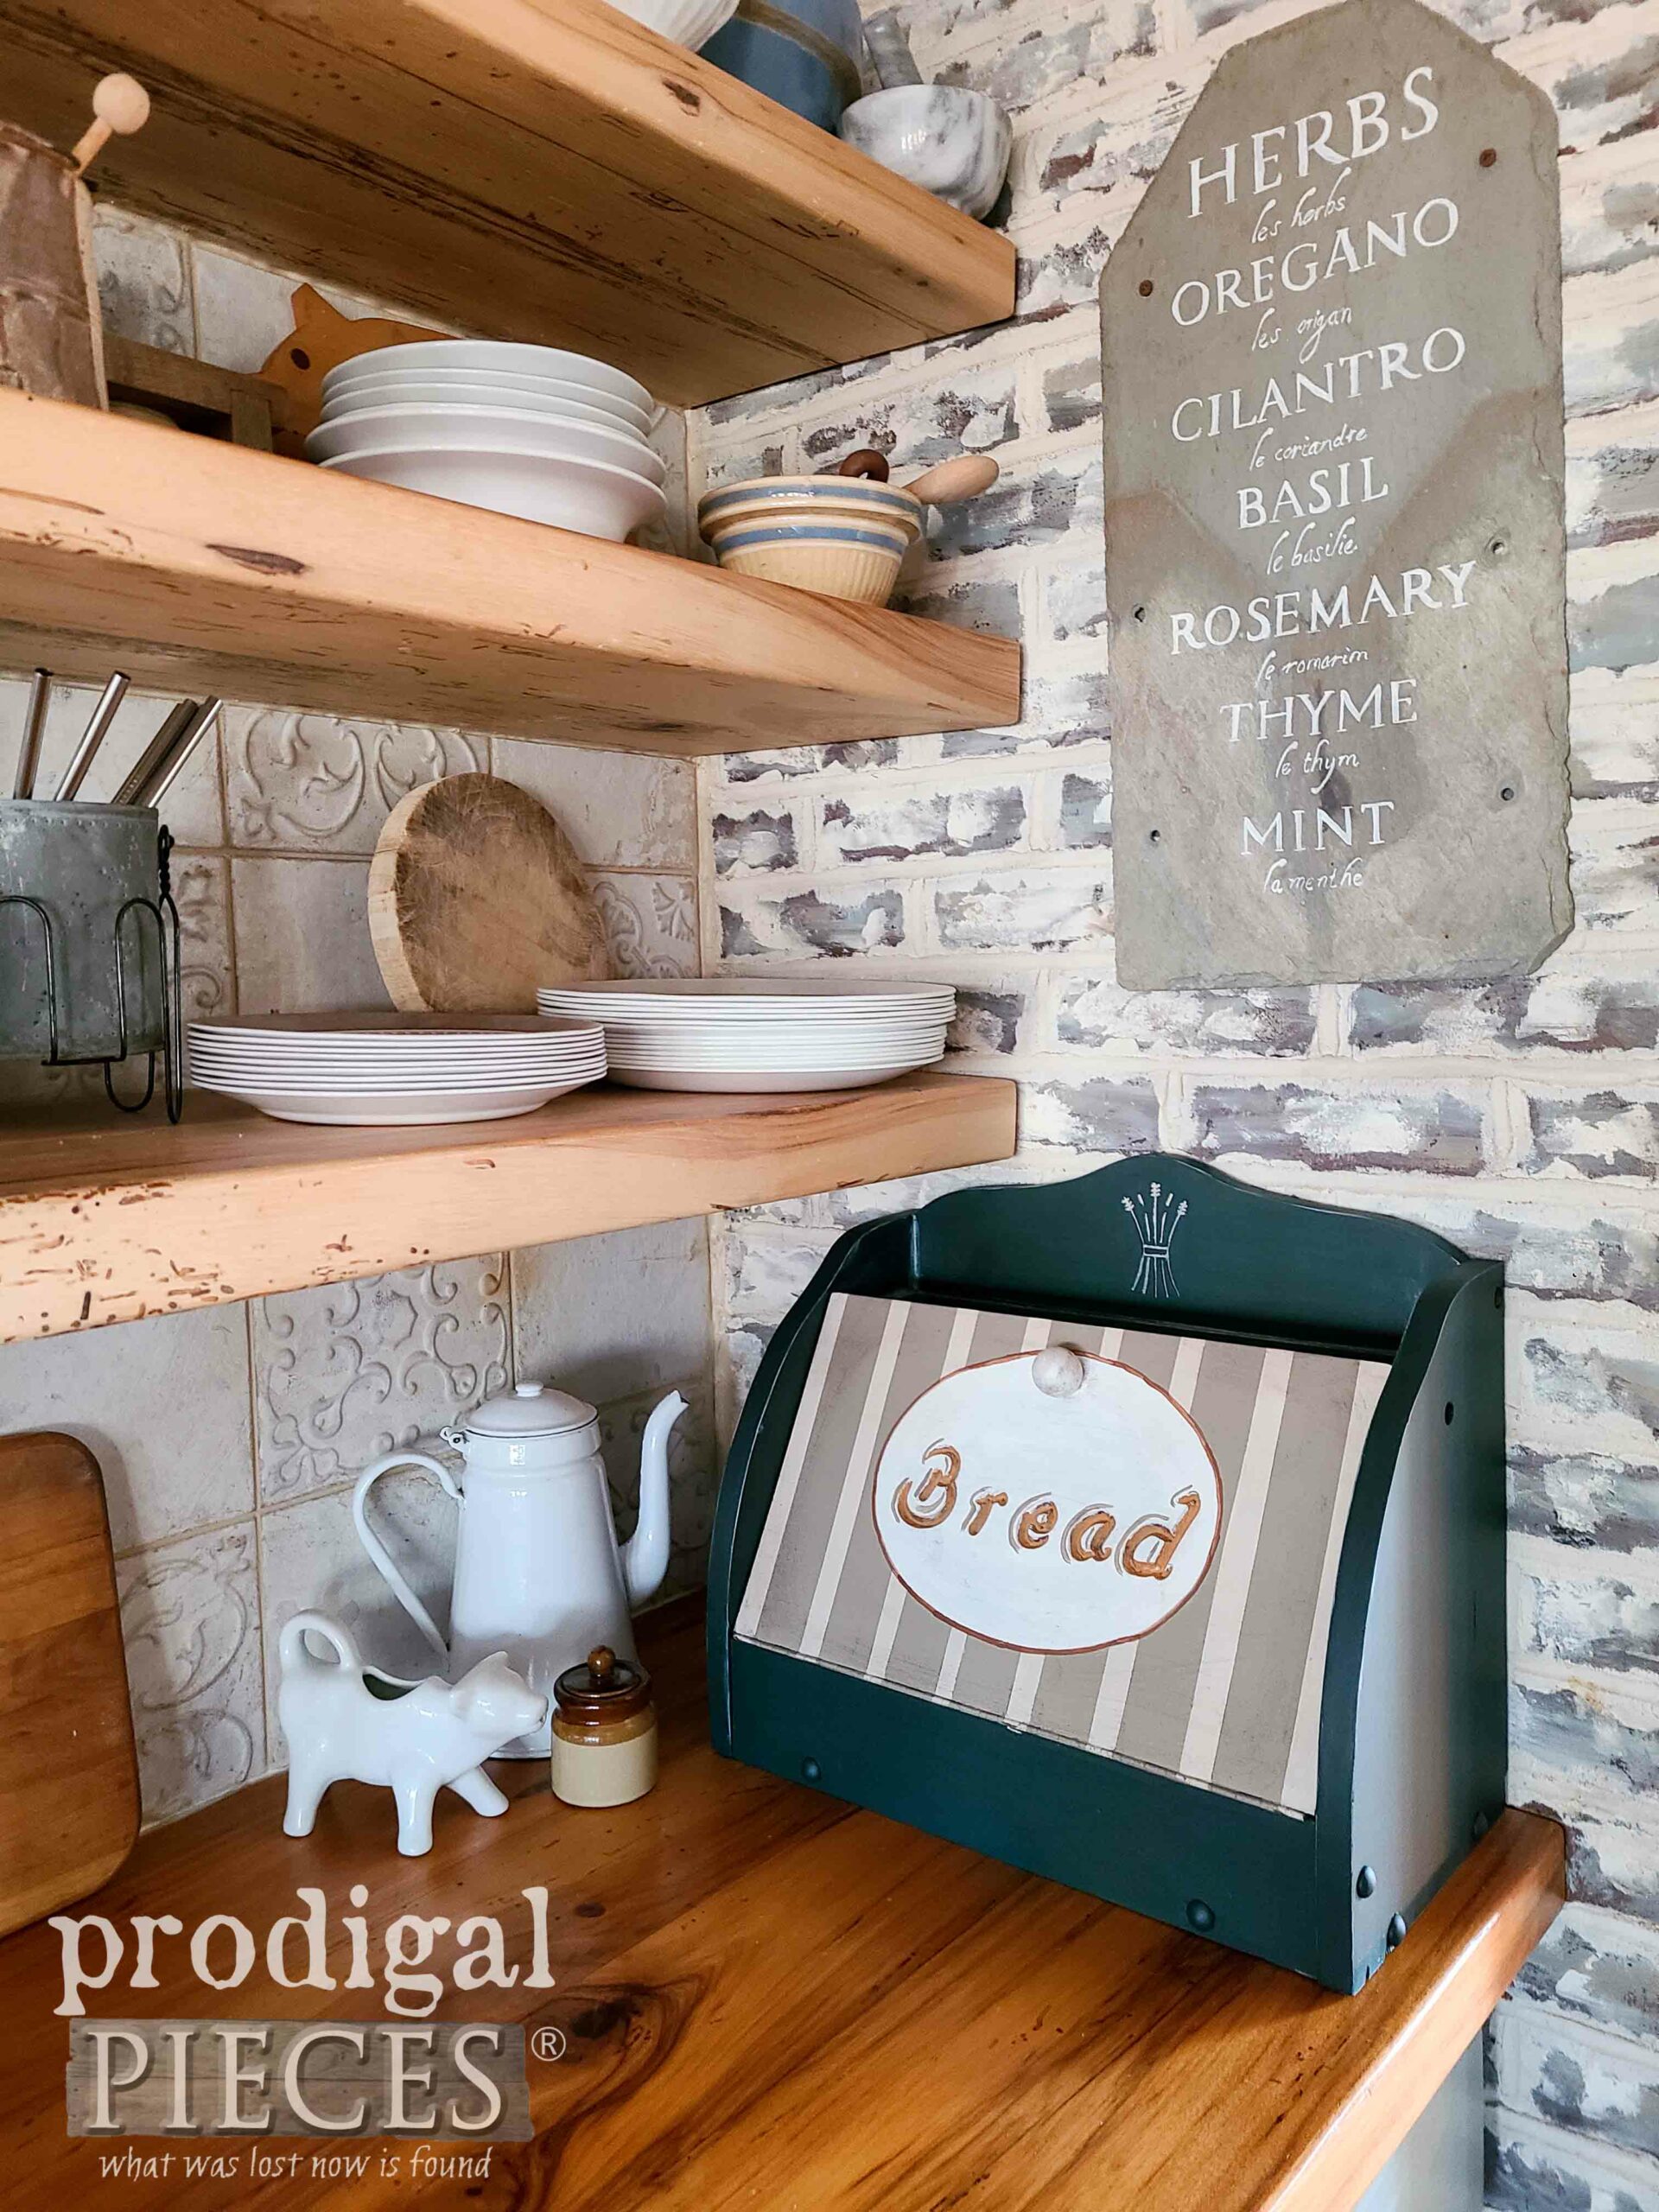
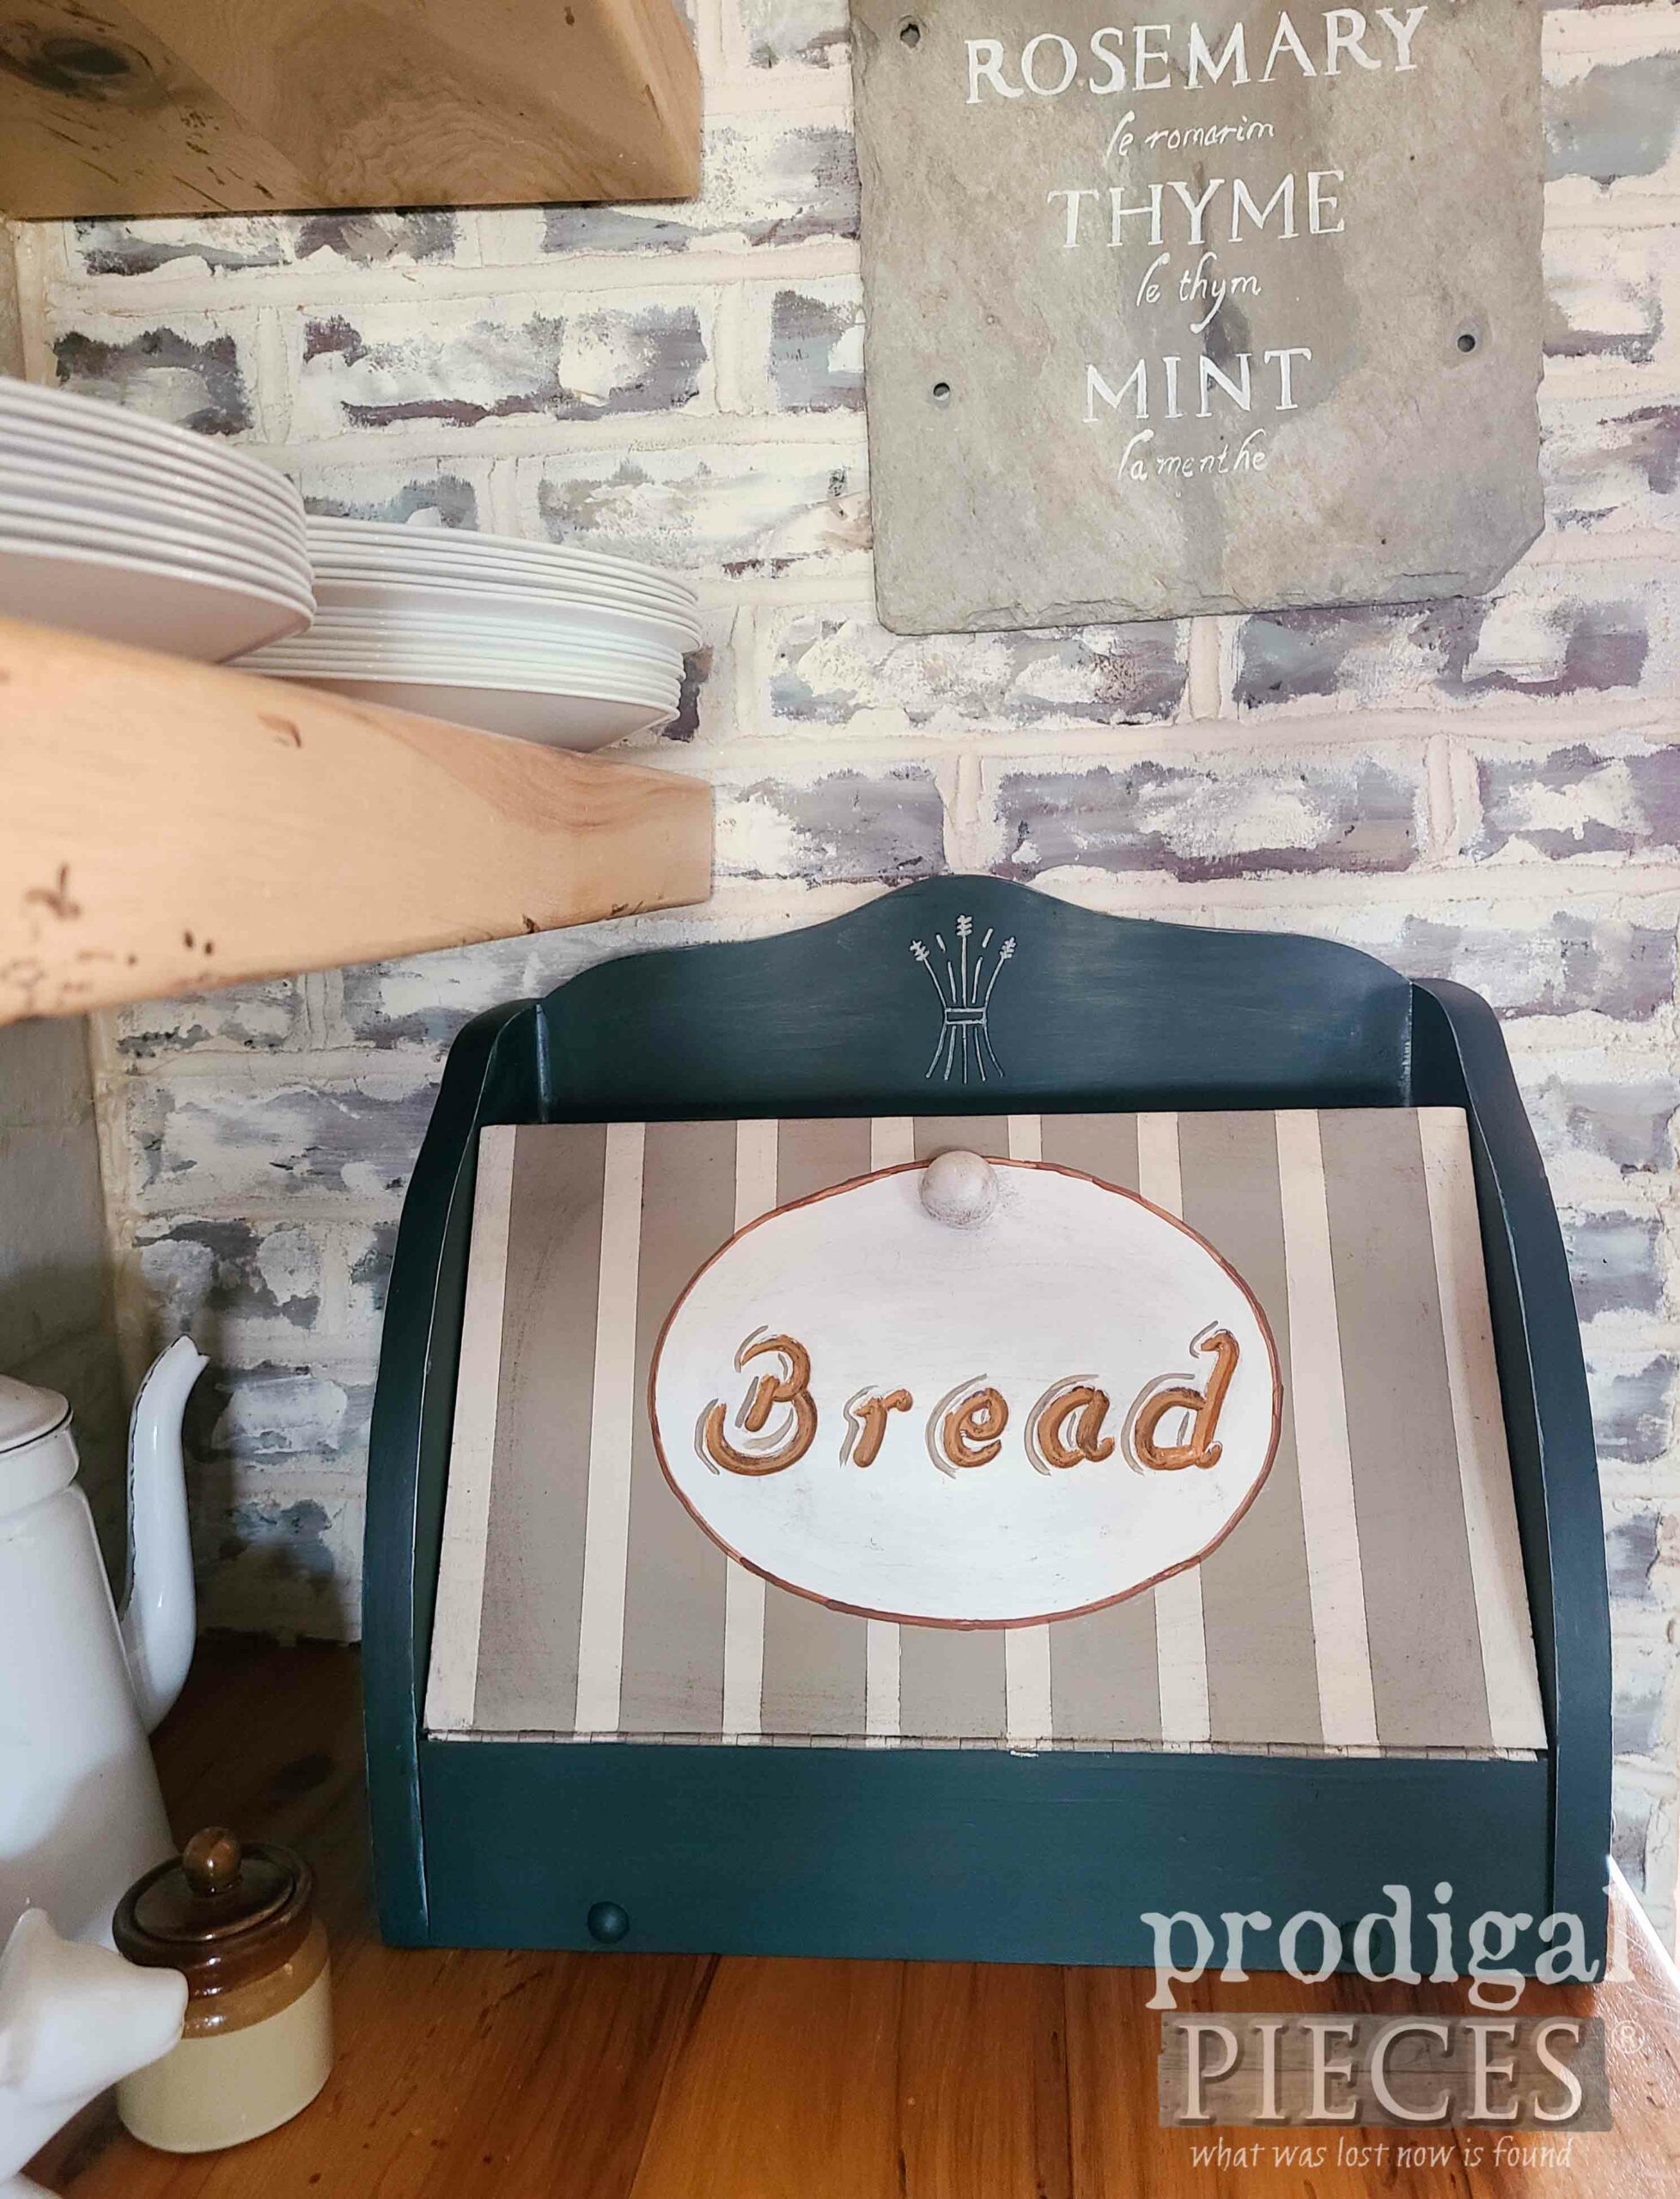
For your makeover pleasure and without delay, check out my vintage bread box all snazzy with a new look.
The green is still dark like the original, but I feel that it dresses it up a bit with the color and stripes. As a bonus, I even love the peek-a-boo surprise on the inside.
Isn’t that fun? It makes me think of the birdsong I hear every morning as I’m up before the sun rises. What a blissful time it is to spend a few hours before the hustle and bustle of the day begins. Are you an early bird too?
As always, my goal is to inspire you to create your own home story. Grab that item grandma gave you and give it a new look. While I do my new creation, I’m offering this and more in my online shop.
SHARE
In addition, let’s inspire others to roll up their sleeves and create too. Pin and share to spread the love.
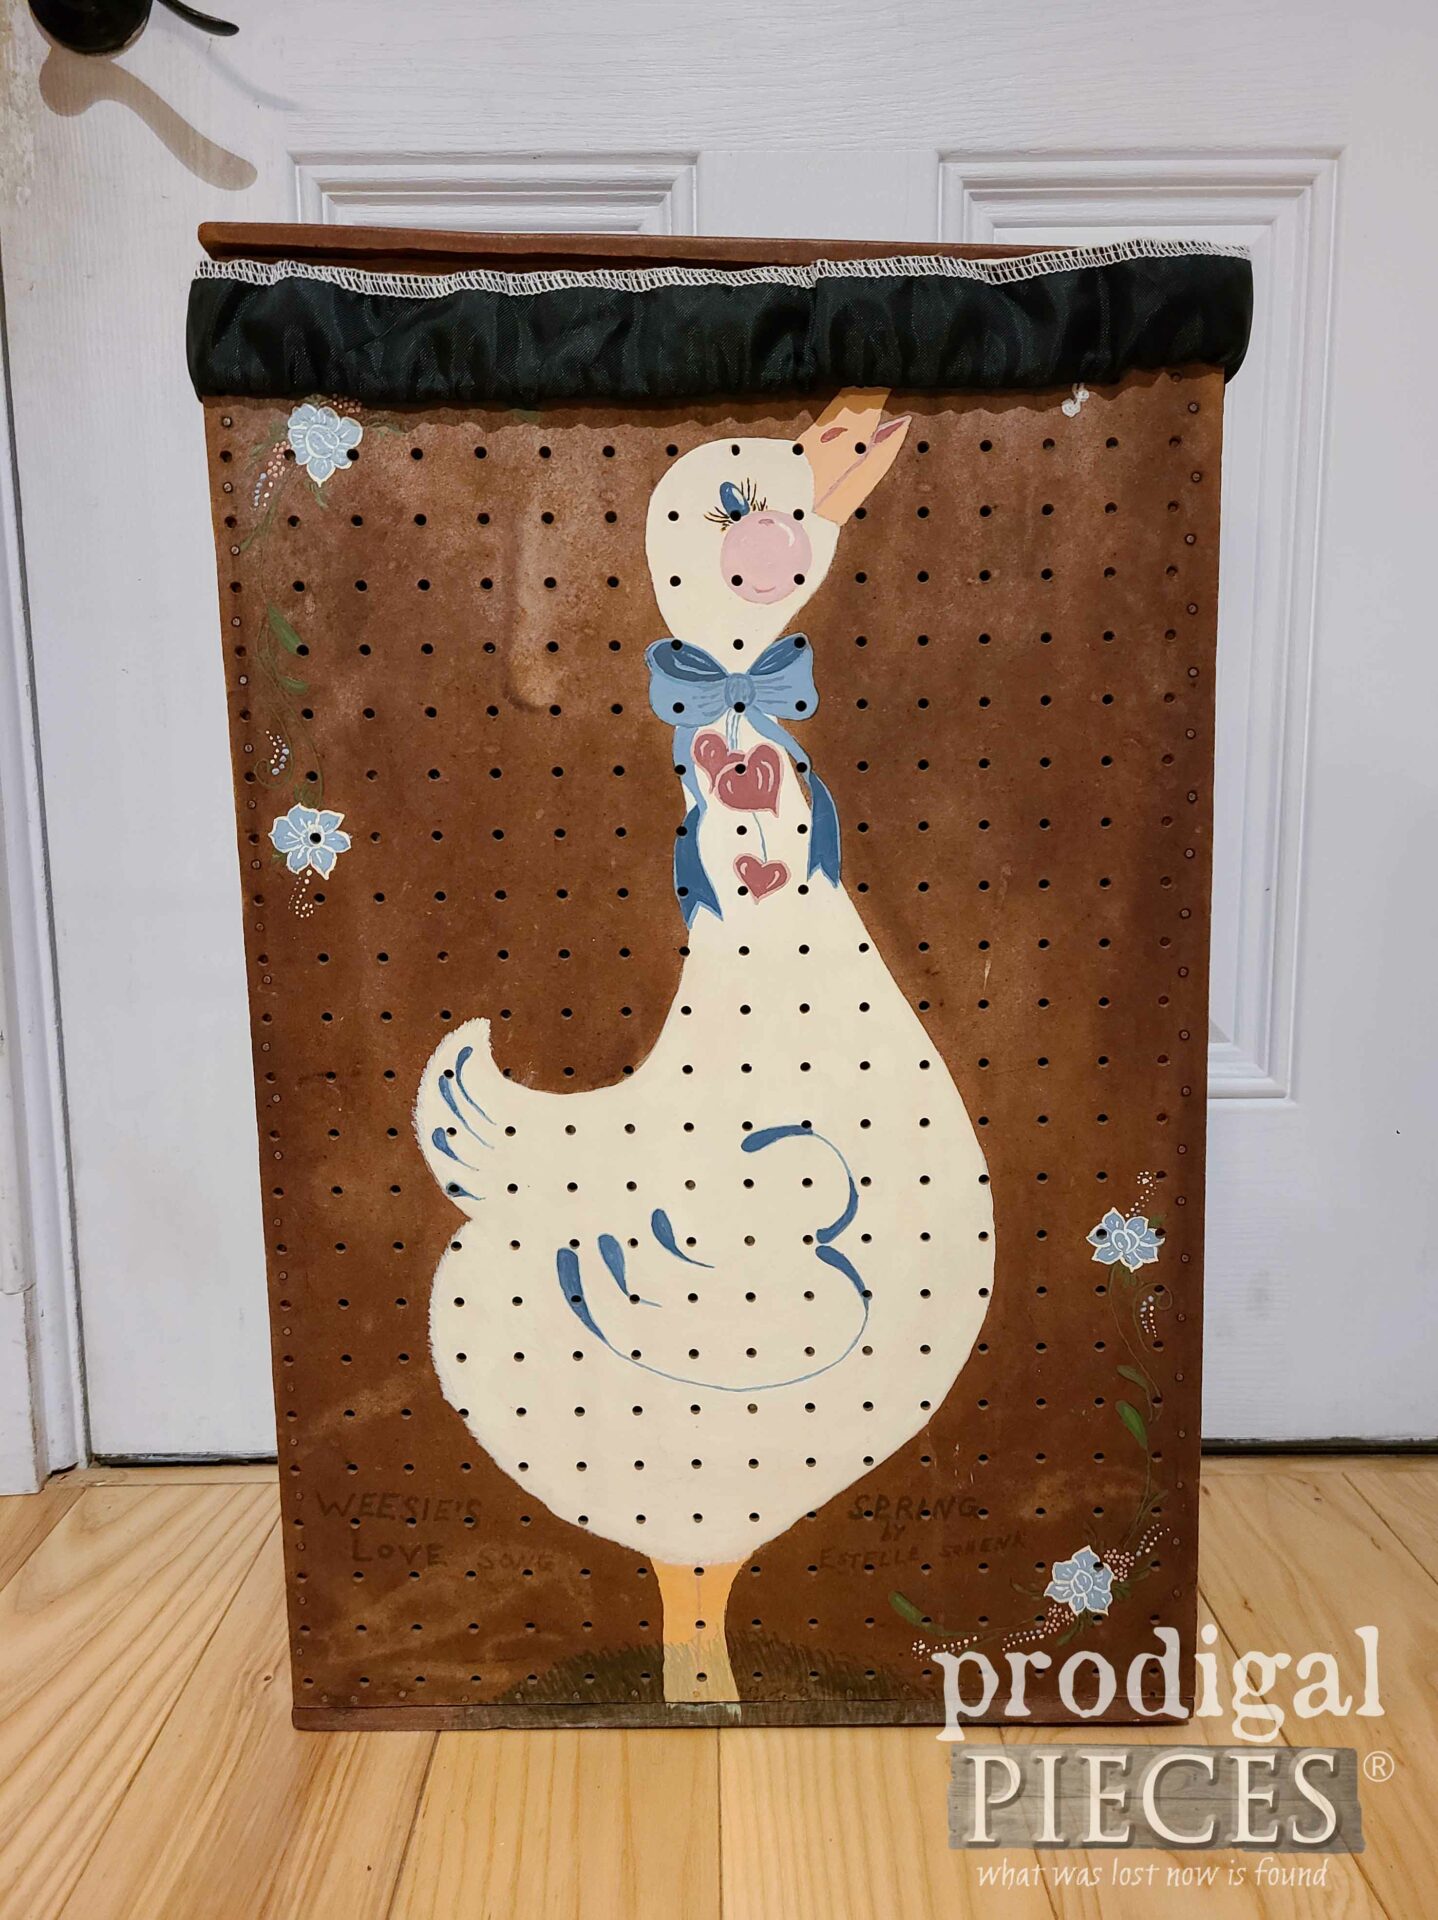
Before you head off, be sure to sign up for my FREE newsletter to check what becomes of this goose as a thrift store challenge for Trash to Treasure Tuesday. Head here to see the new look.
You don’t want to miss it. Until next time!



Love early morning quiet time, so productive, minus accumulating daily chaos.
No joke! It’s truly glorifying.
Turned out great!! I think I would cut some wood slats and make it into a mail holder. Our mail sits on the island which just is one big catch all right now. But, I also need a bread box instead of a cheap plastic bin sitting on the counter.
Thanks! This one can be wall-mounted too, so that would do just fine. 😀
Love it! Now it can take pride of place on any counter!!! 😍
Thank you! It’s headed to it’s new home on Monday. yay!