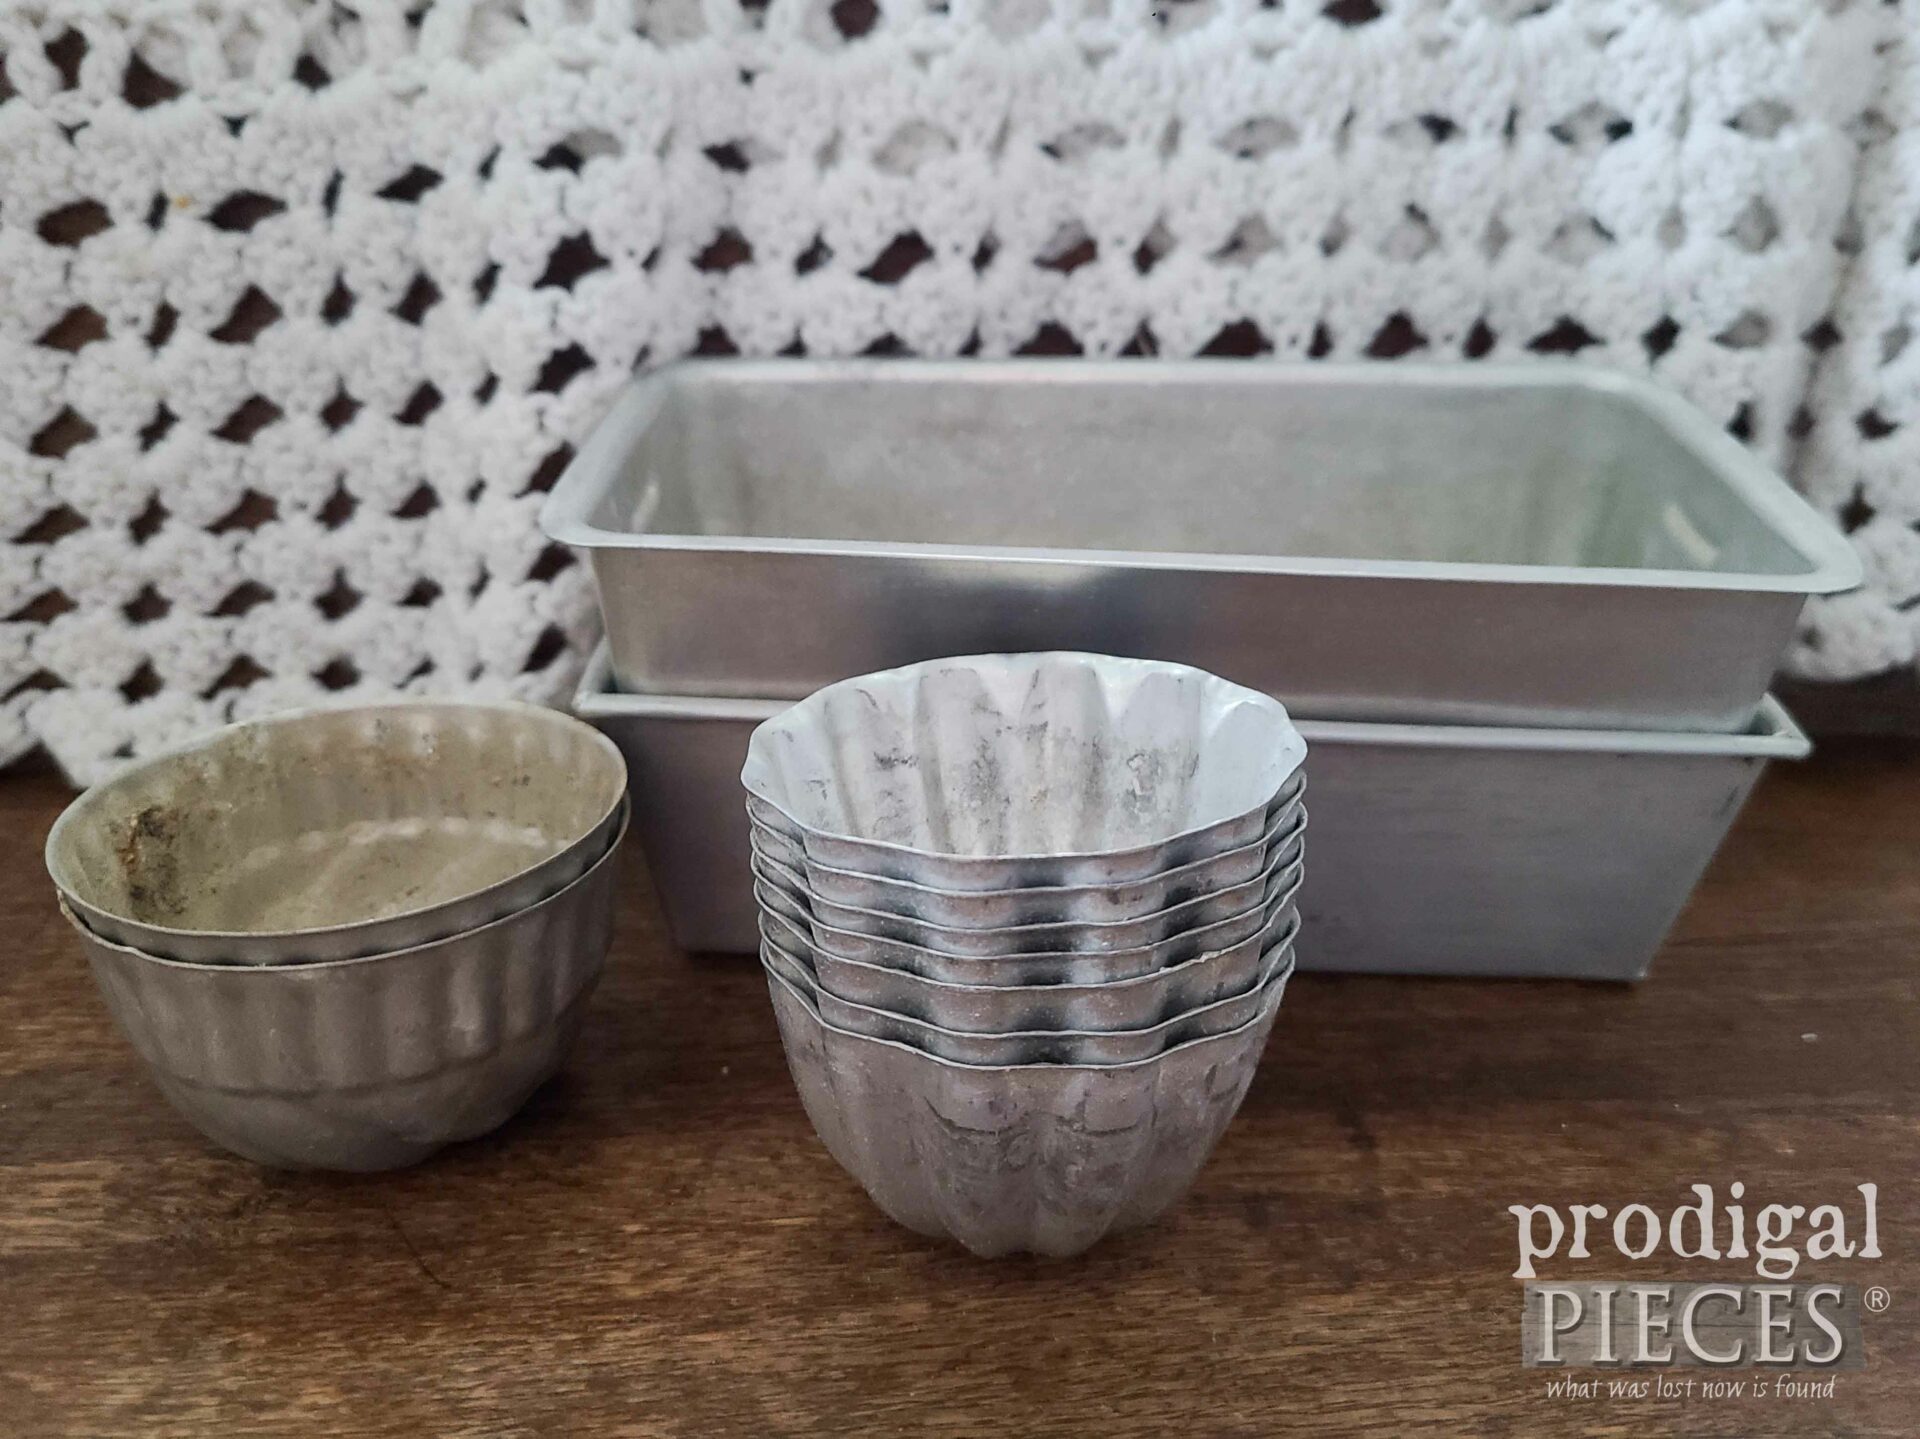
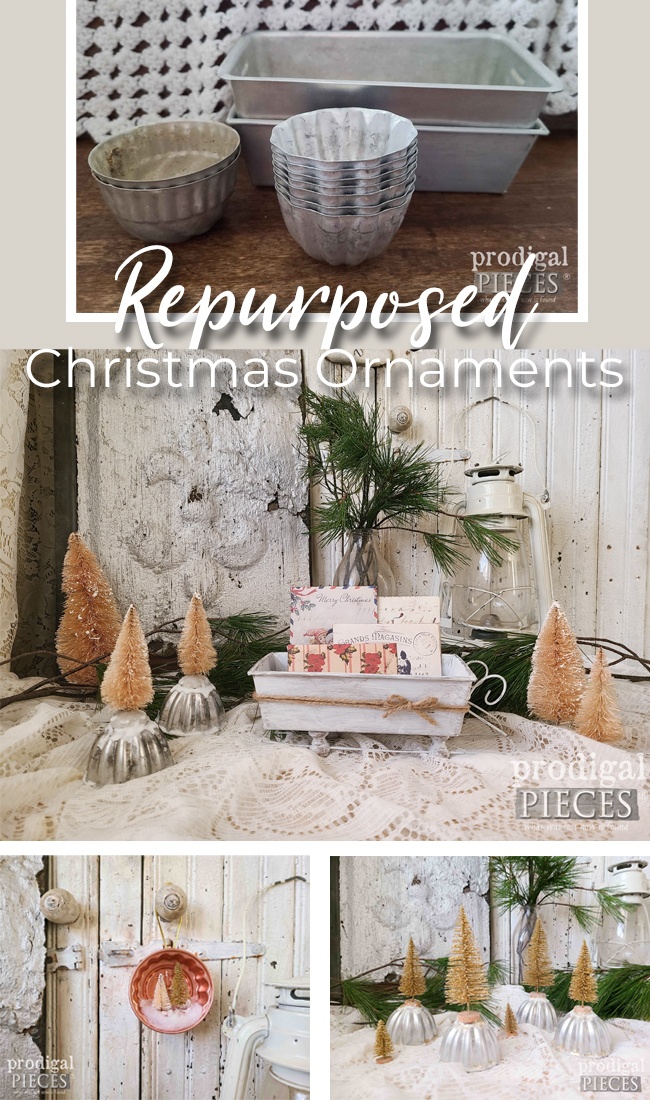
Does junk ever inspire you? Maybe you see a steamer basket and think…turkey (like I did HERE). Or maybe you find some wooden rockers and think, “I should build a Christmas sleigh!” On the other hand, you score a set of underbed drawers and that leads you down the path of building an awesome workbench for your kitchen? Well, maybe you’re not like my crazy ol’ self, but it surely is fun to imagine what something can be. Tell me, what do you see with this pile below? For today, I see repurposed Christmas ornaments. Yep. Jello molds and bread pans can do that to a junker gal. haha.
In the past, I use jello molds to turn a glass holder into a succulent planter, and also bread pans to make a wall caddy. This time around, however, I am in a holiday mood. As a matter of fact, I’ve created a video tutorial below, and also have the steps laid out for you as well.
STEP 1
As you can imagine, the sky’s the limit with these. I’ve seen them made into garlands, bells, stacked trees, and so much more.
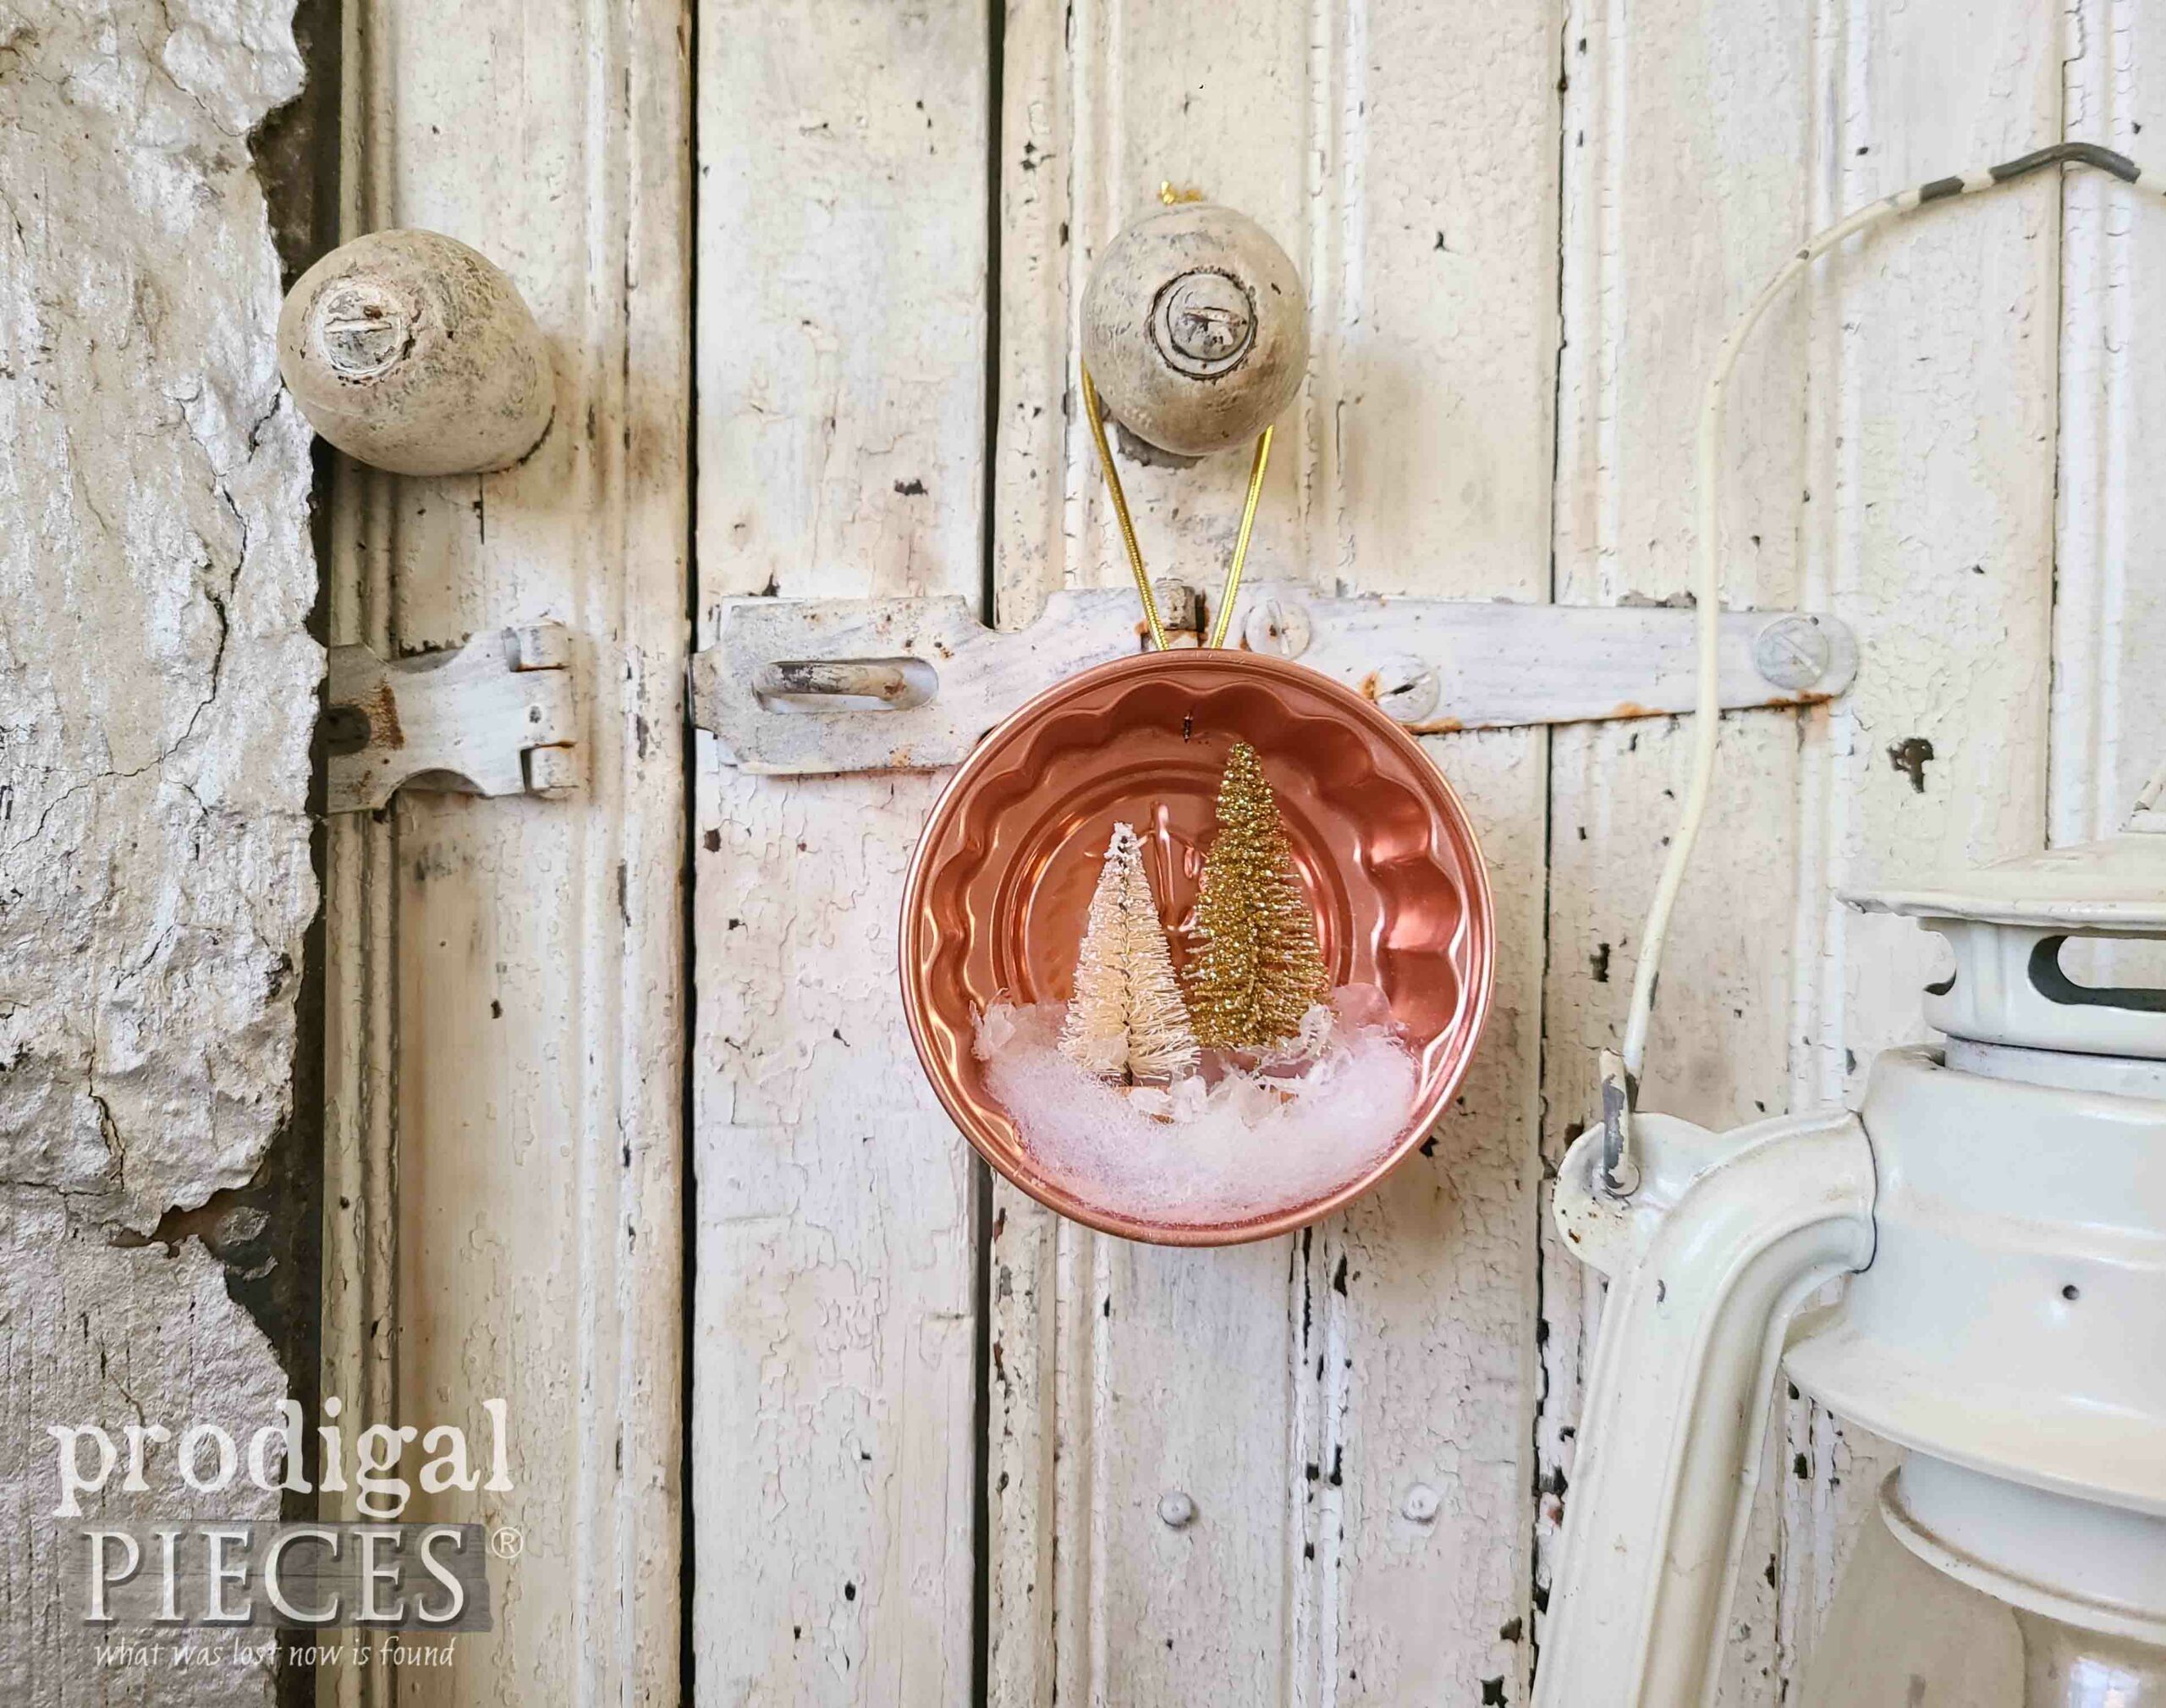
About 3 years ago I took these copper-colored molds and made tree ornaments for each of my six kids. It’s not only a tradition for me to create one for them, but the goal is to use found objects about my home like I did in this past post.
First, to begin, make sure your molds are clean by using a 1:2 ratio of vinegar to water and wipe clean. Then, gather these supplies:
- vintage jello molds
- bottle brush trees (or whatever you want to create with)
- tacky glue
- e6000 or similar
- glitter and/or snow
- optional hanger to make it into an ornament for your tree
- optional…any other vintage goodies you want to throw in…buttons, lace, bells…you get the idea!
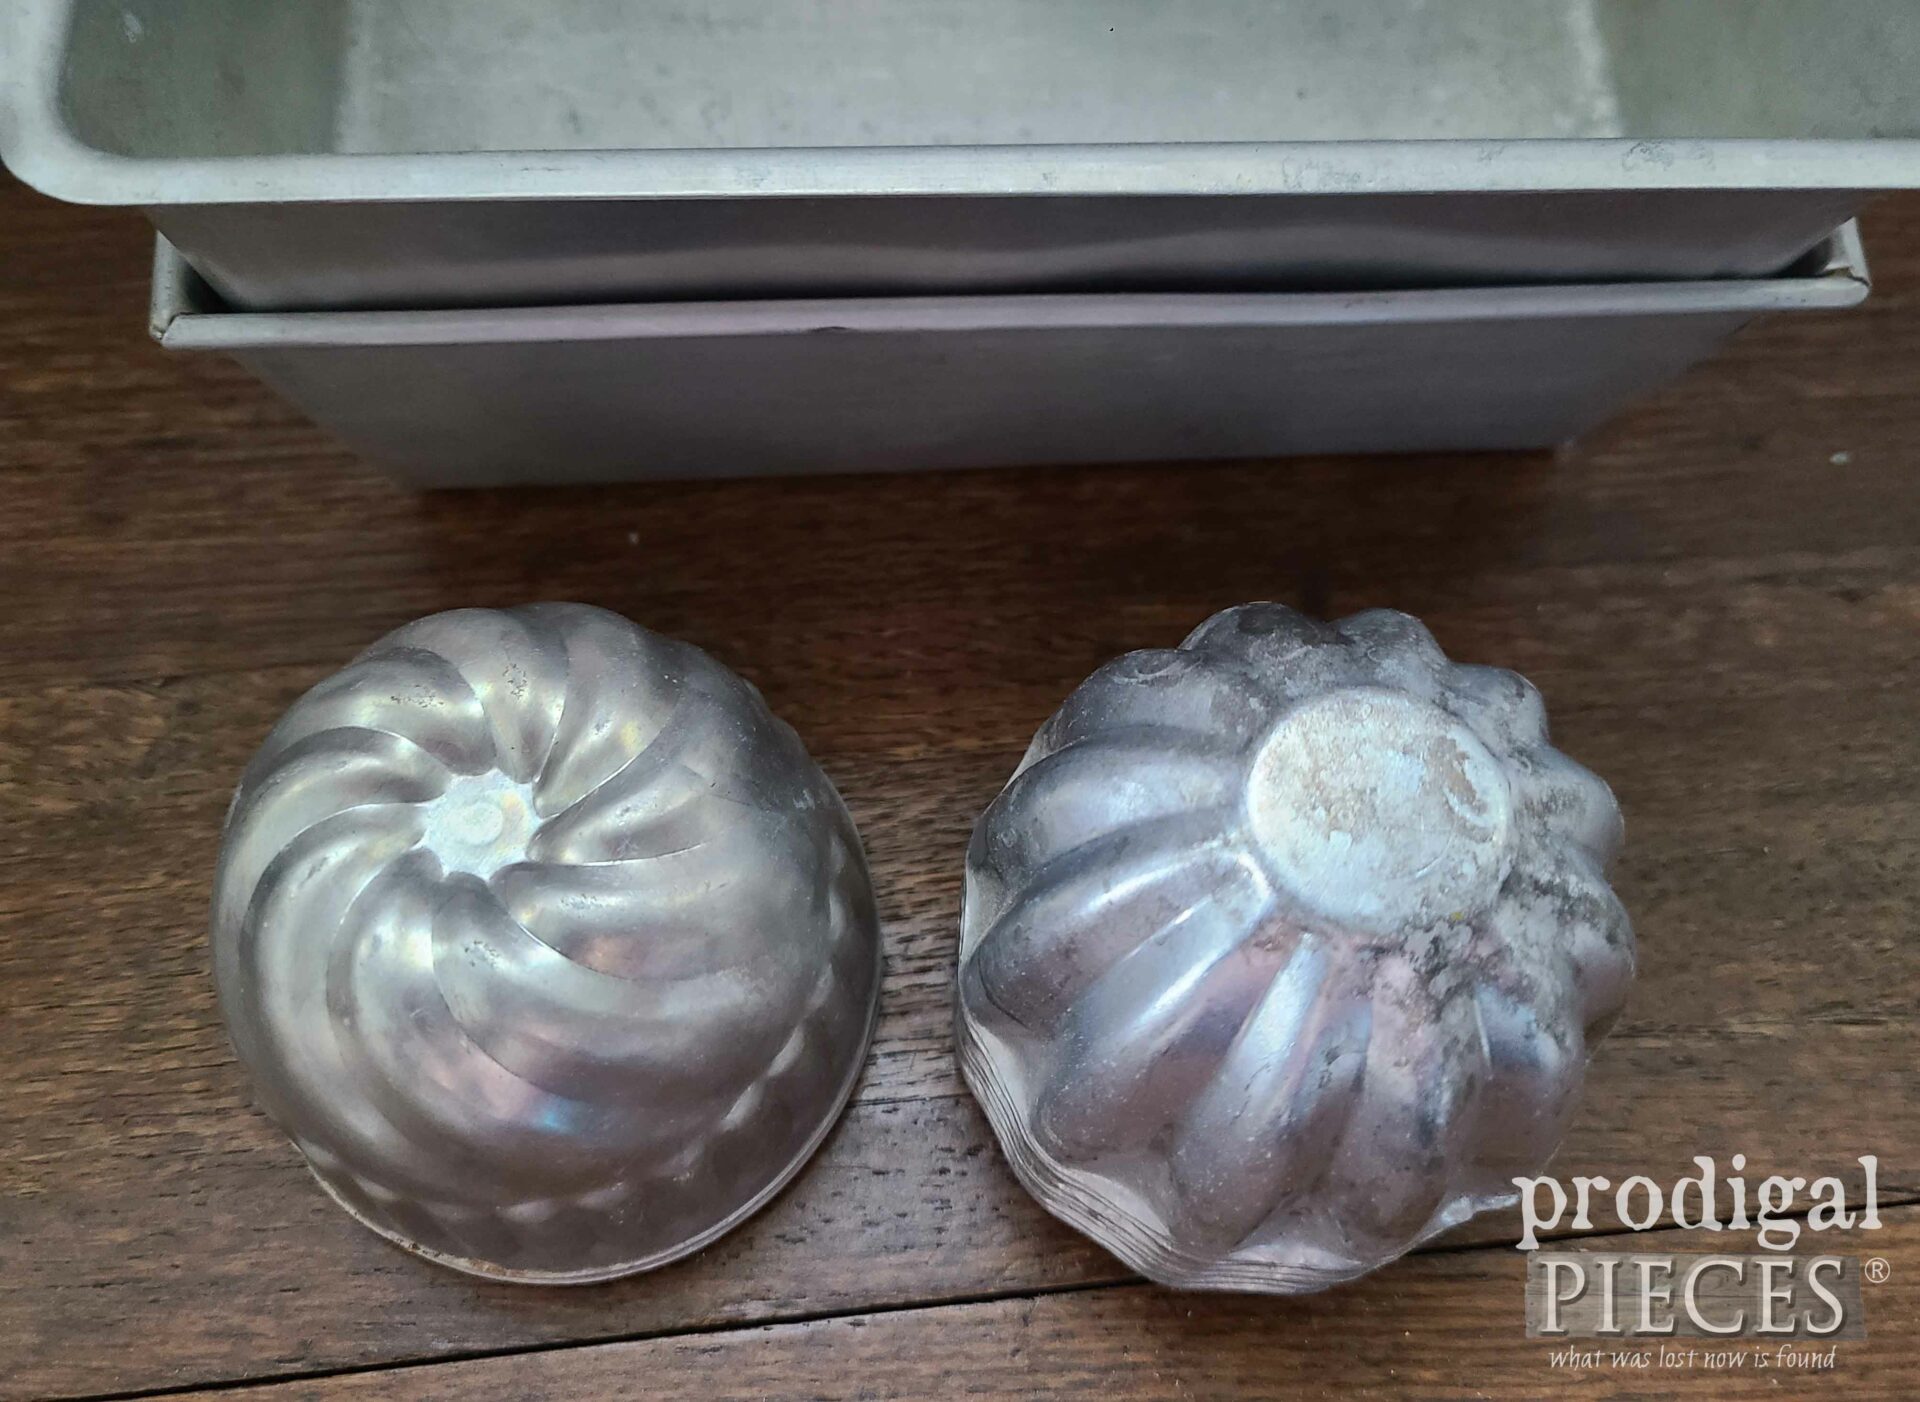
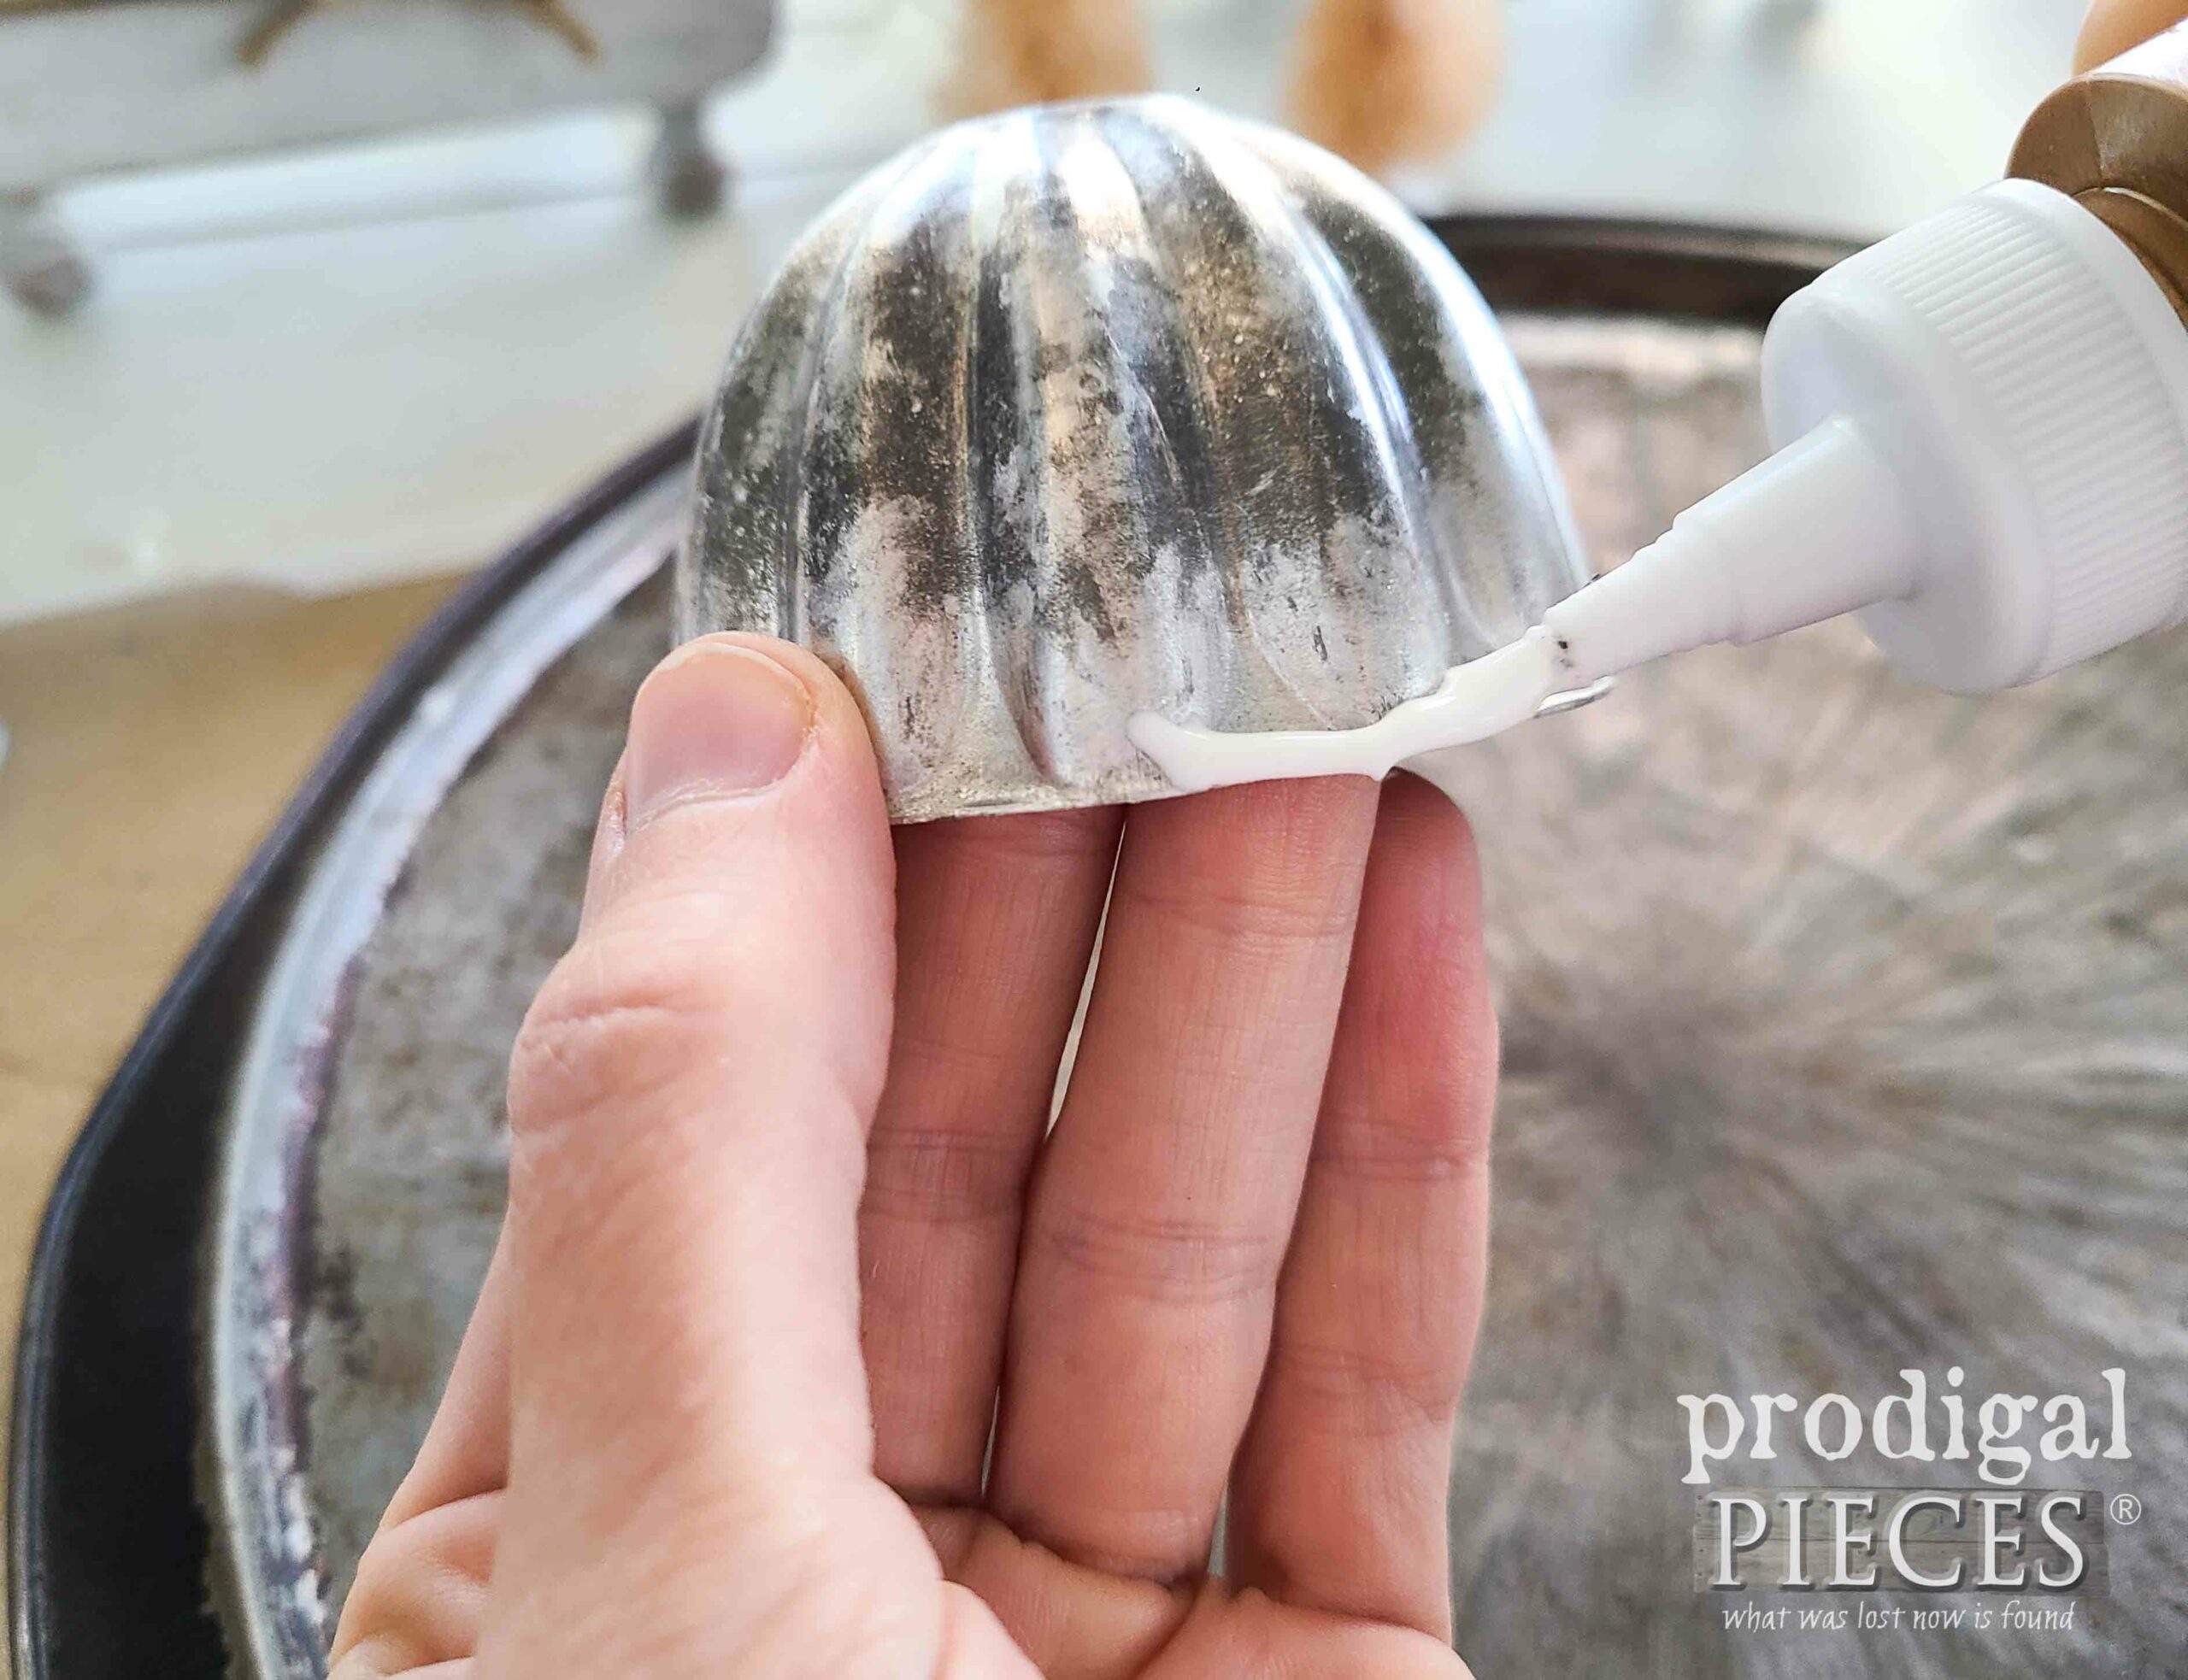
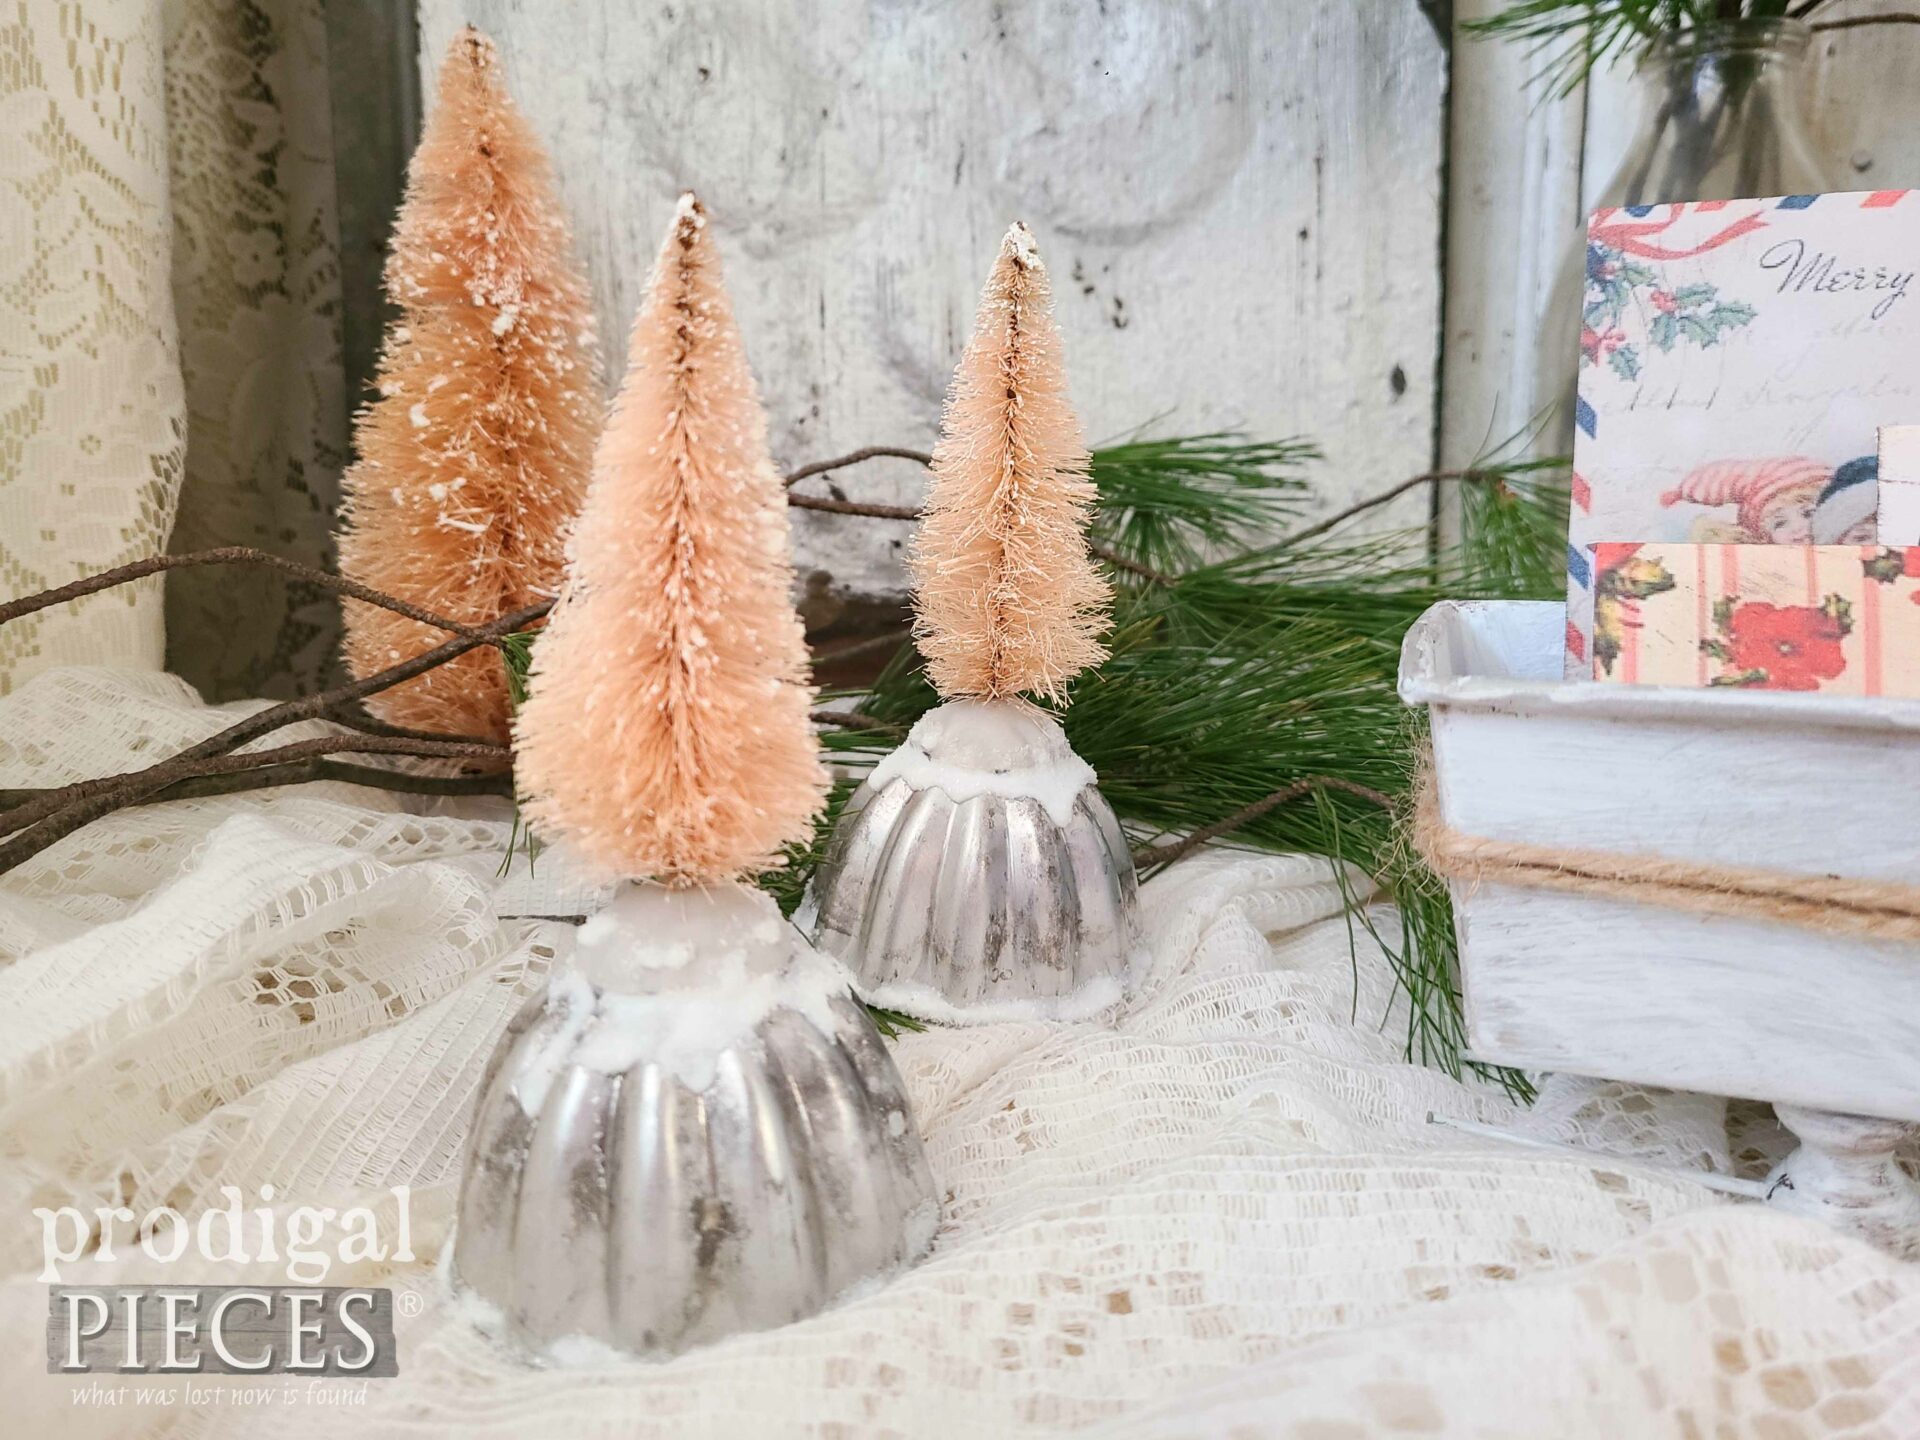
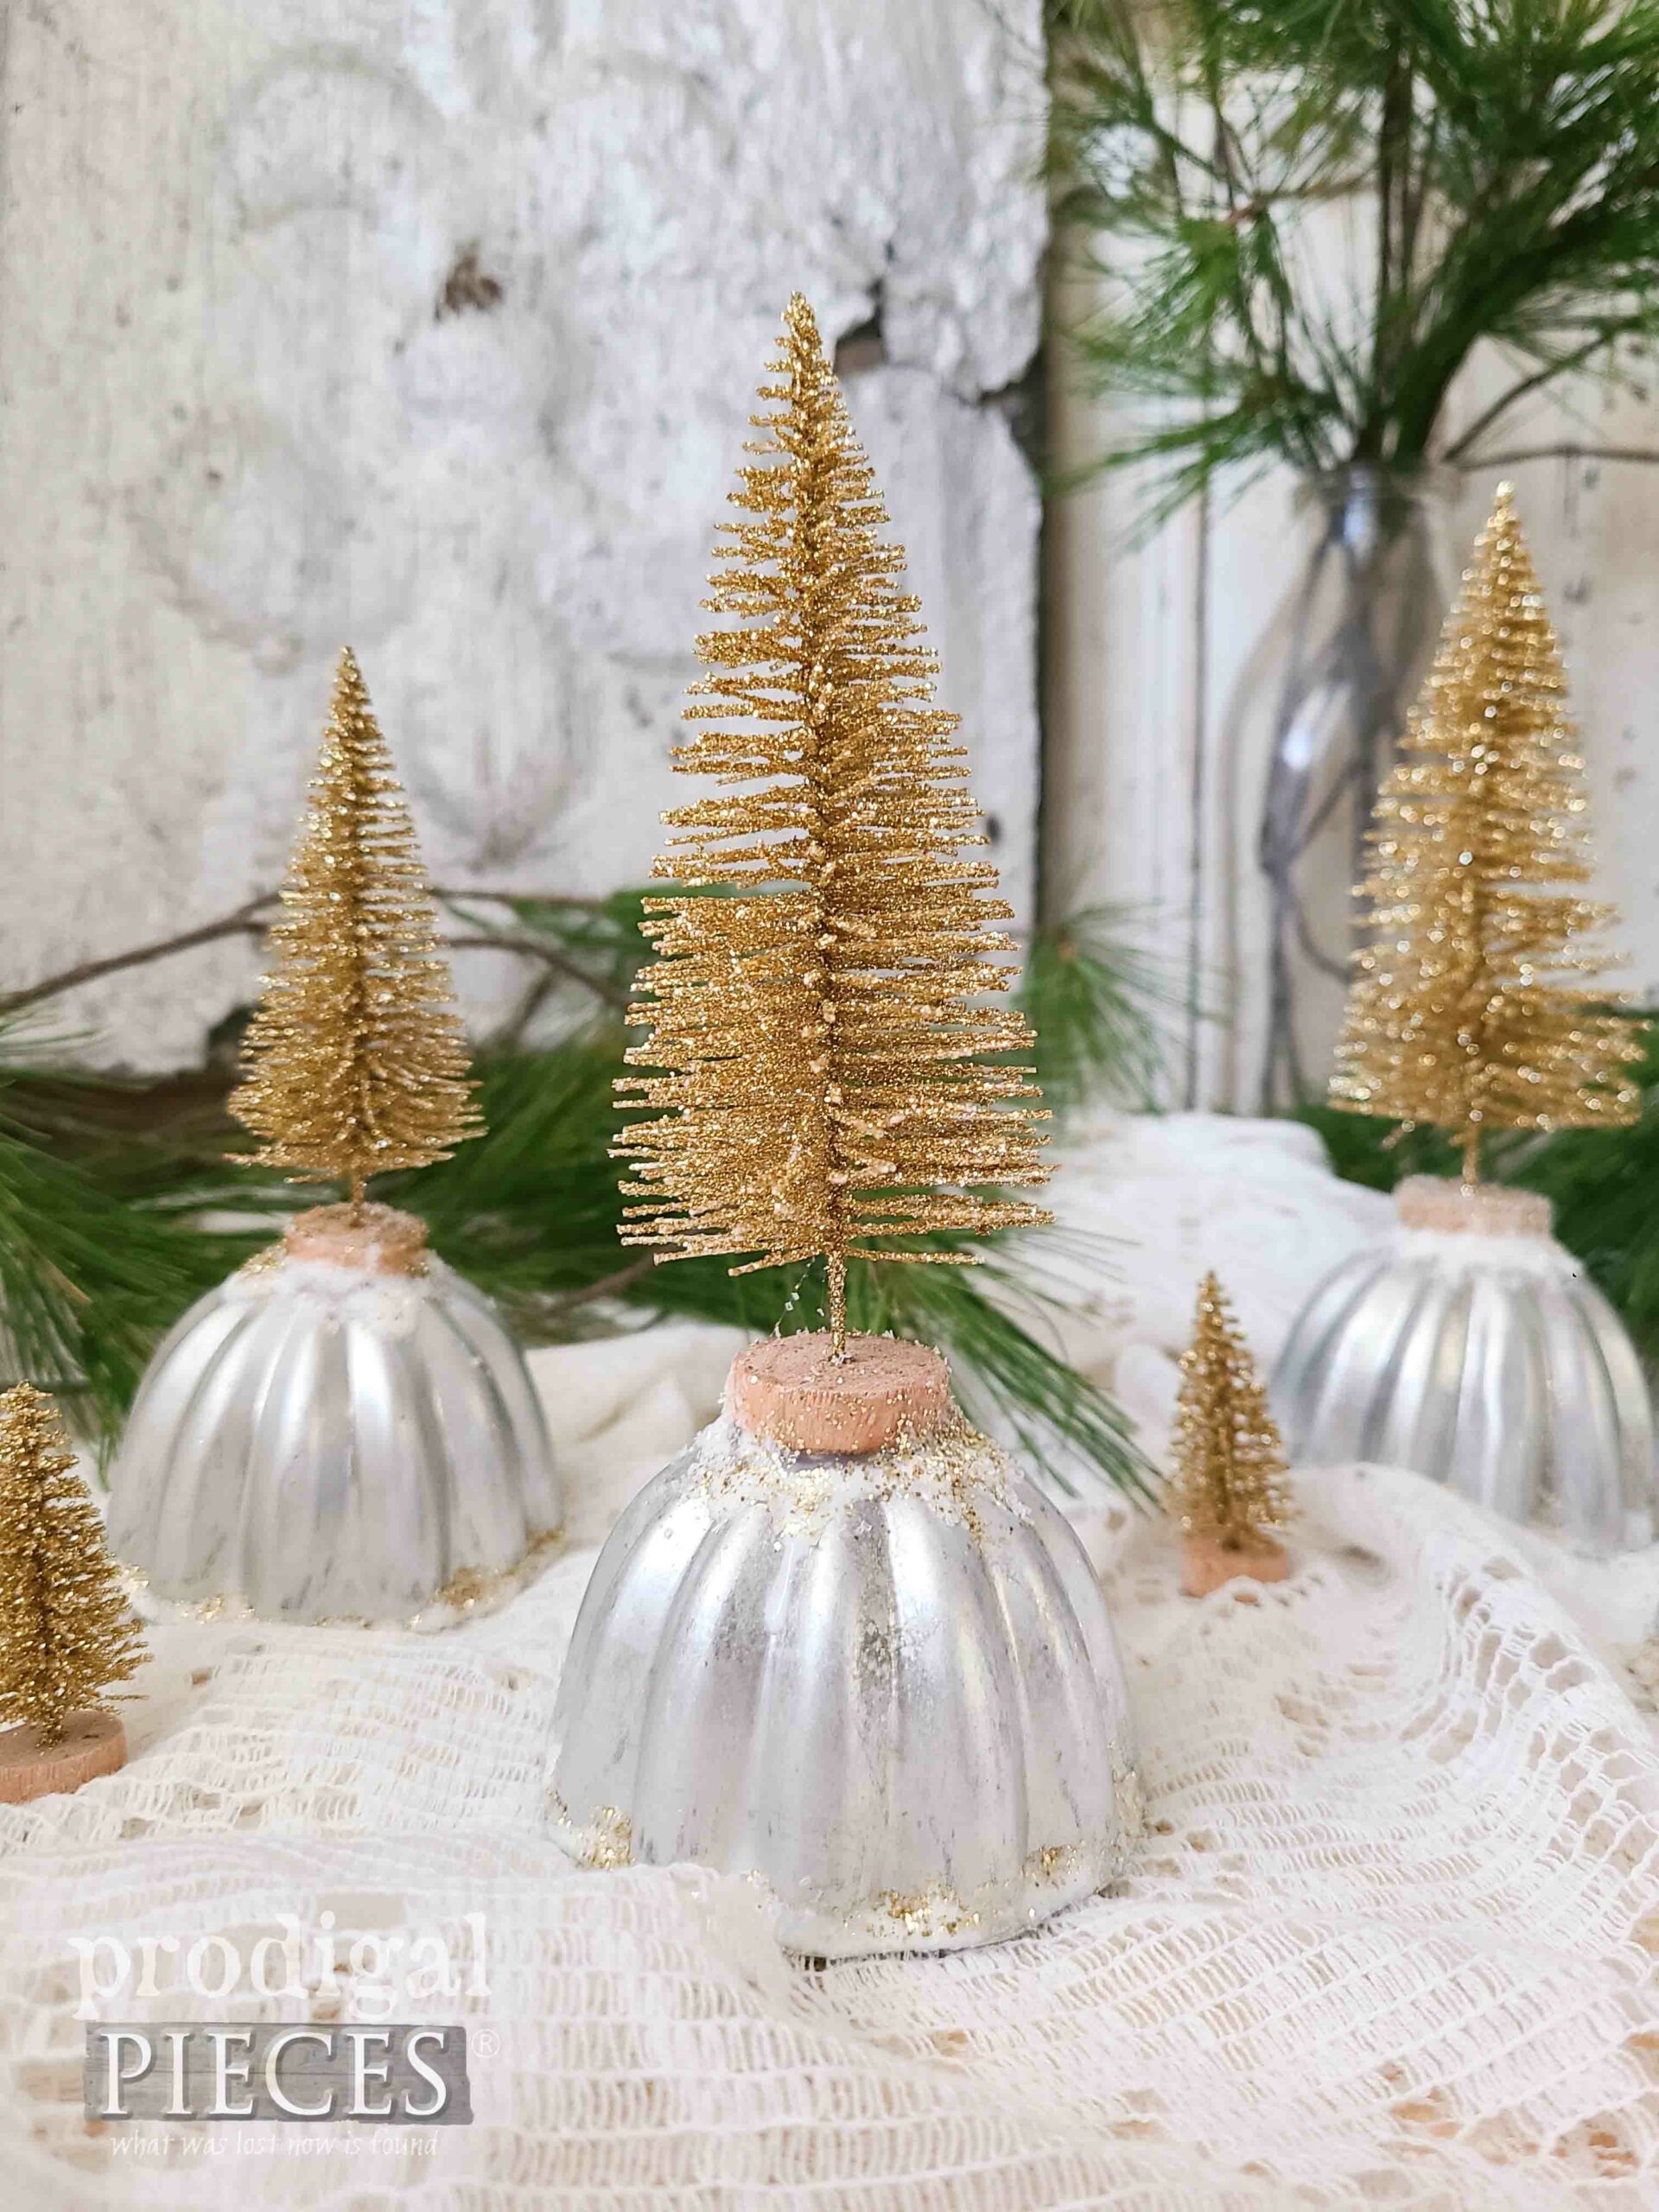
Next, using your tacky glue, apply it to the fluted “bottom” edge and sprinkle glitter while still wet. Don’t you just love the patina on the molds?
STEP 2
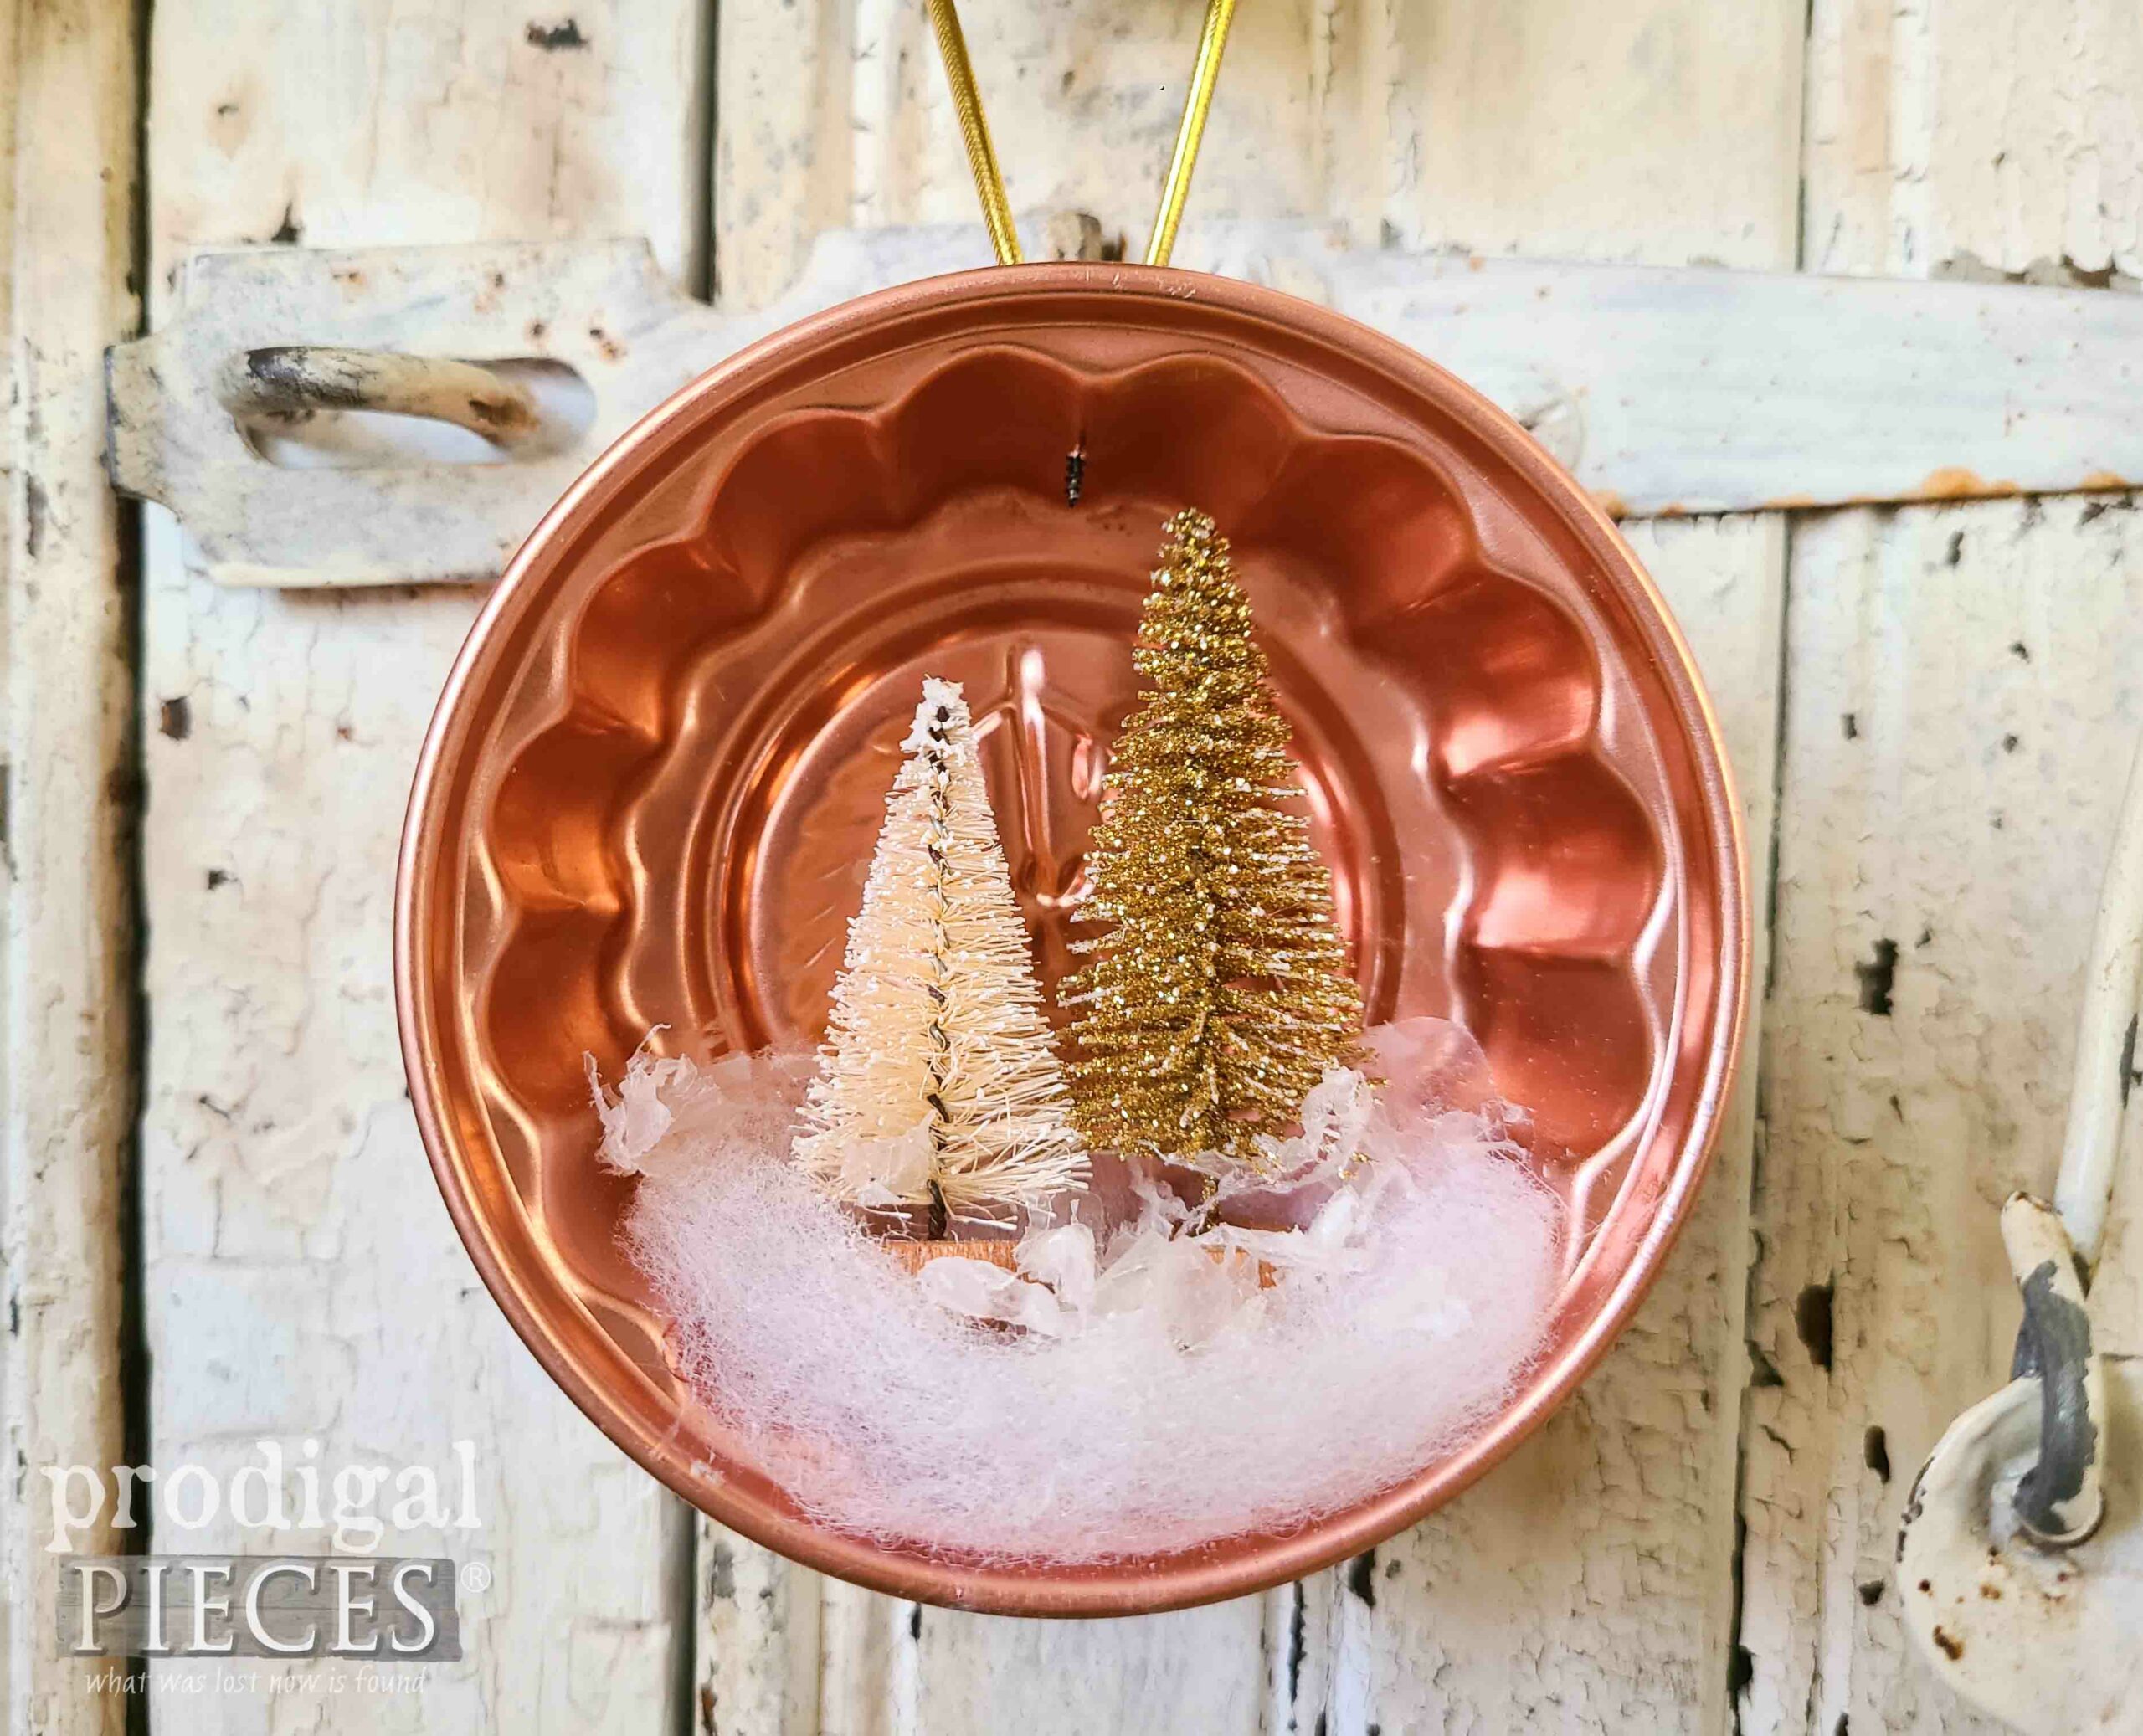
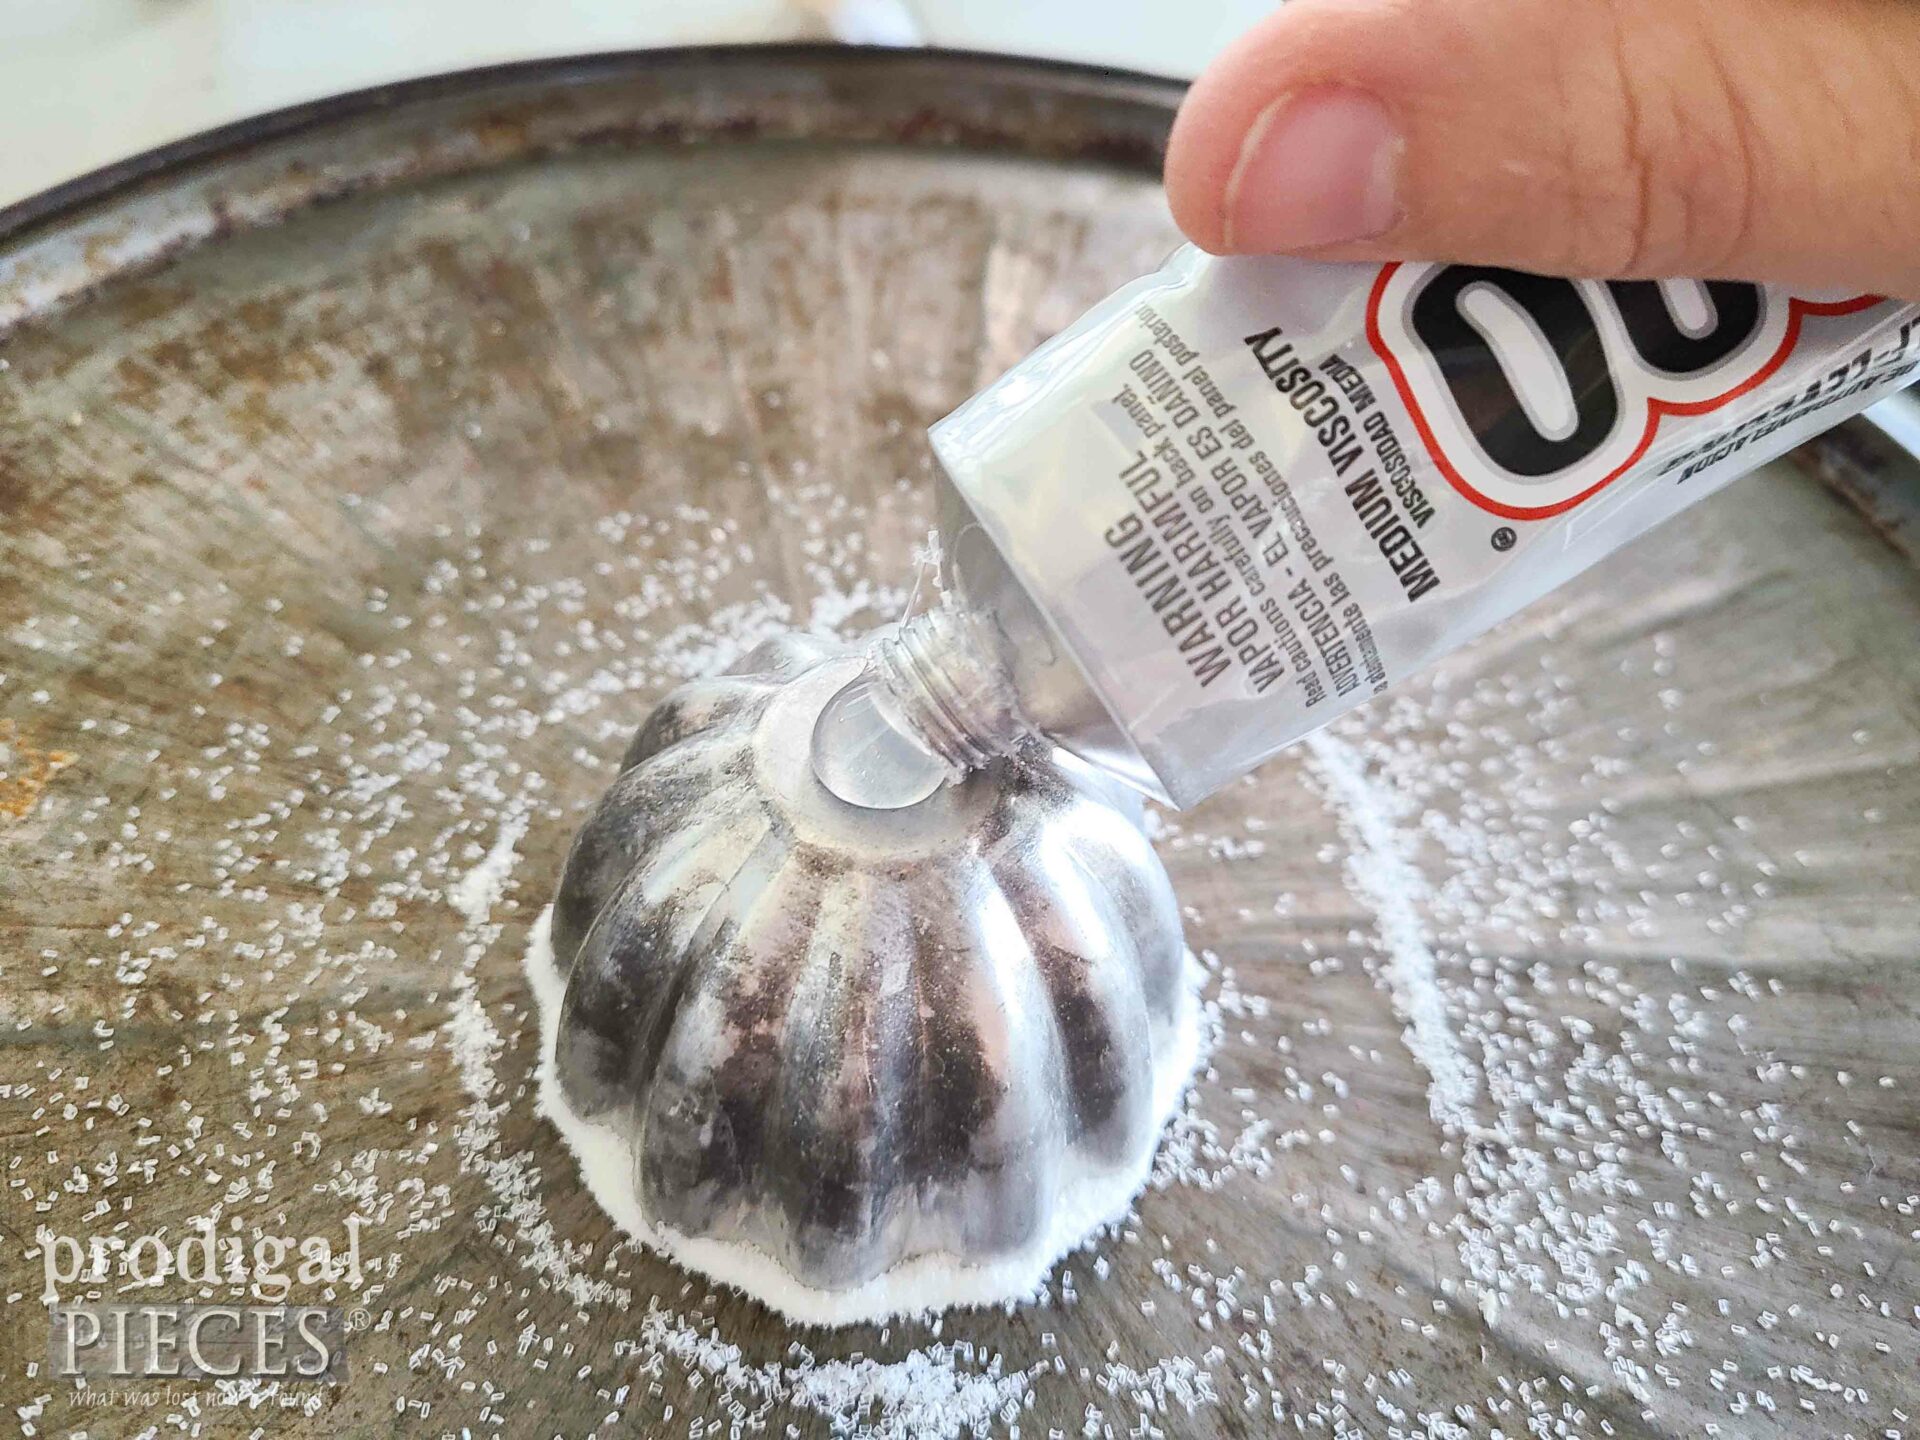
Second, using the e6000 glue, apply a bead to the top, then adhere a bottle brush tree (or whatever your heart desires). As an aside, you can find bottle brush trees at the thrift stores and garage sales. If they’re green and you want an aged look, you can soak them in bleach water.
STEP 3
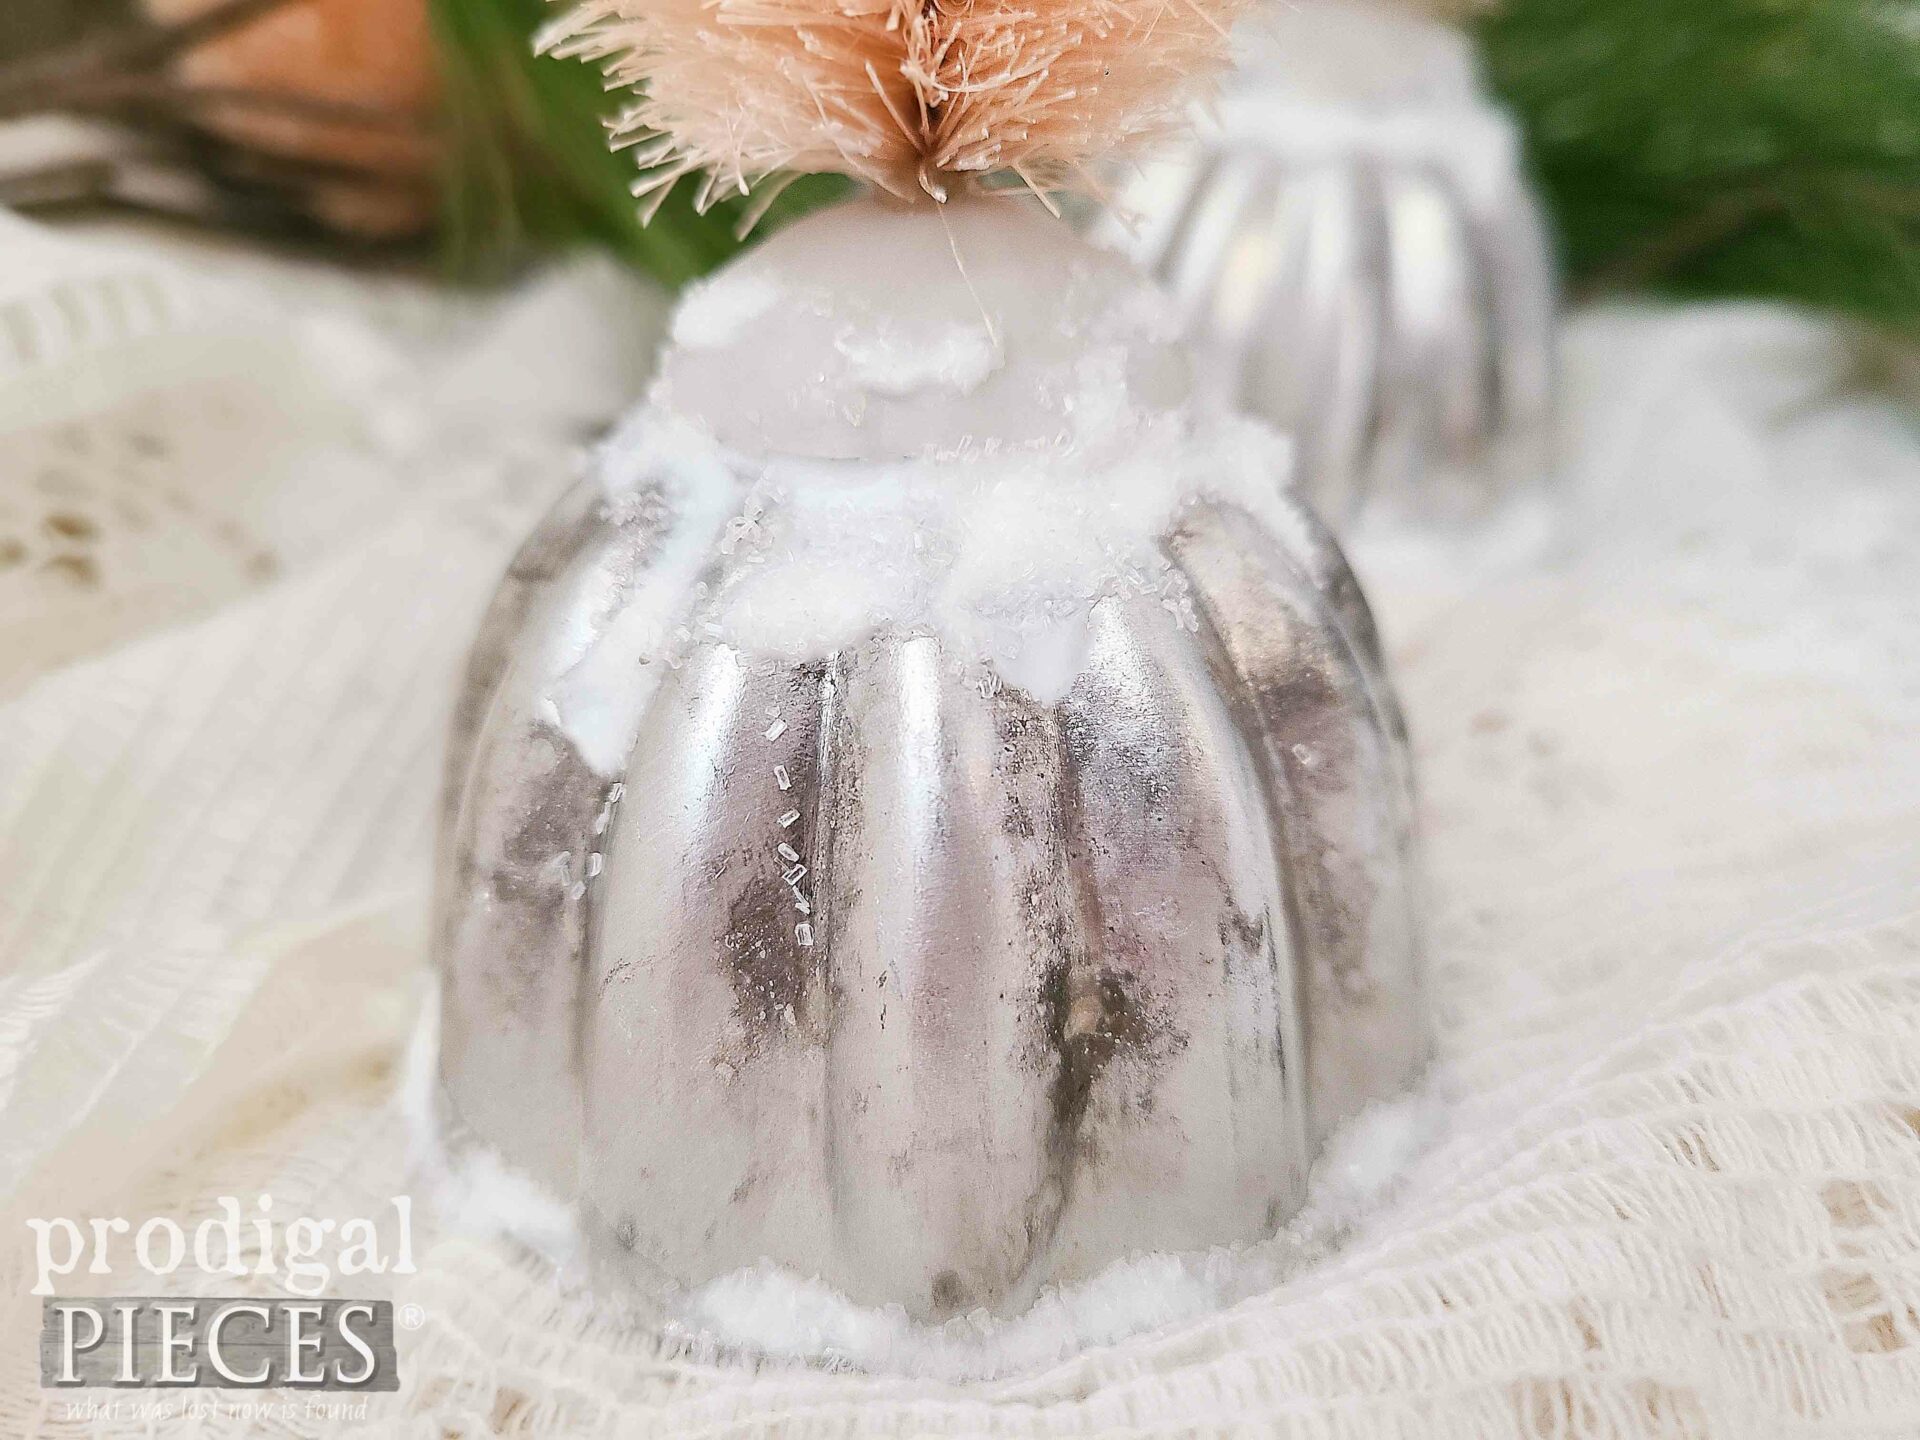
Last, apply more tacky glue around the base of the tree and on the top rounded edges of the mold to create a mounded snow effect. Sprinkle with more glitter or snow. Also, feel free to add any other goodies. I am aiming for simple and sweet.
STEP 4
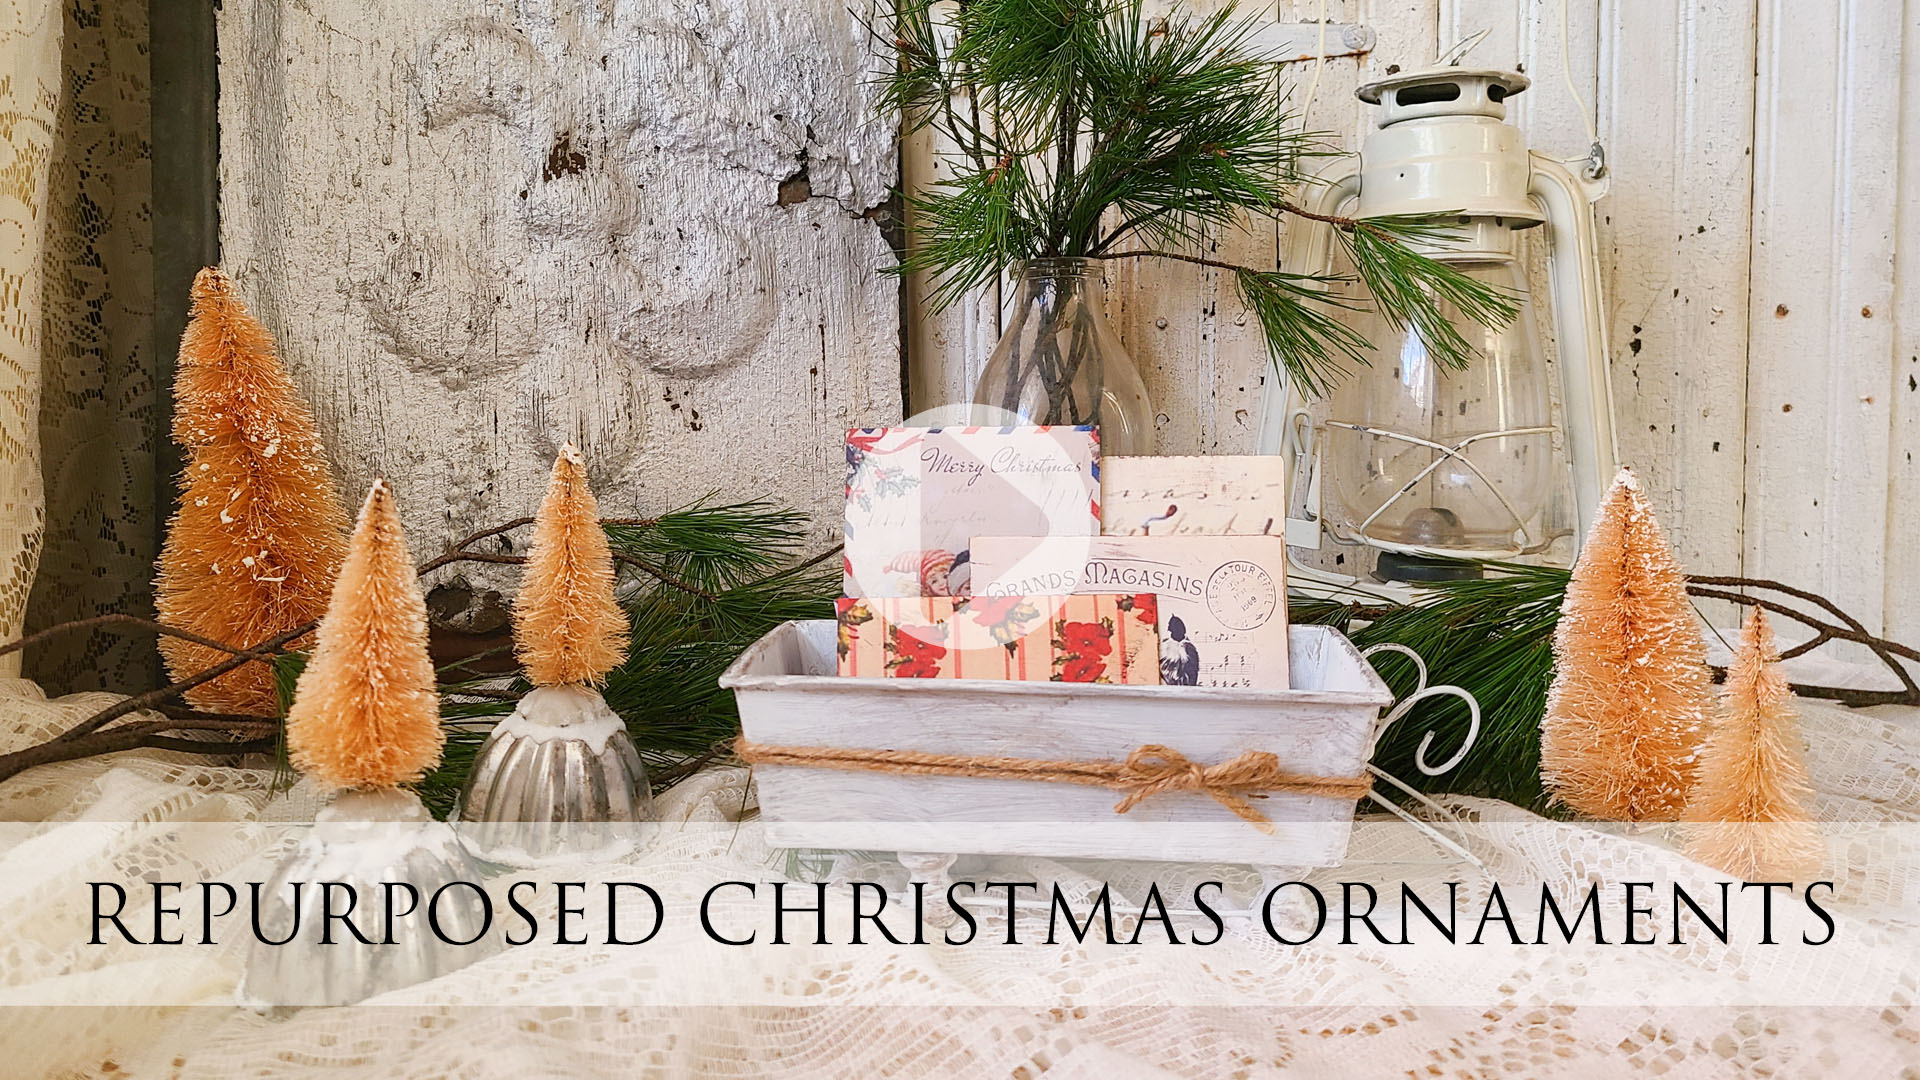
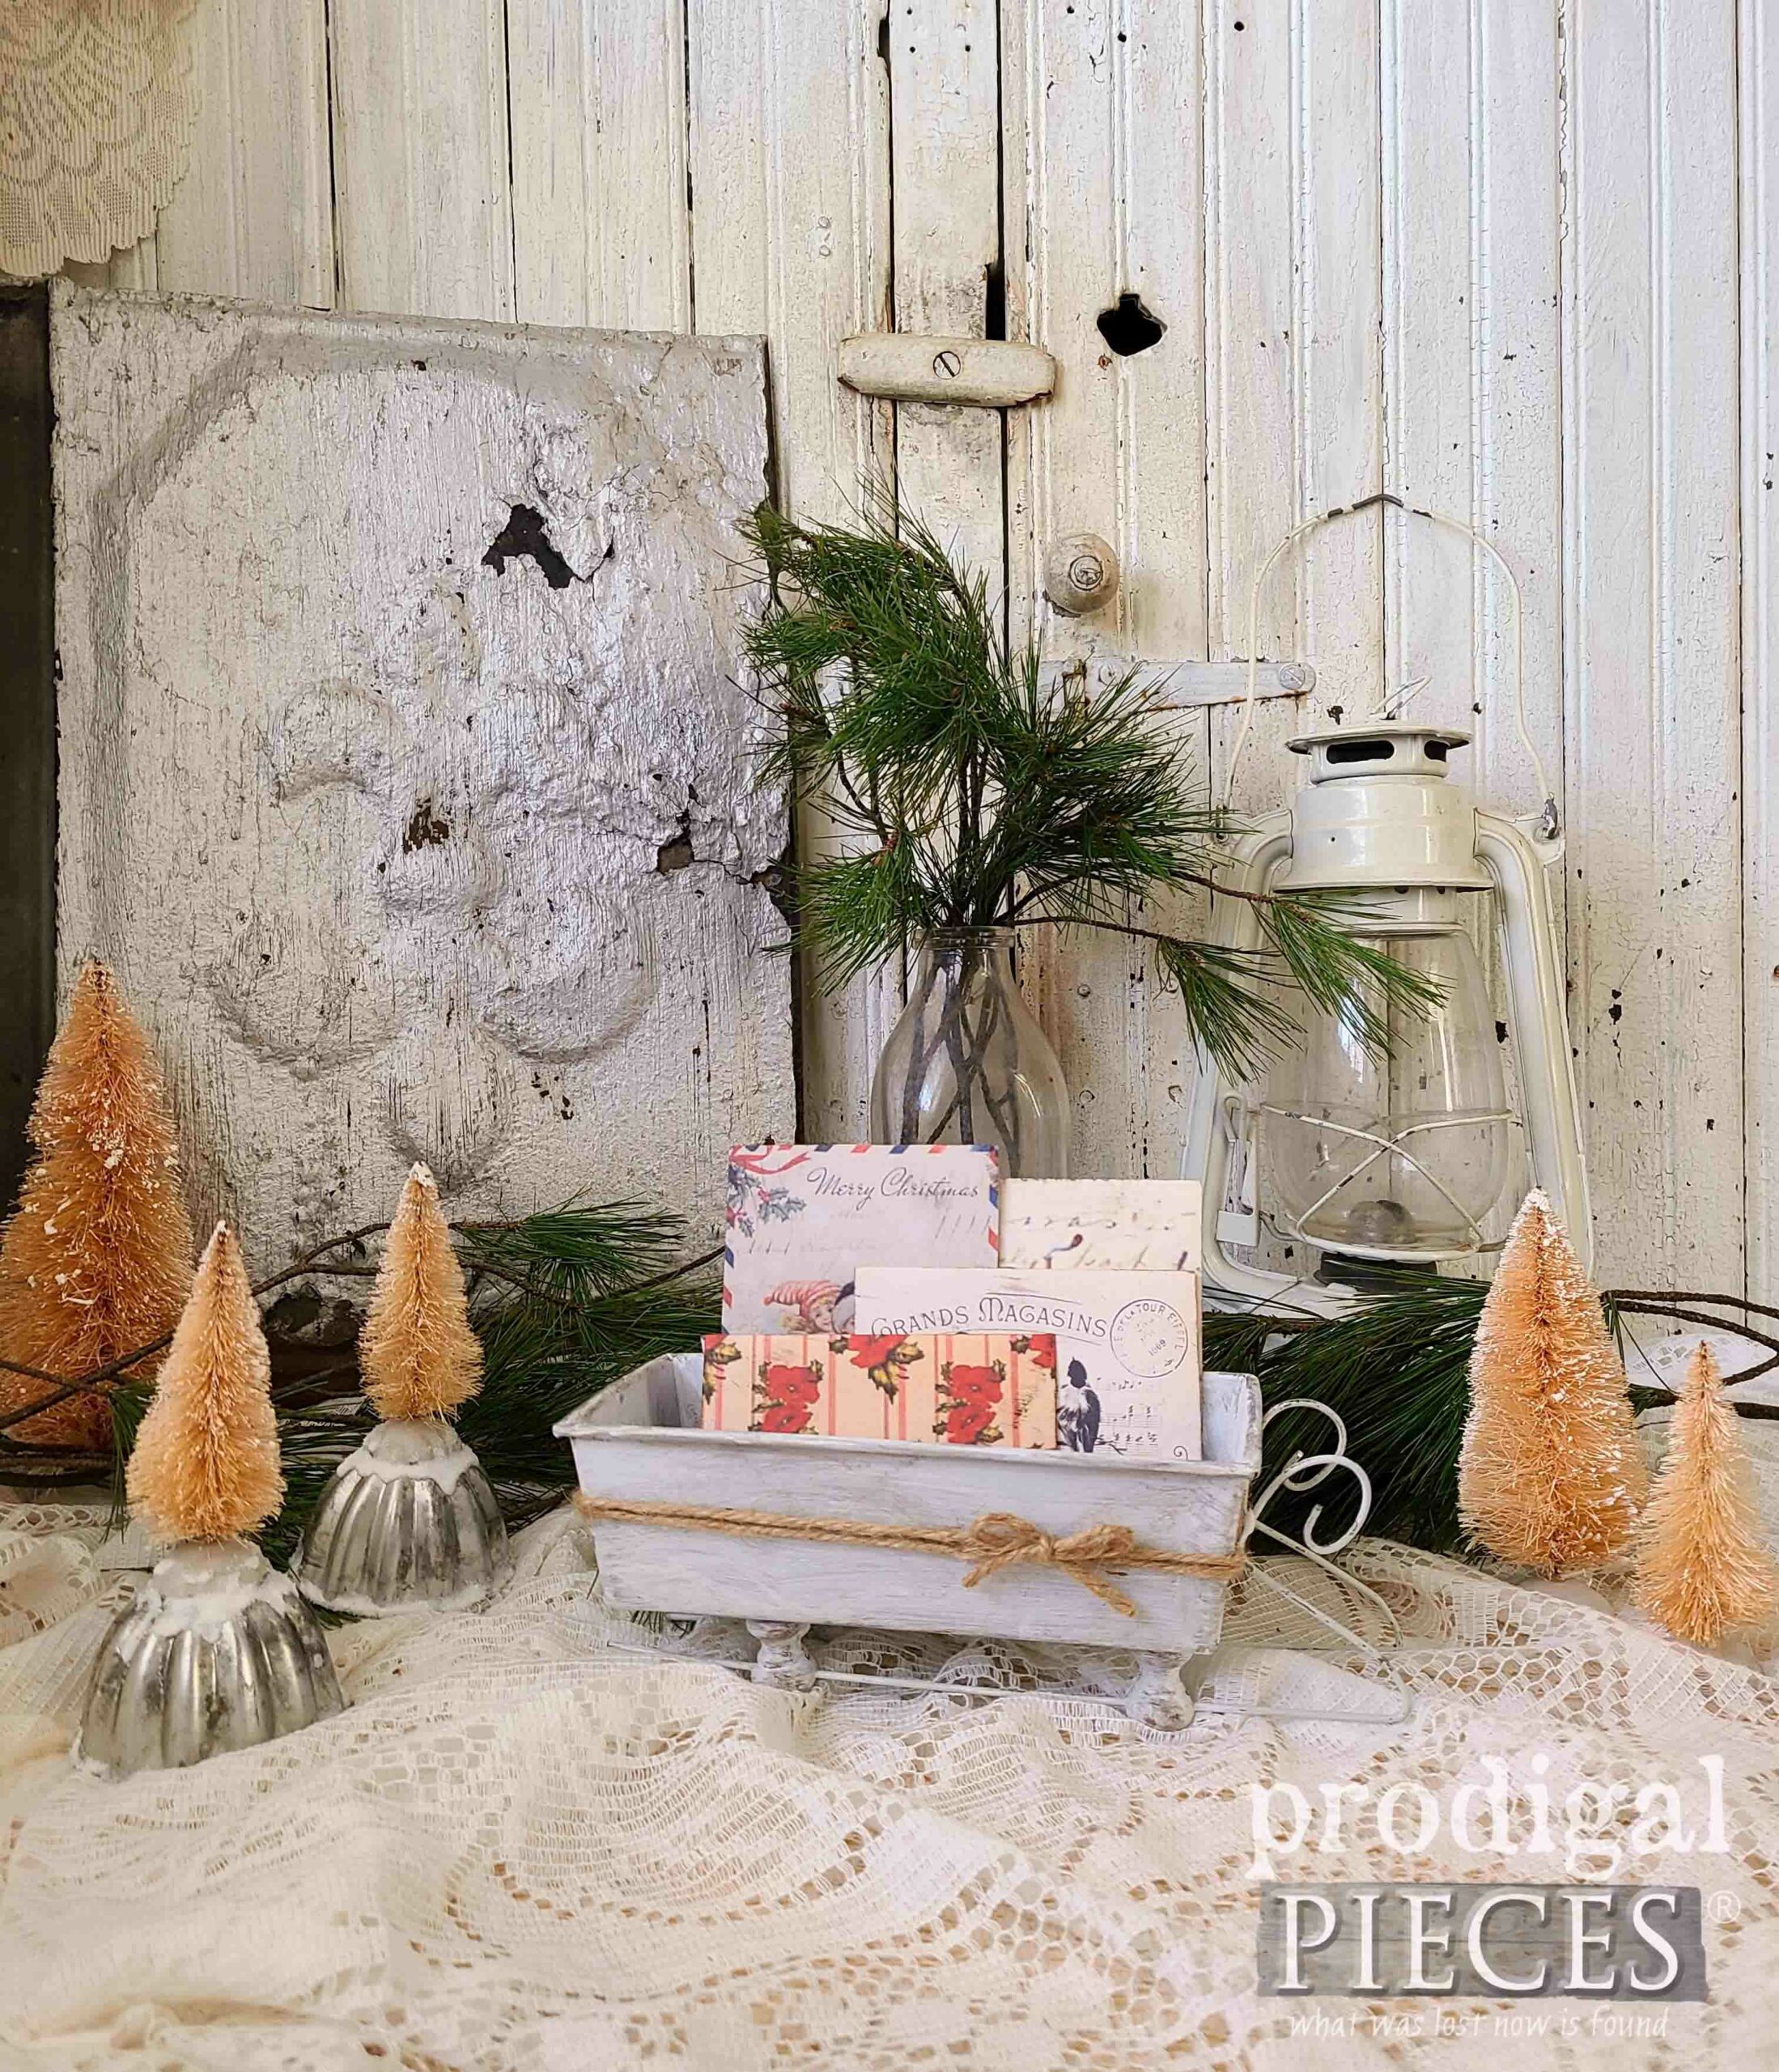
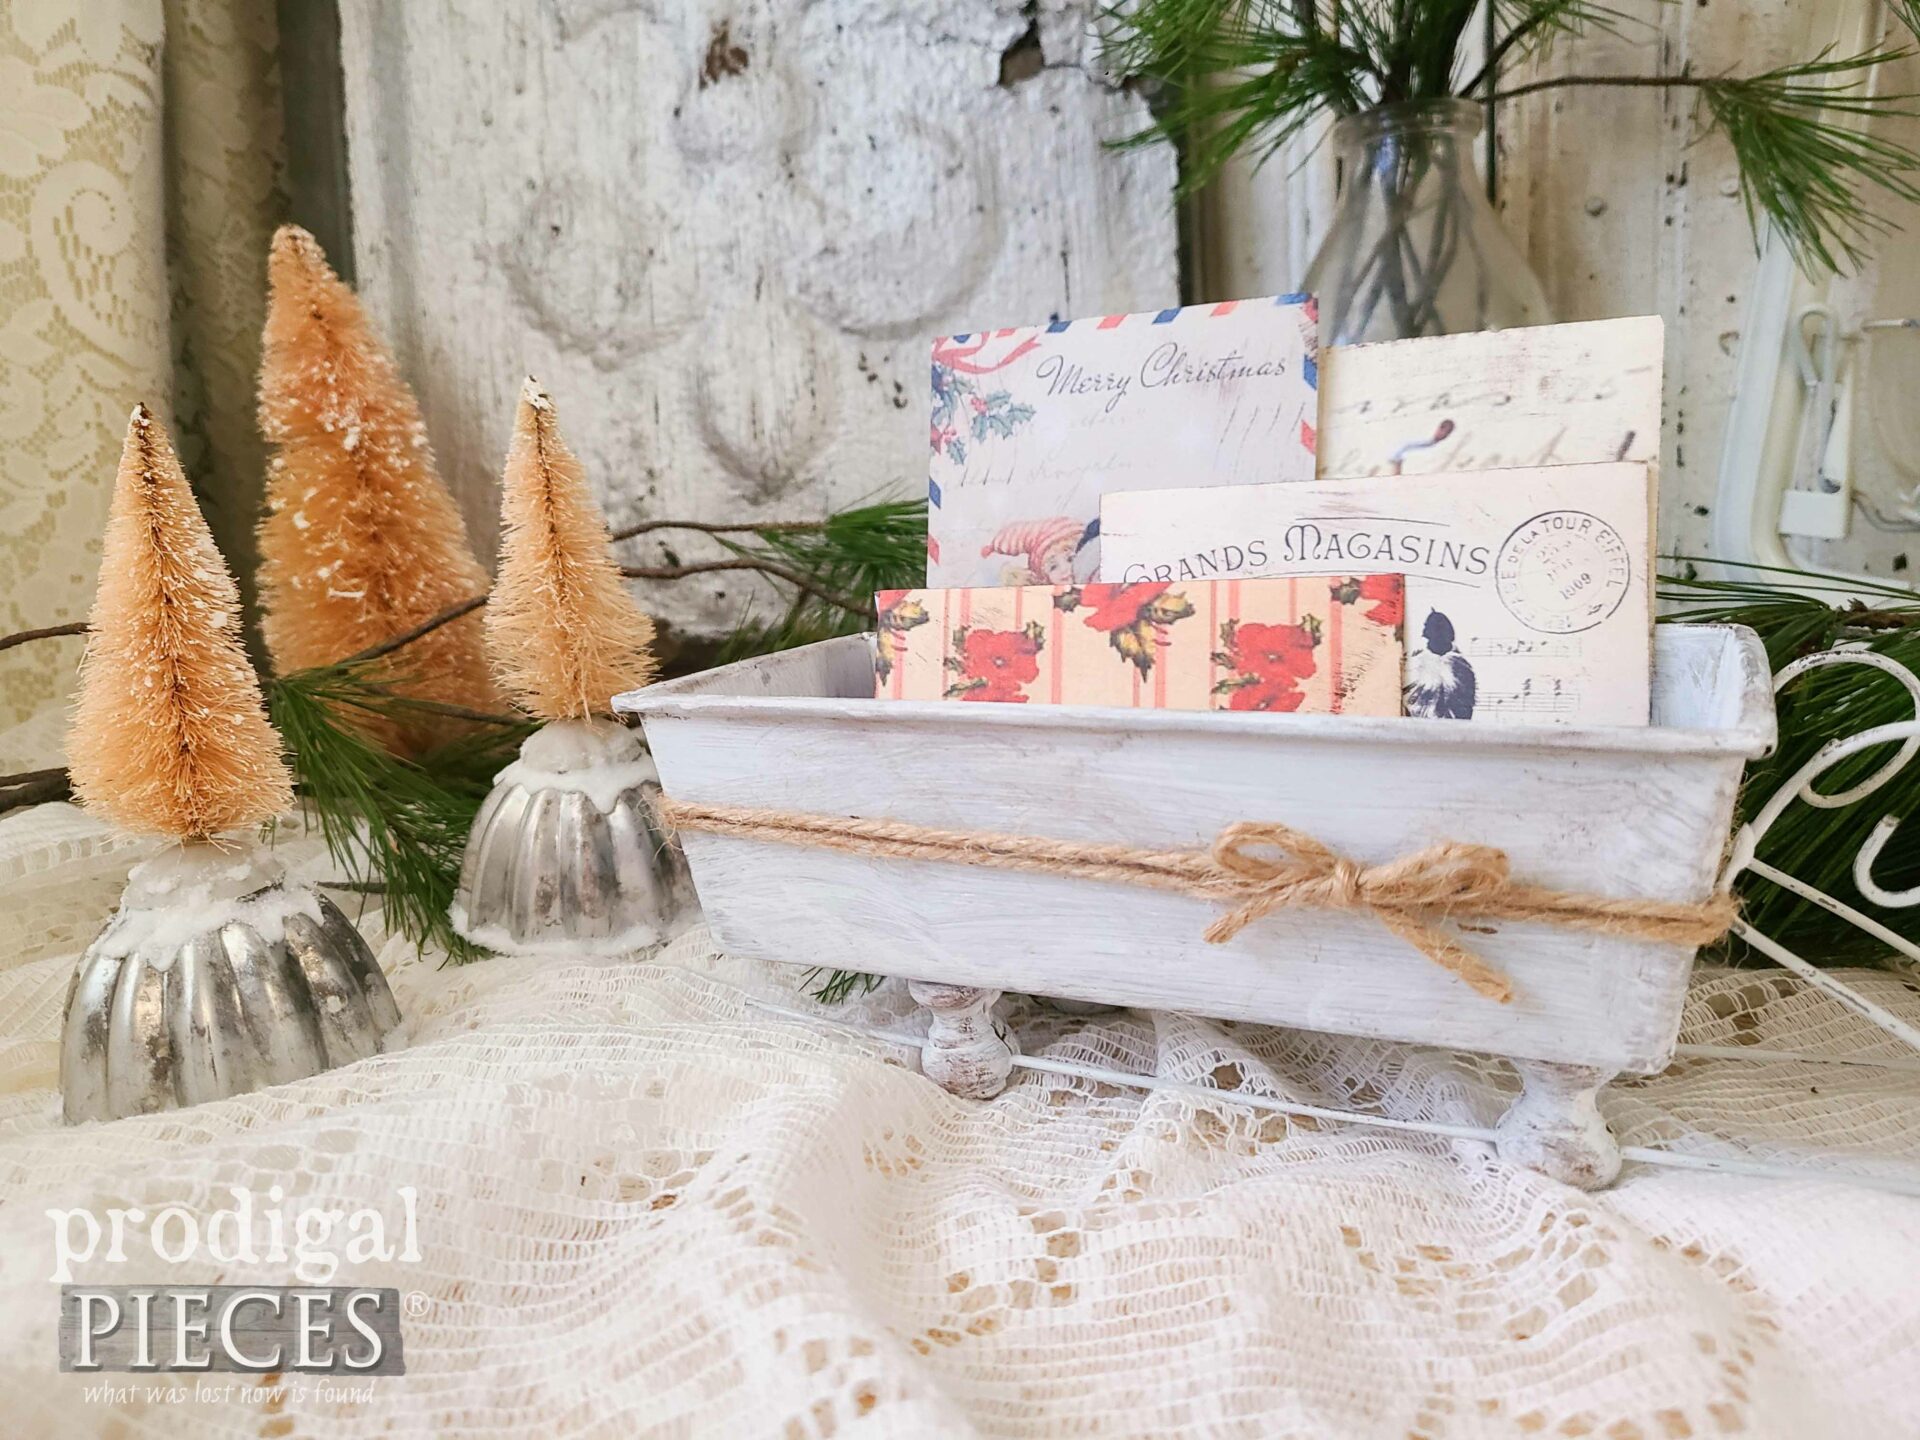
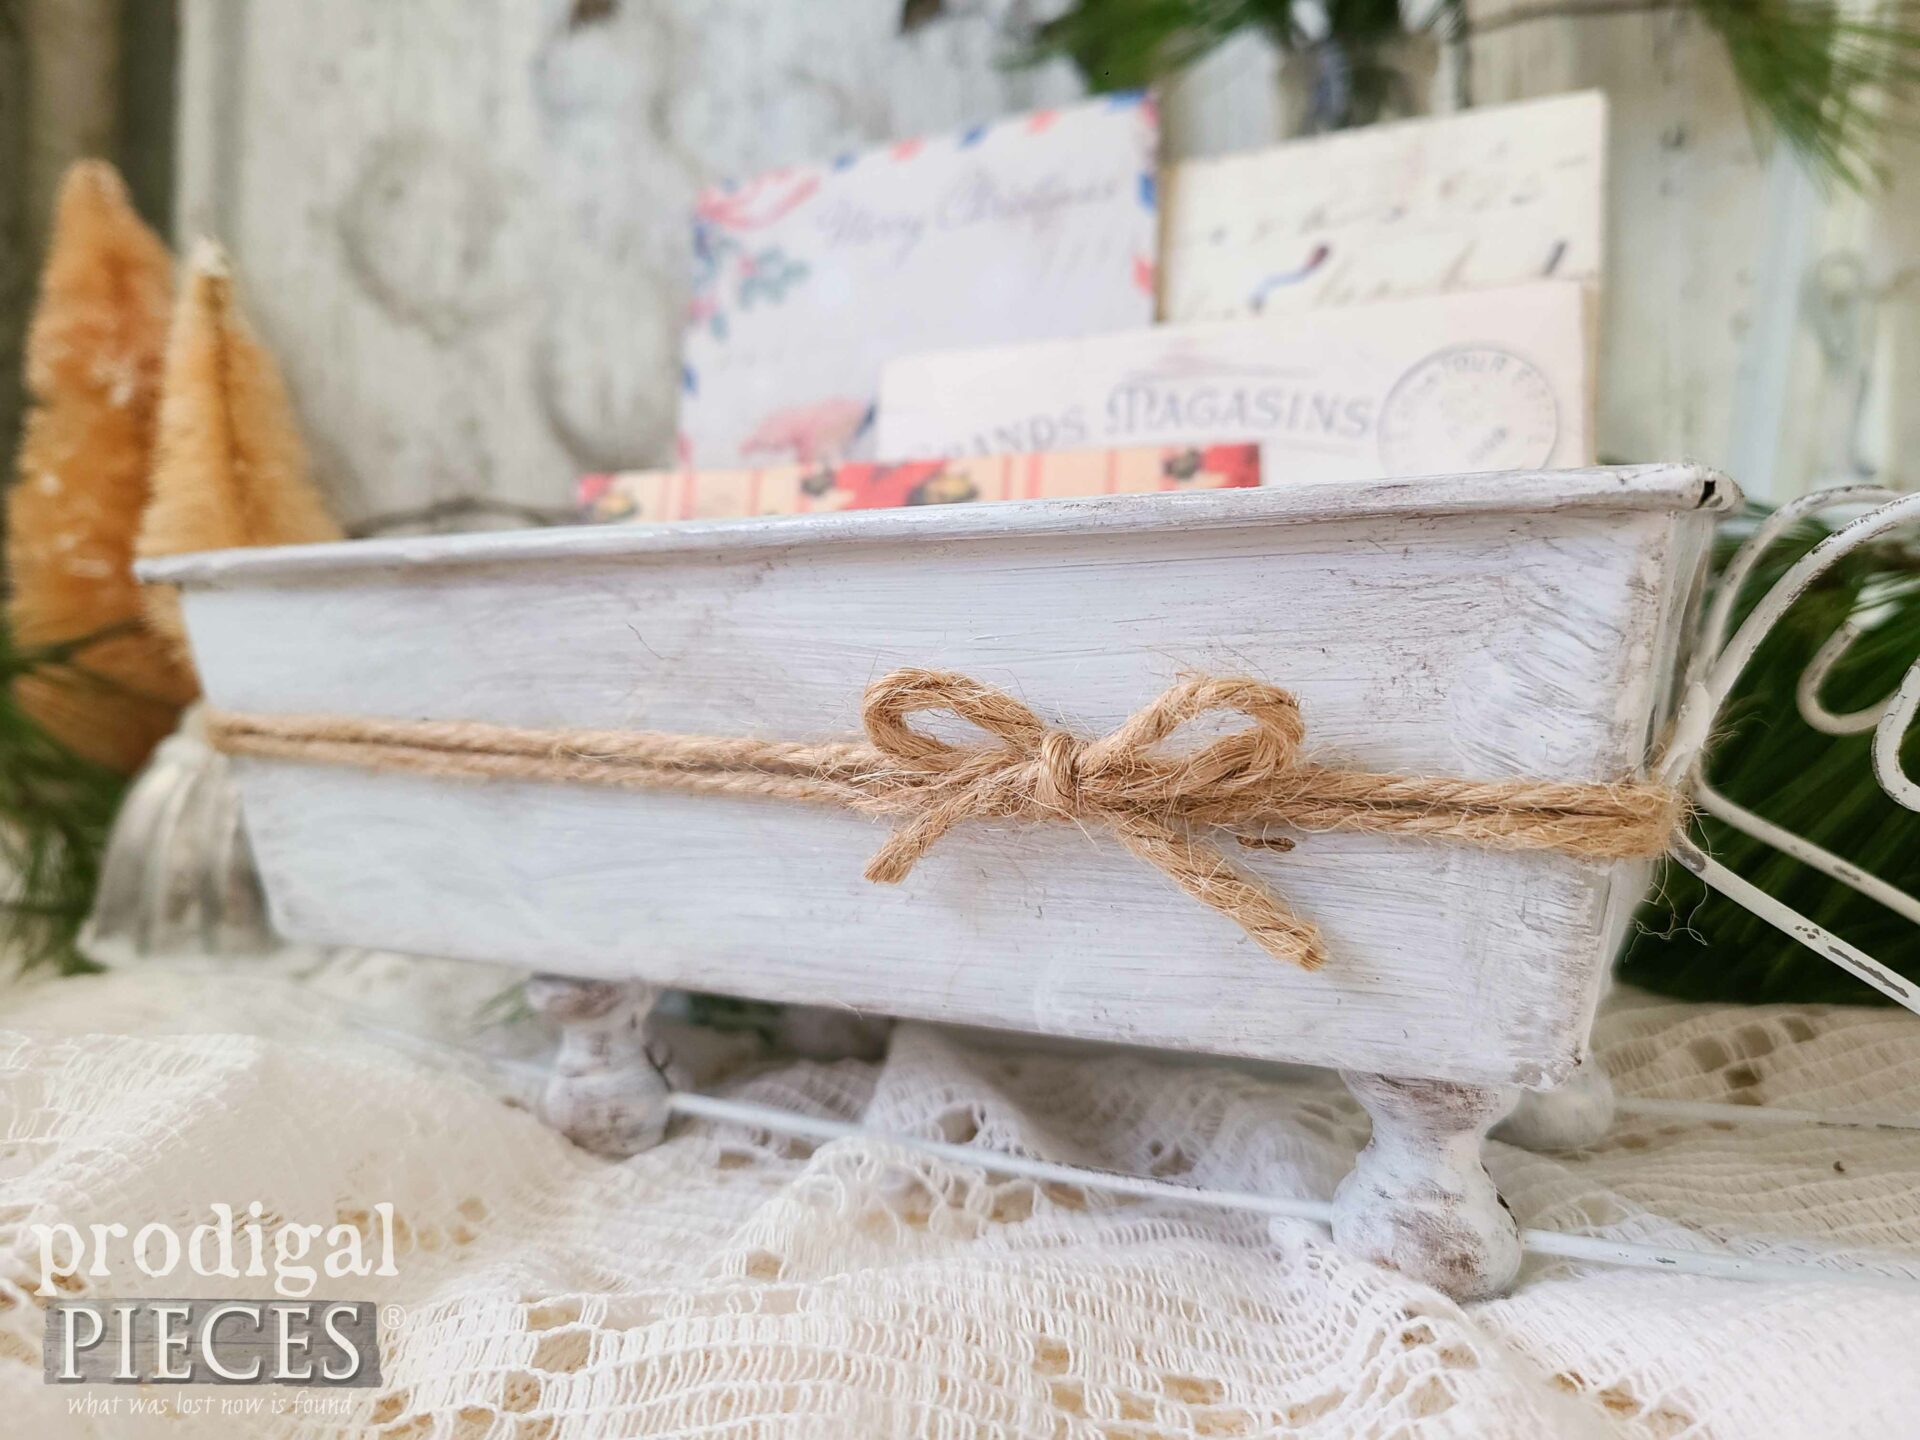
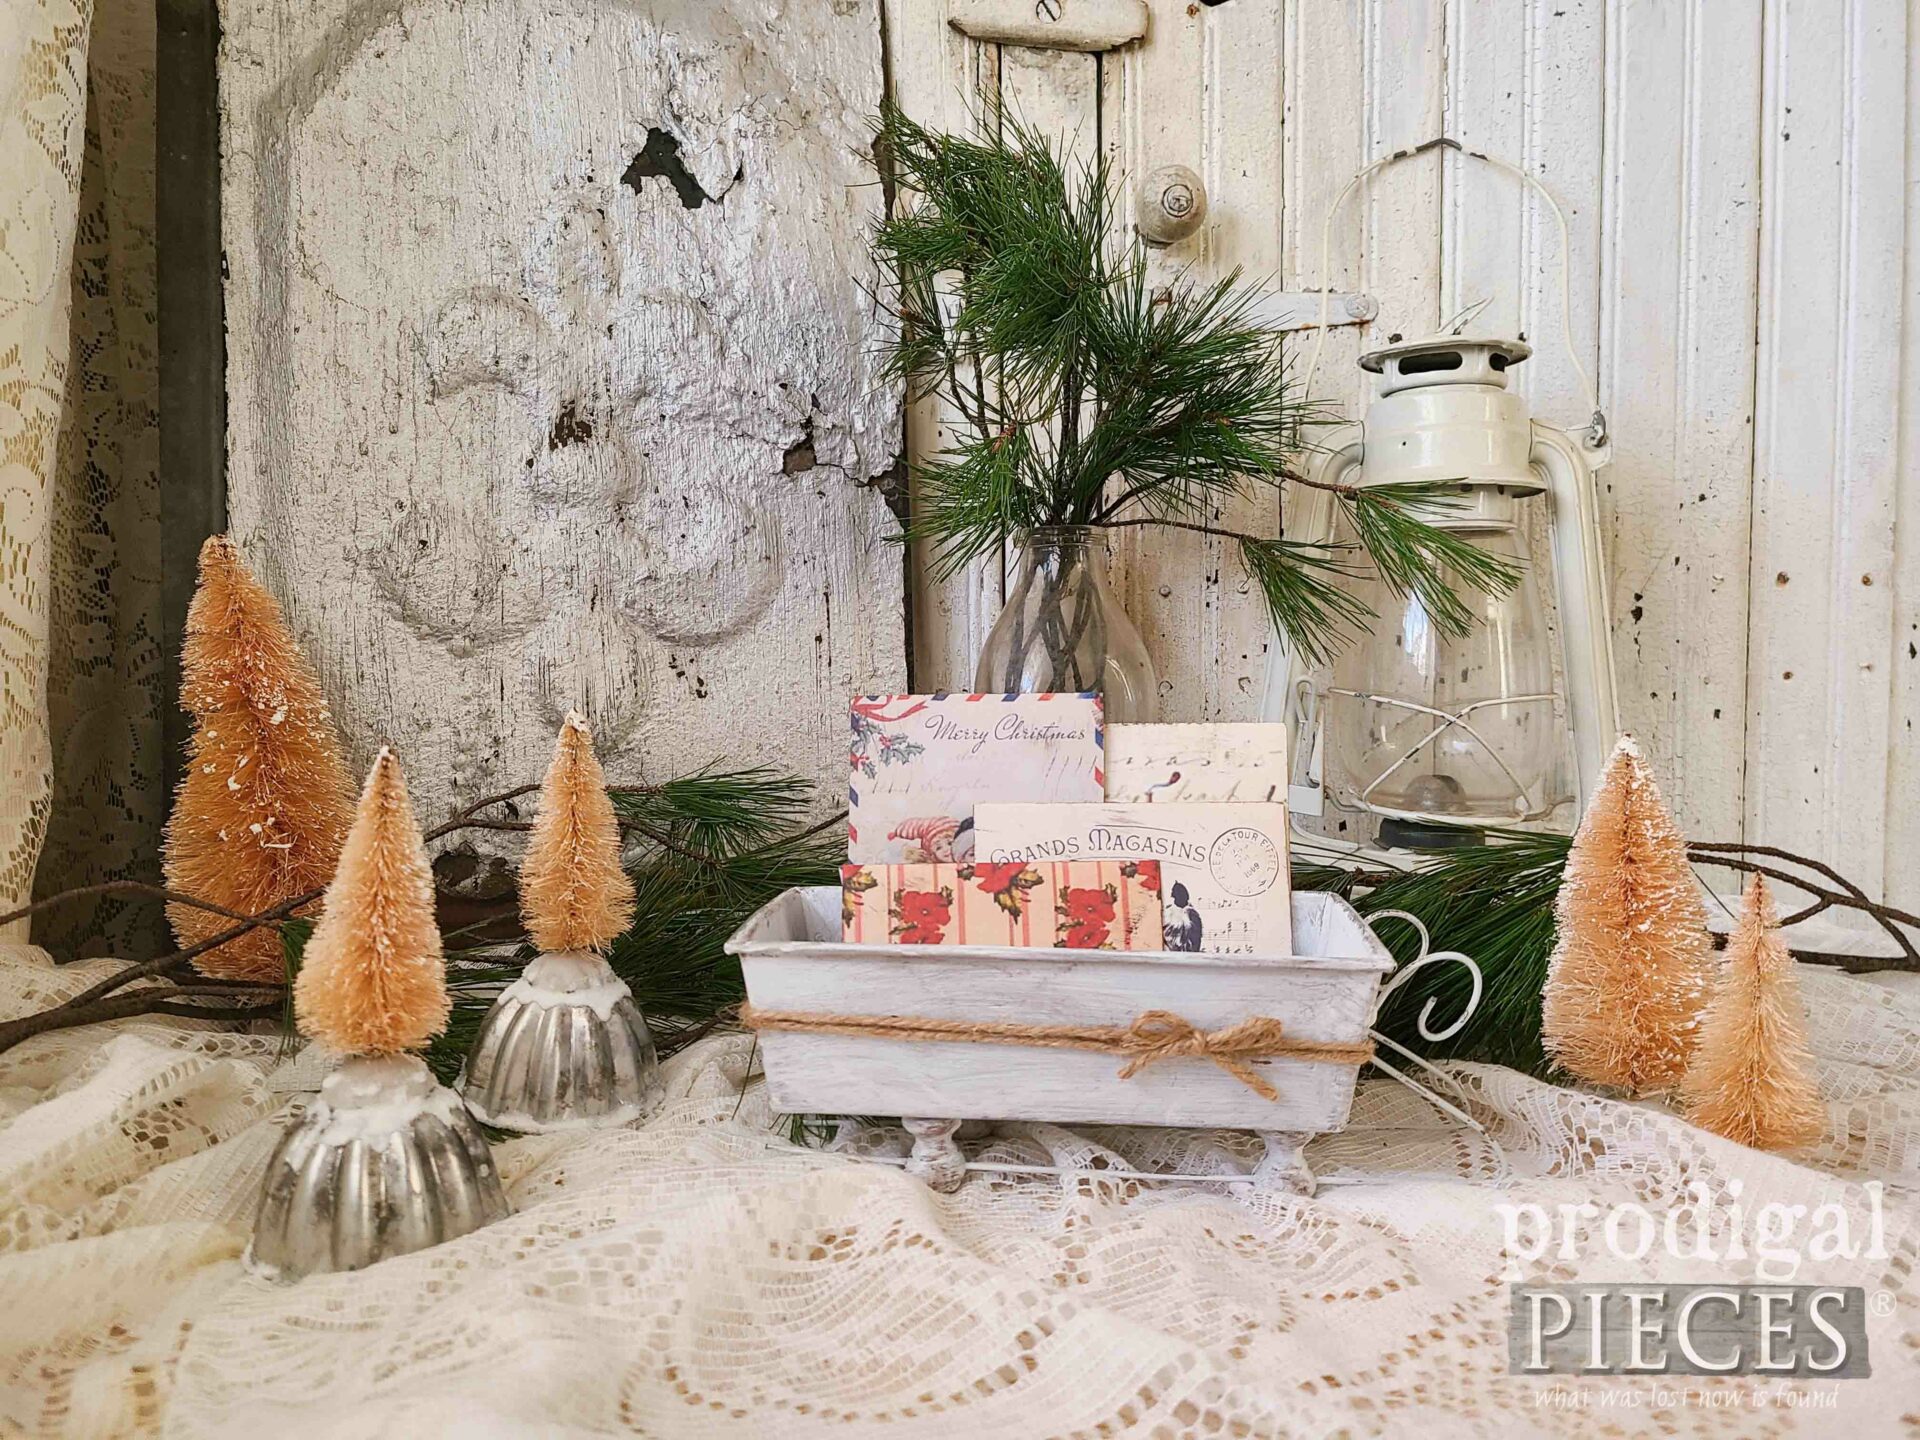
Before we finish, let’s grab those bread pans. While you could create a little tote, or a riser, or a wall pocket like I mentioned before. However, today, I’m creating a sleigh! Just hear those sleigh bells ring-a-ling… Check out the video for the full demo see the supplies list below:
- mini bread pan
- wire hanger
- wire snips – needle-nose pliers work best
- dowel, wood turnings, beads, etc.
- hot glue gun/glue sticks
- paint – I use white
- optional – colored waxes
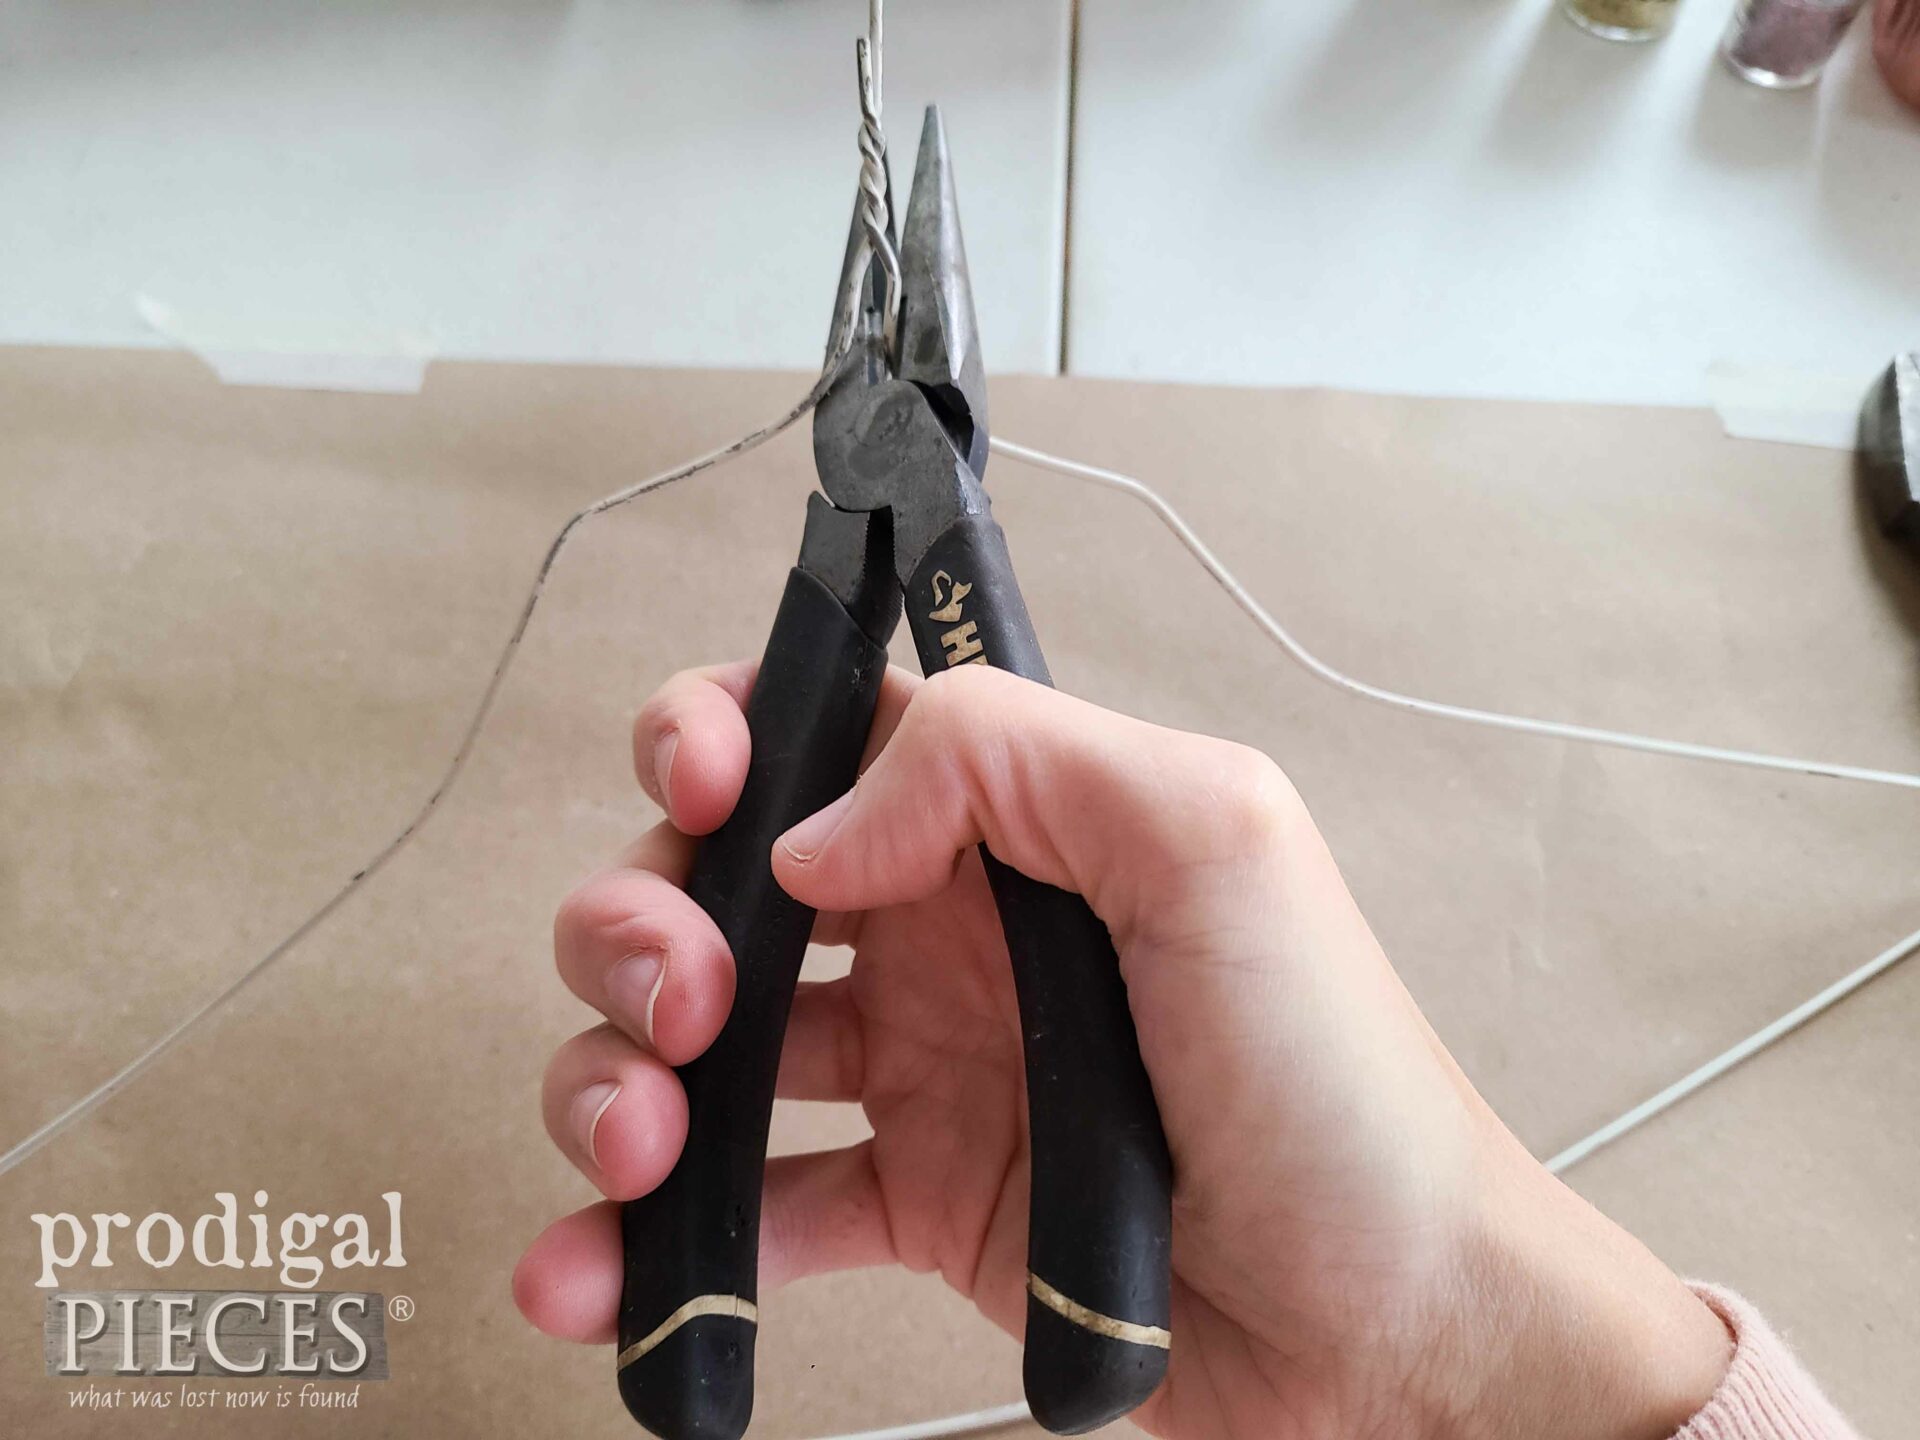
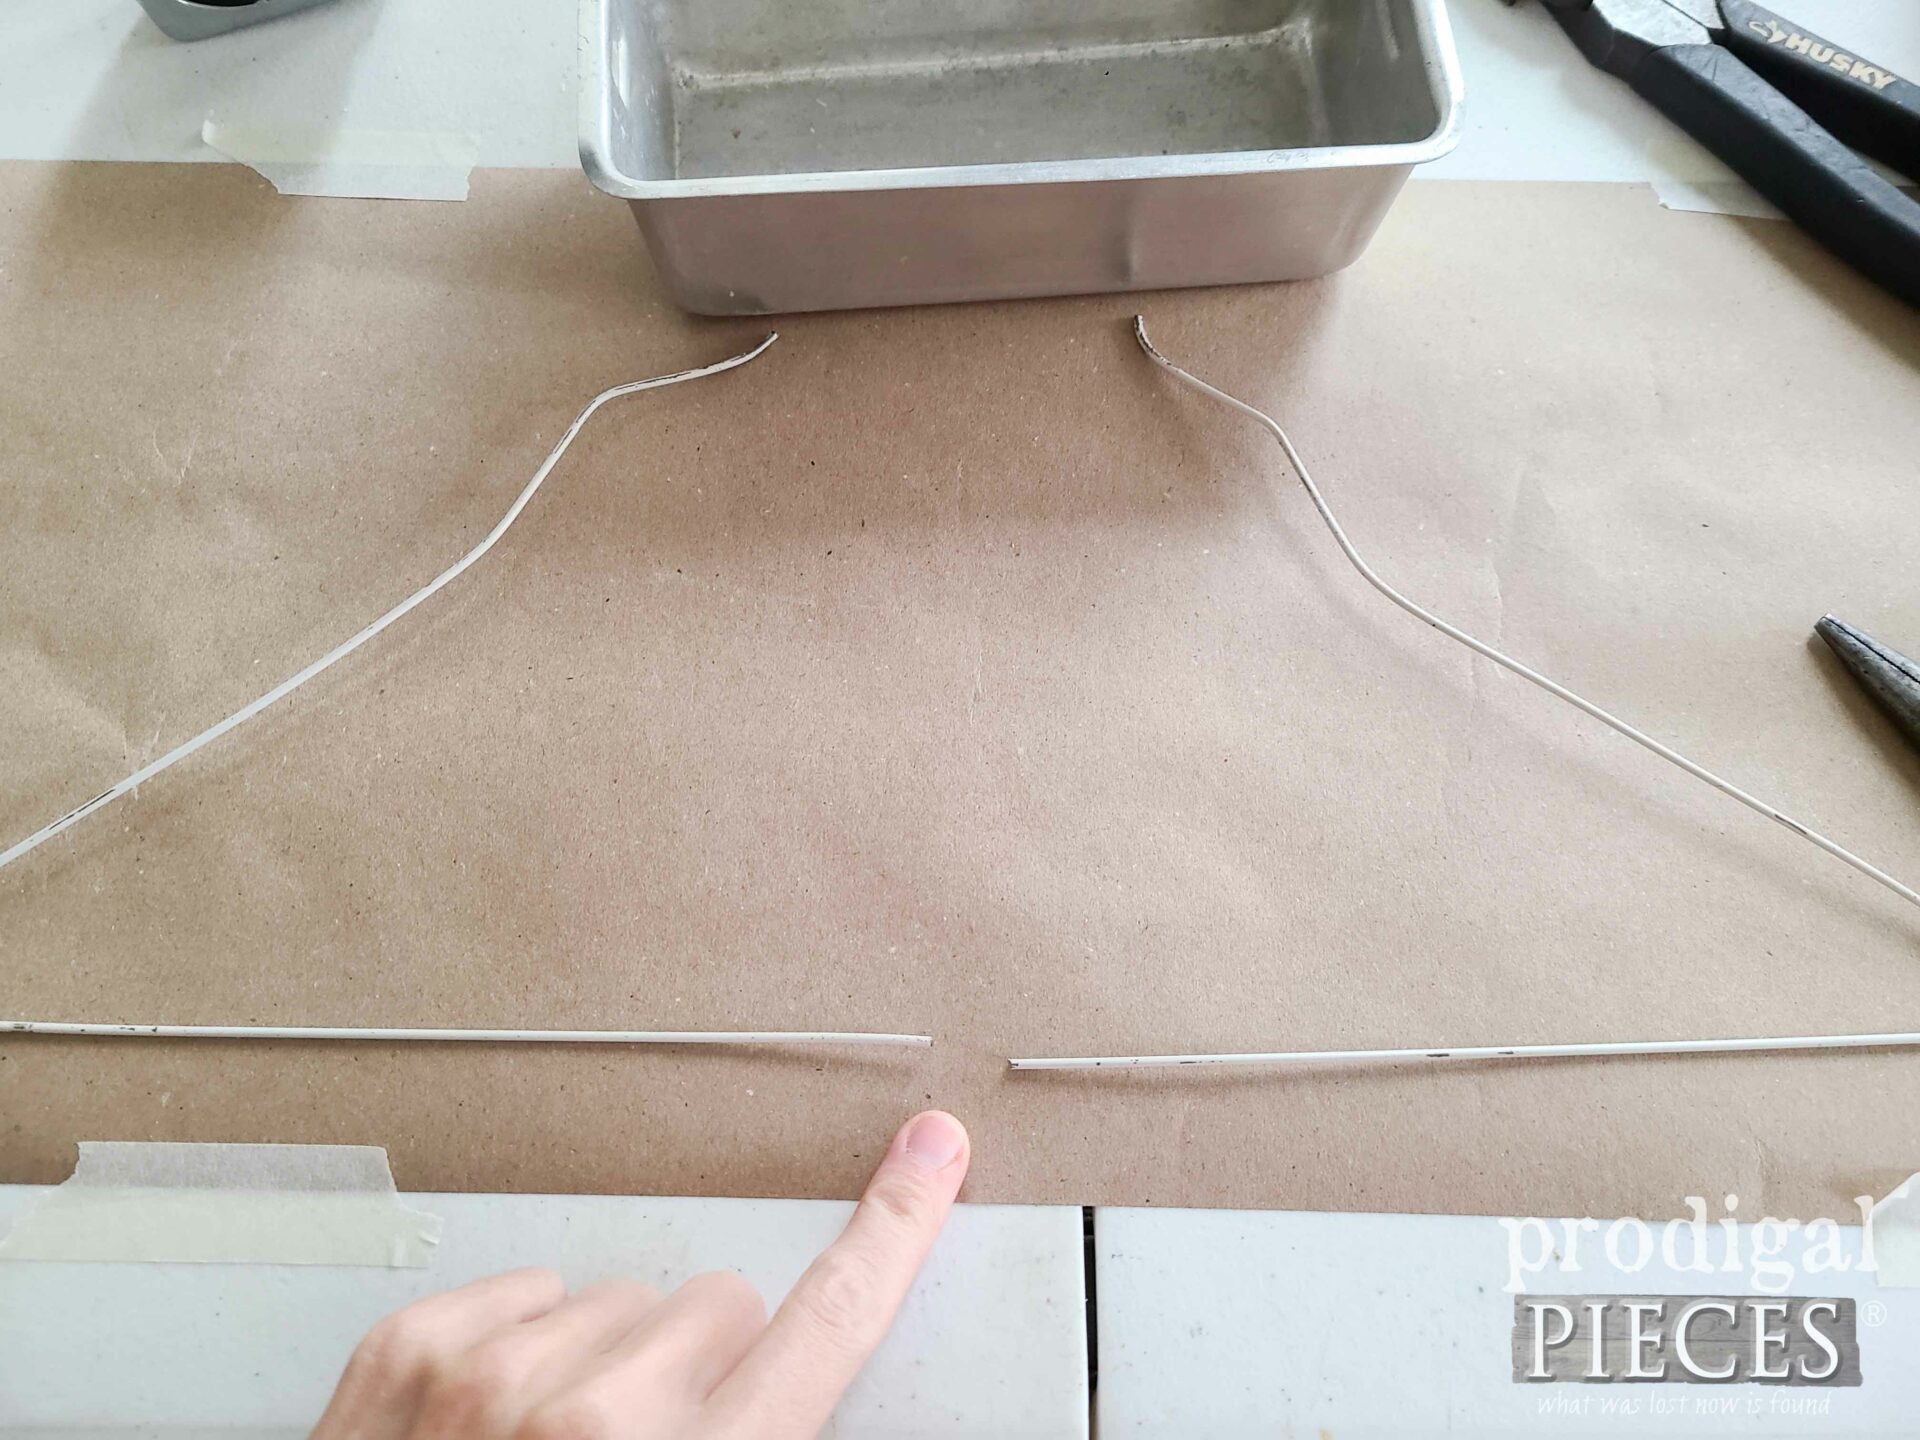
First, cut the wire hook off your wire hanger. Then, find center of the bottom of the hanger and cut in half.
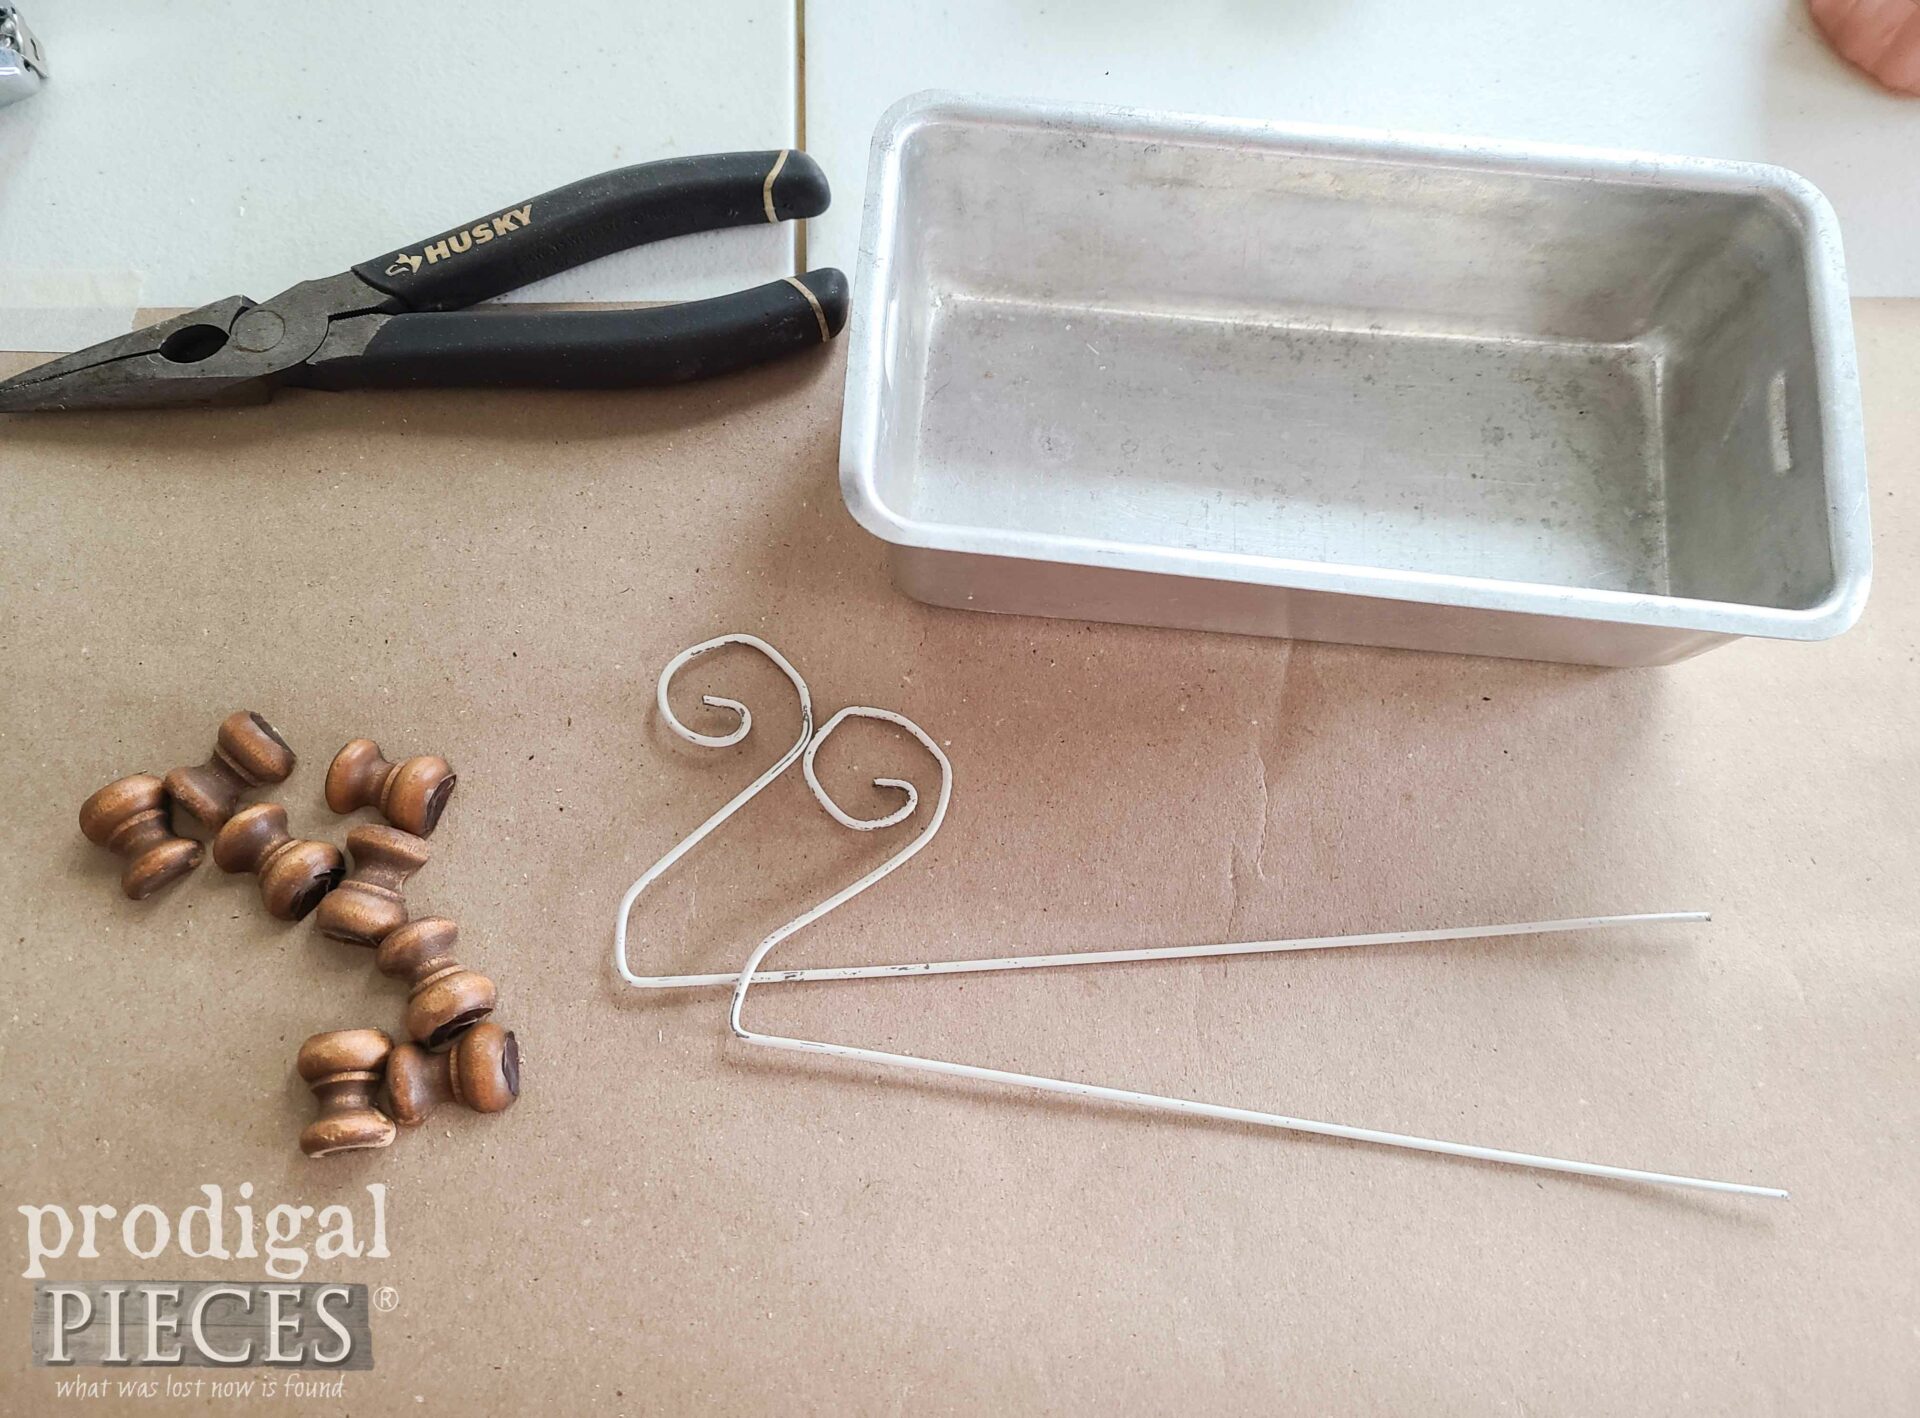
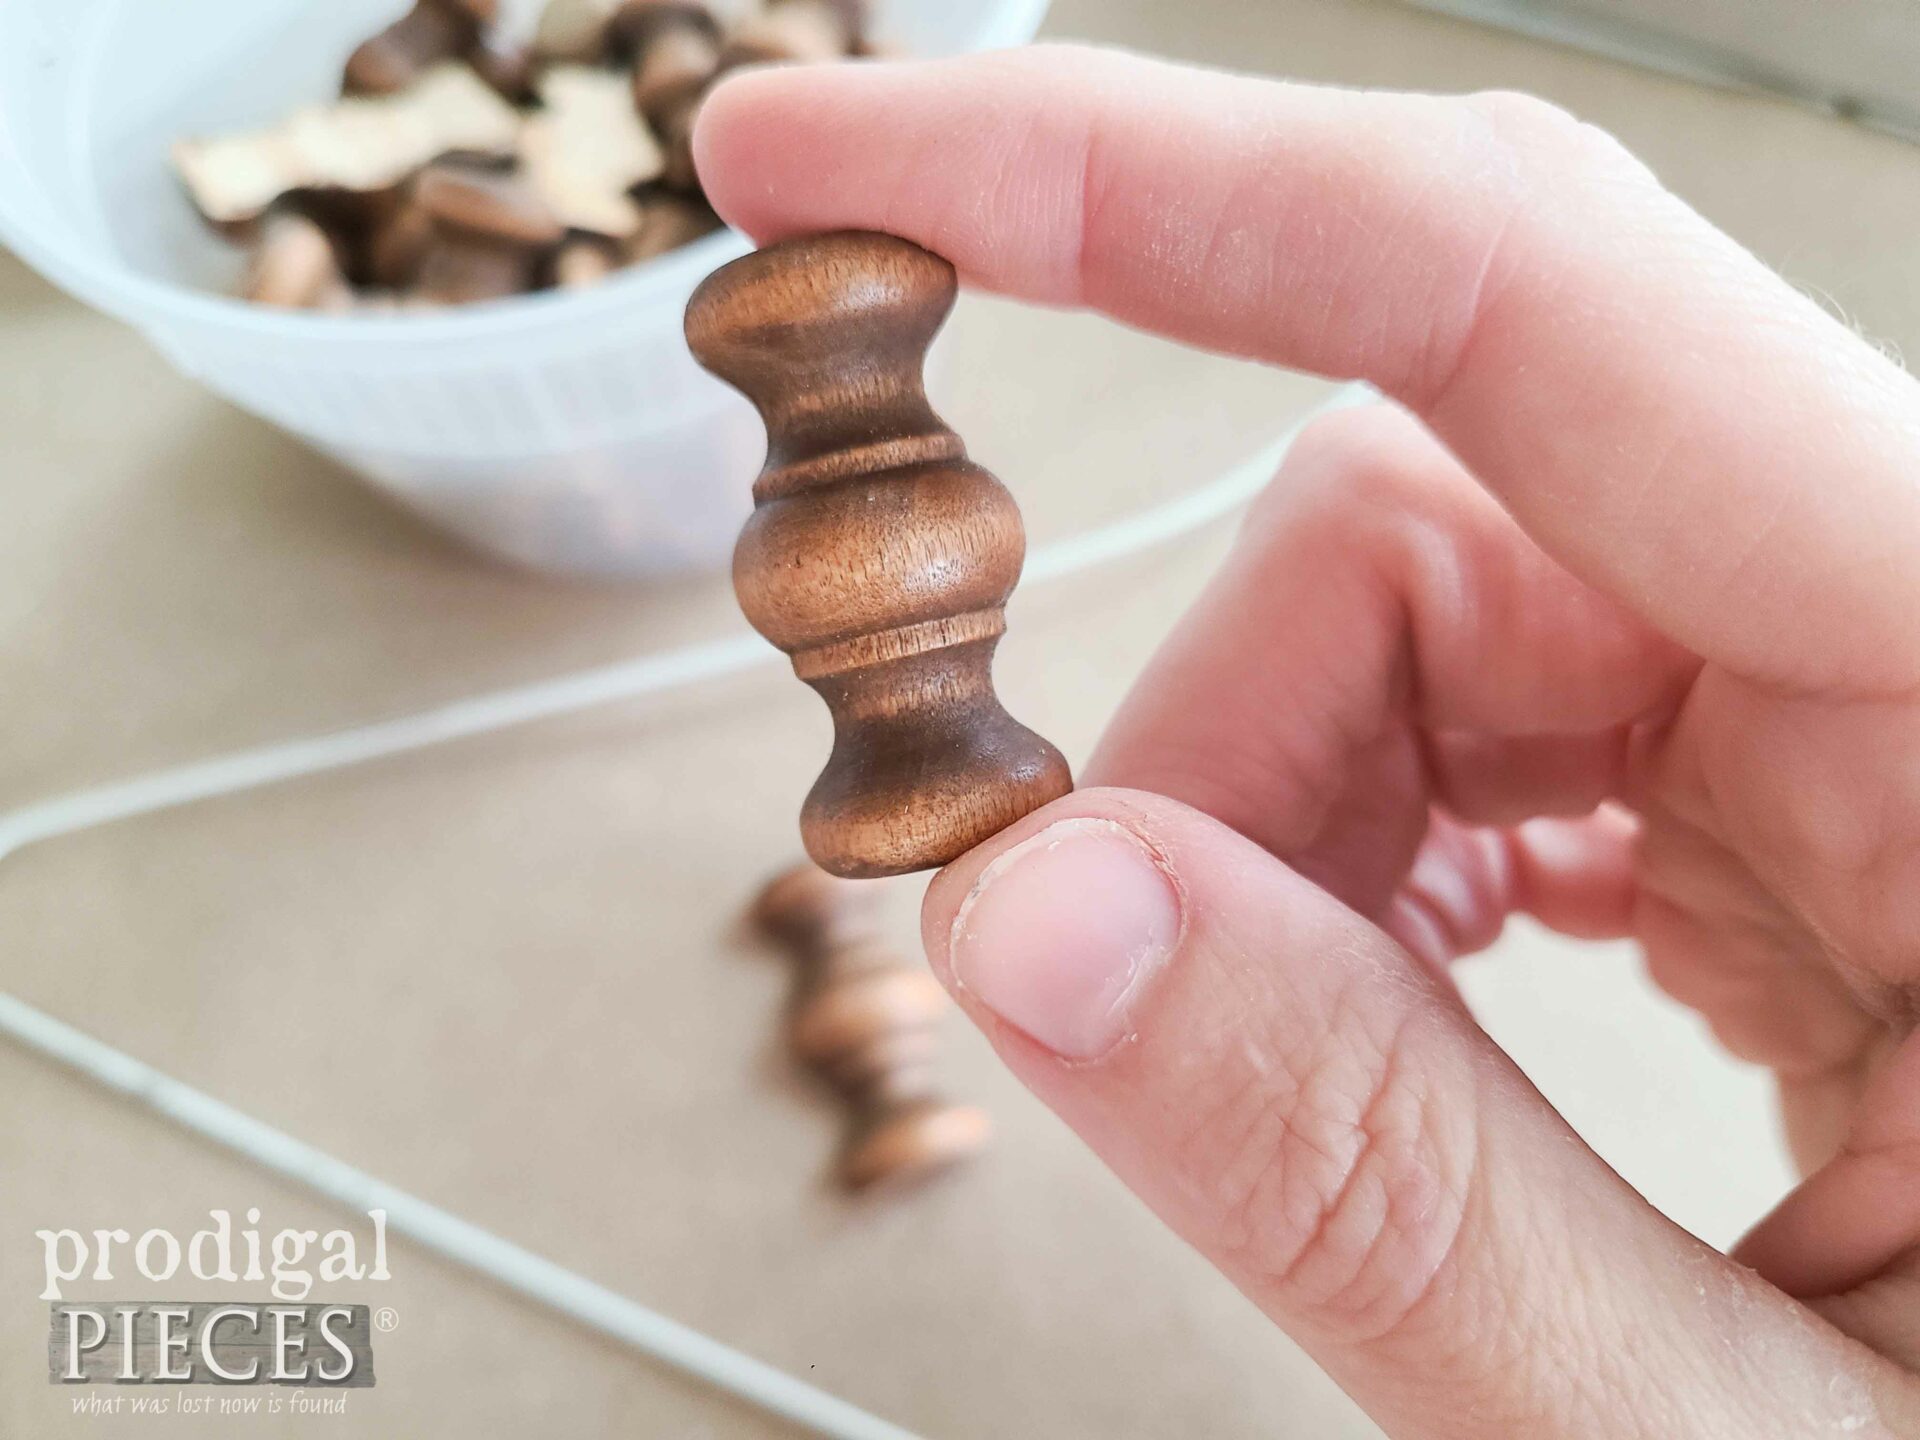
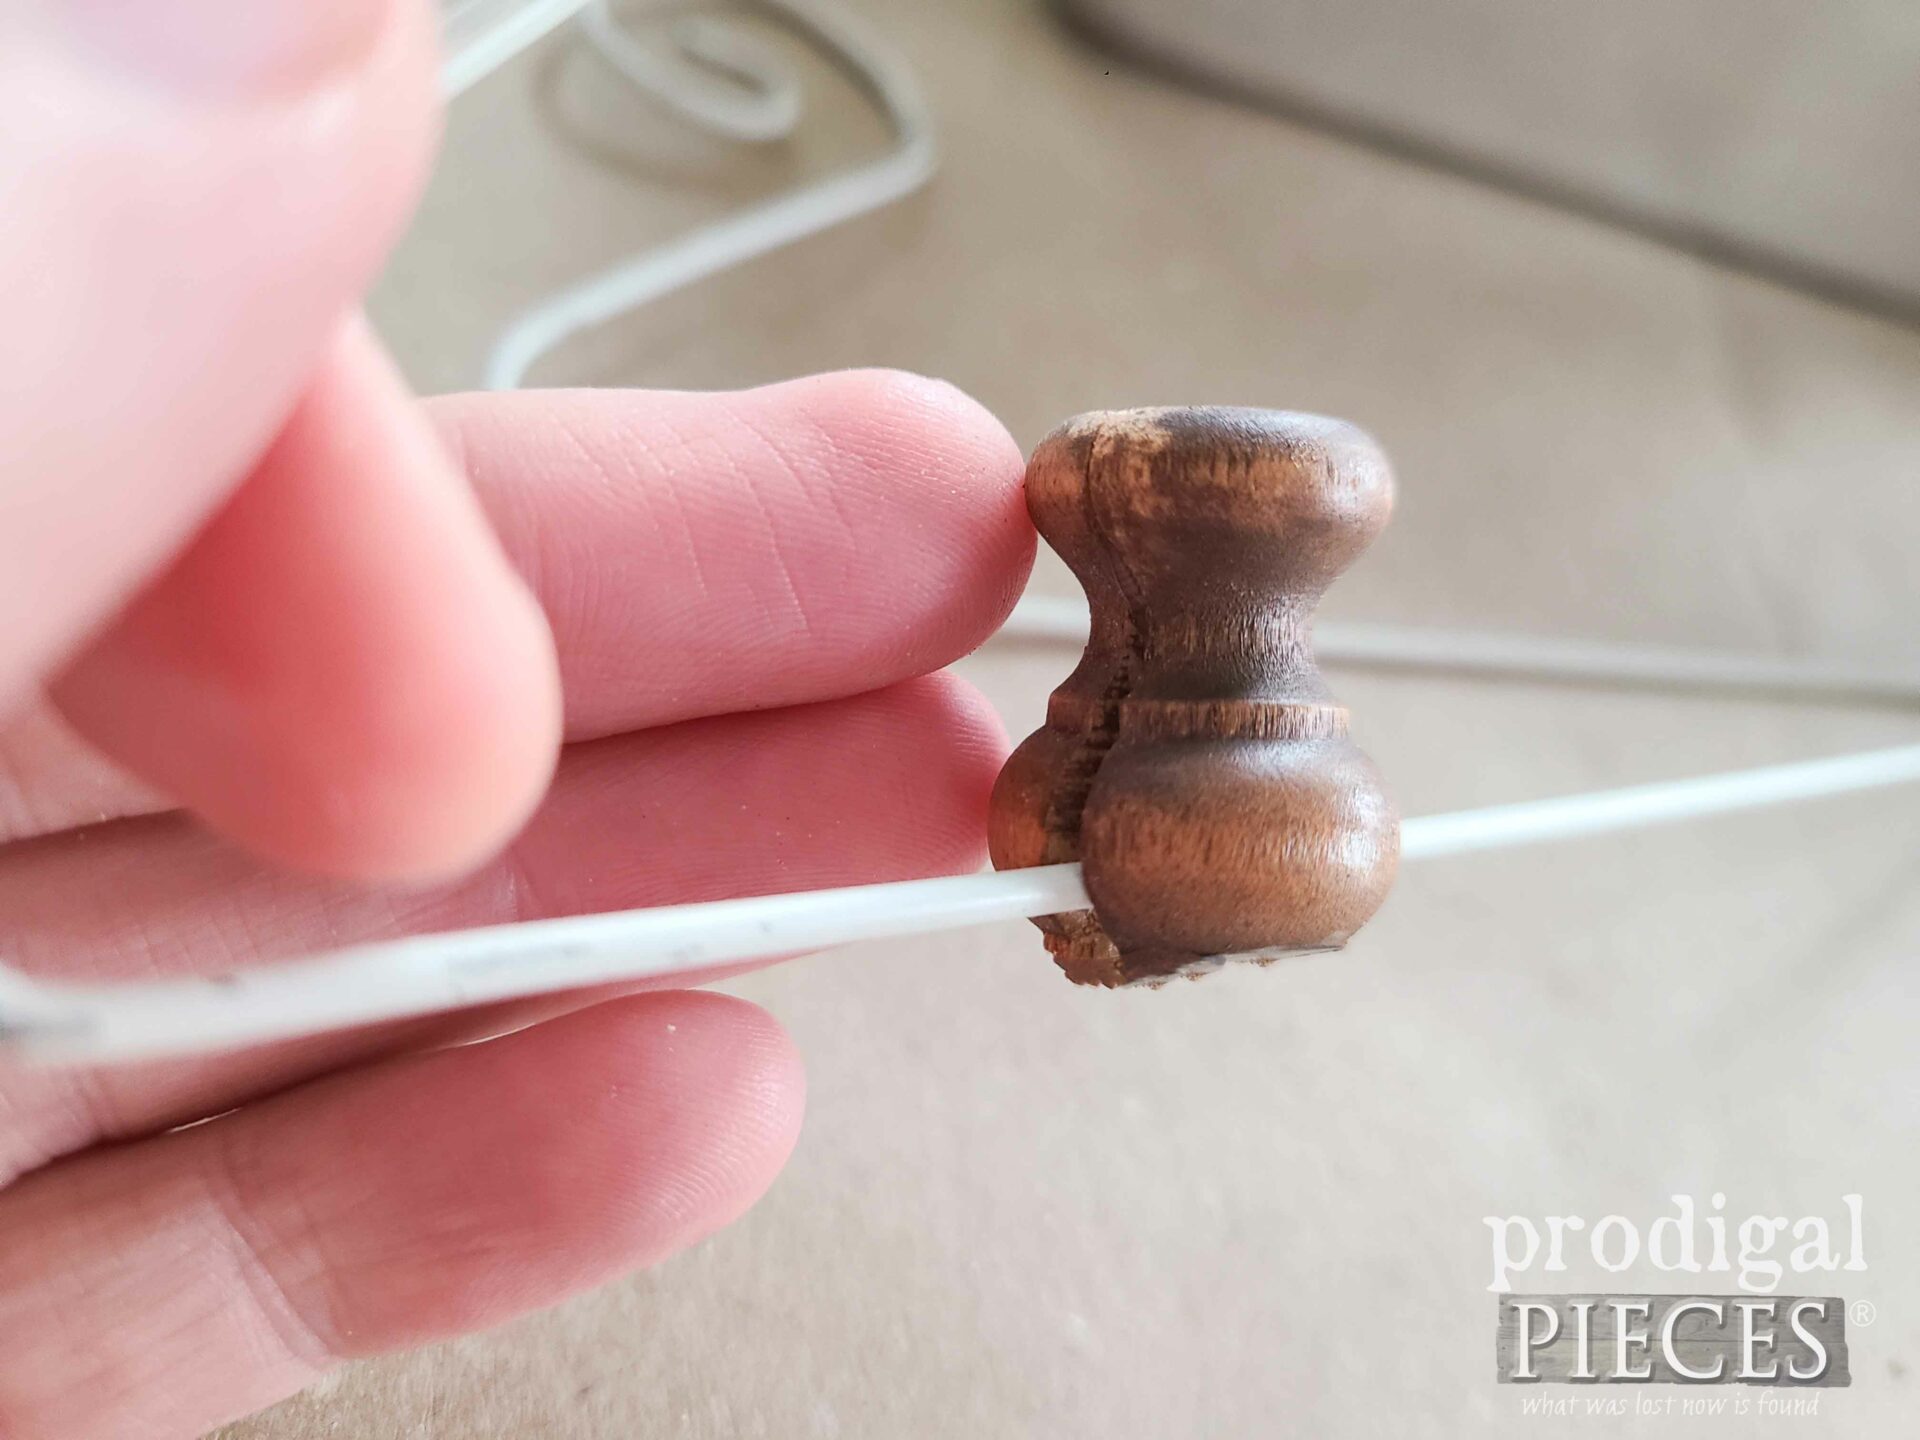
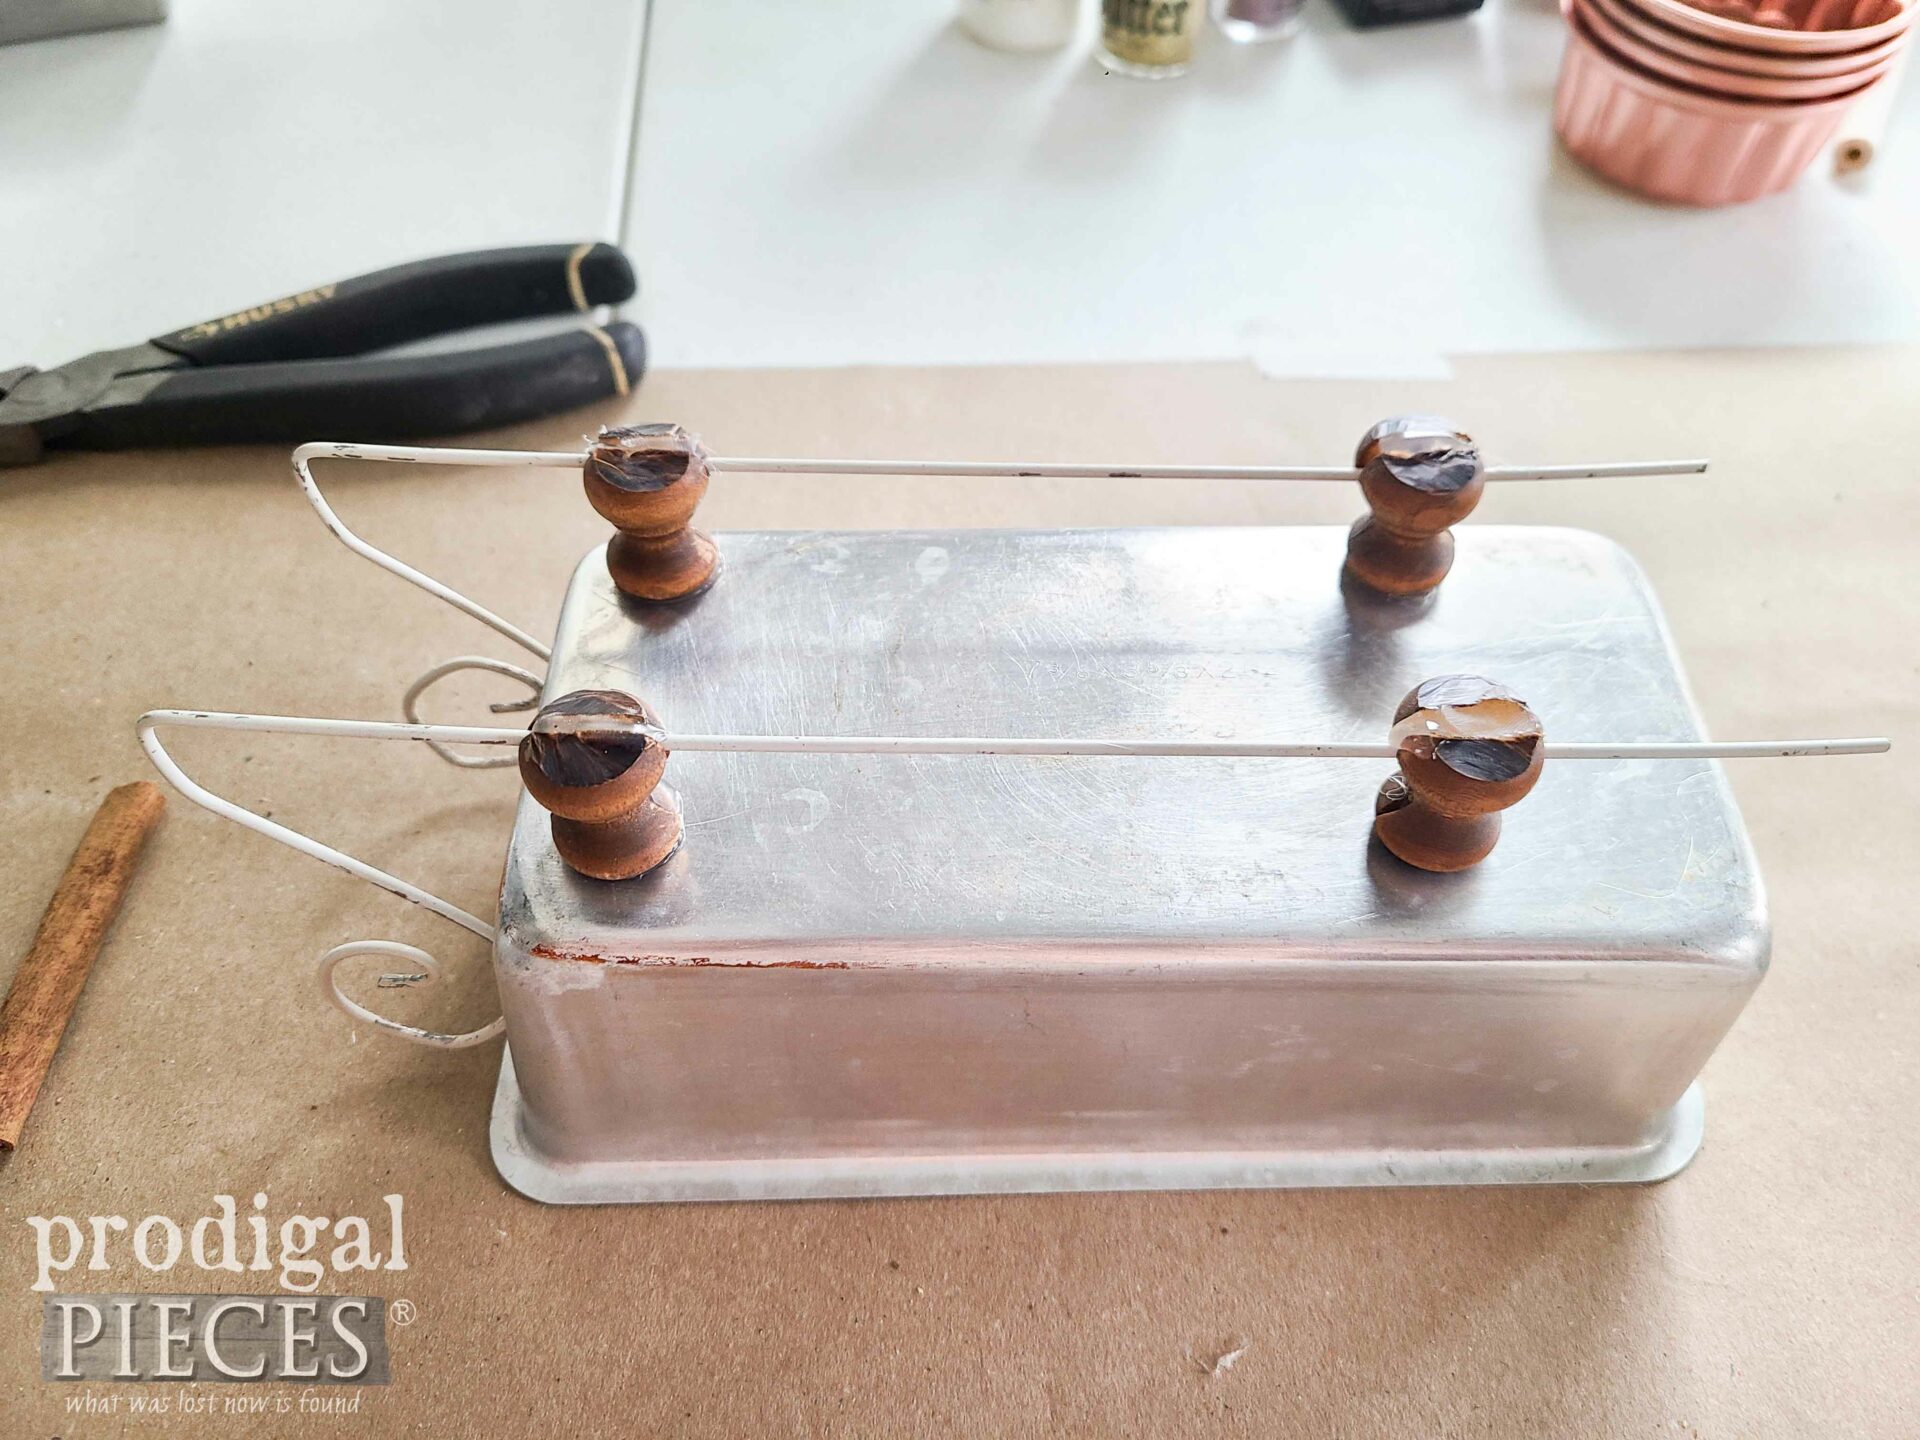
Next, using the needle-nose pliers, bend the ends of the hanger to replicate something like this. Additionally, notice I have these small wood turnings. When I repurposed the ginormous baby cradle, I just had to save every bit. These turnings were a bit longer, so I shorten them with my Dremel (see video).
STEP 5
Then, after bending the wire, I assemble the sleigh runners and attach to the bottom using glue.
STEP 6
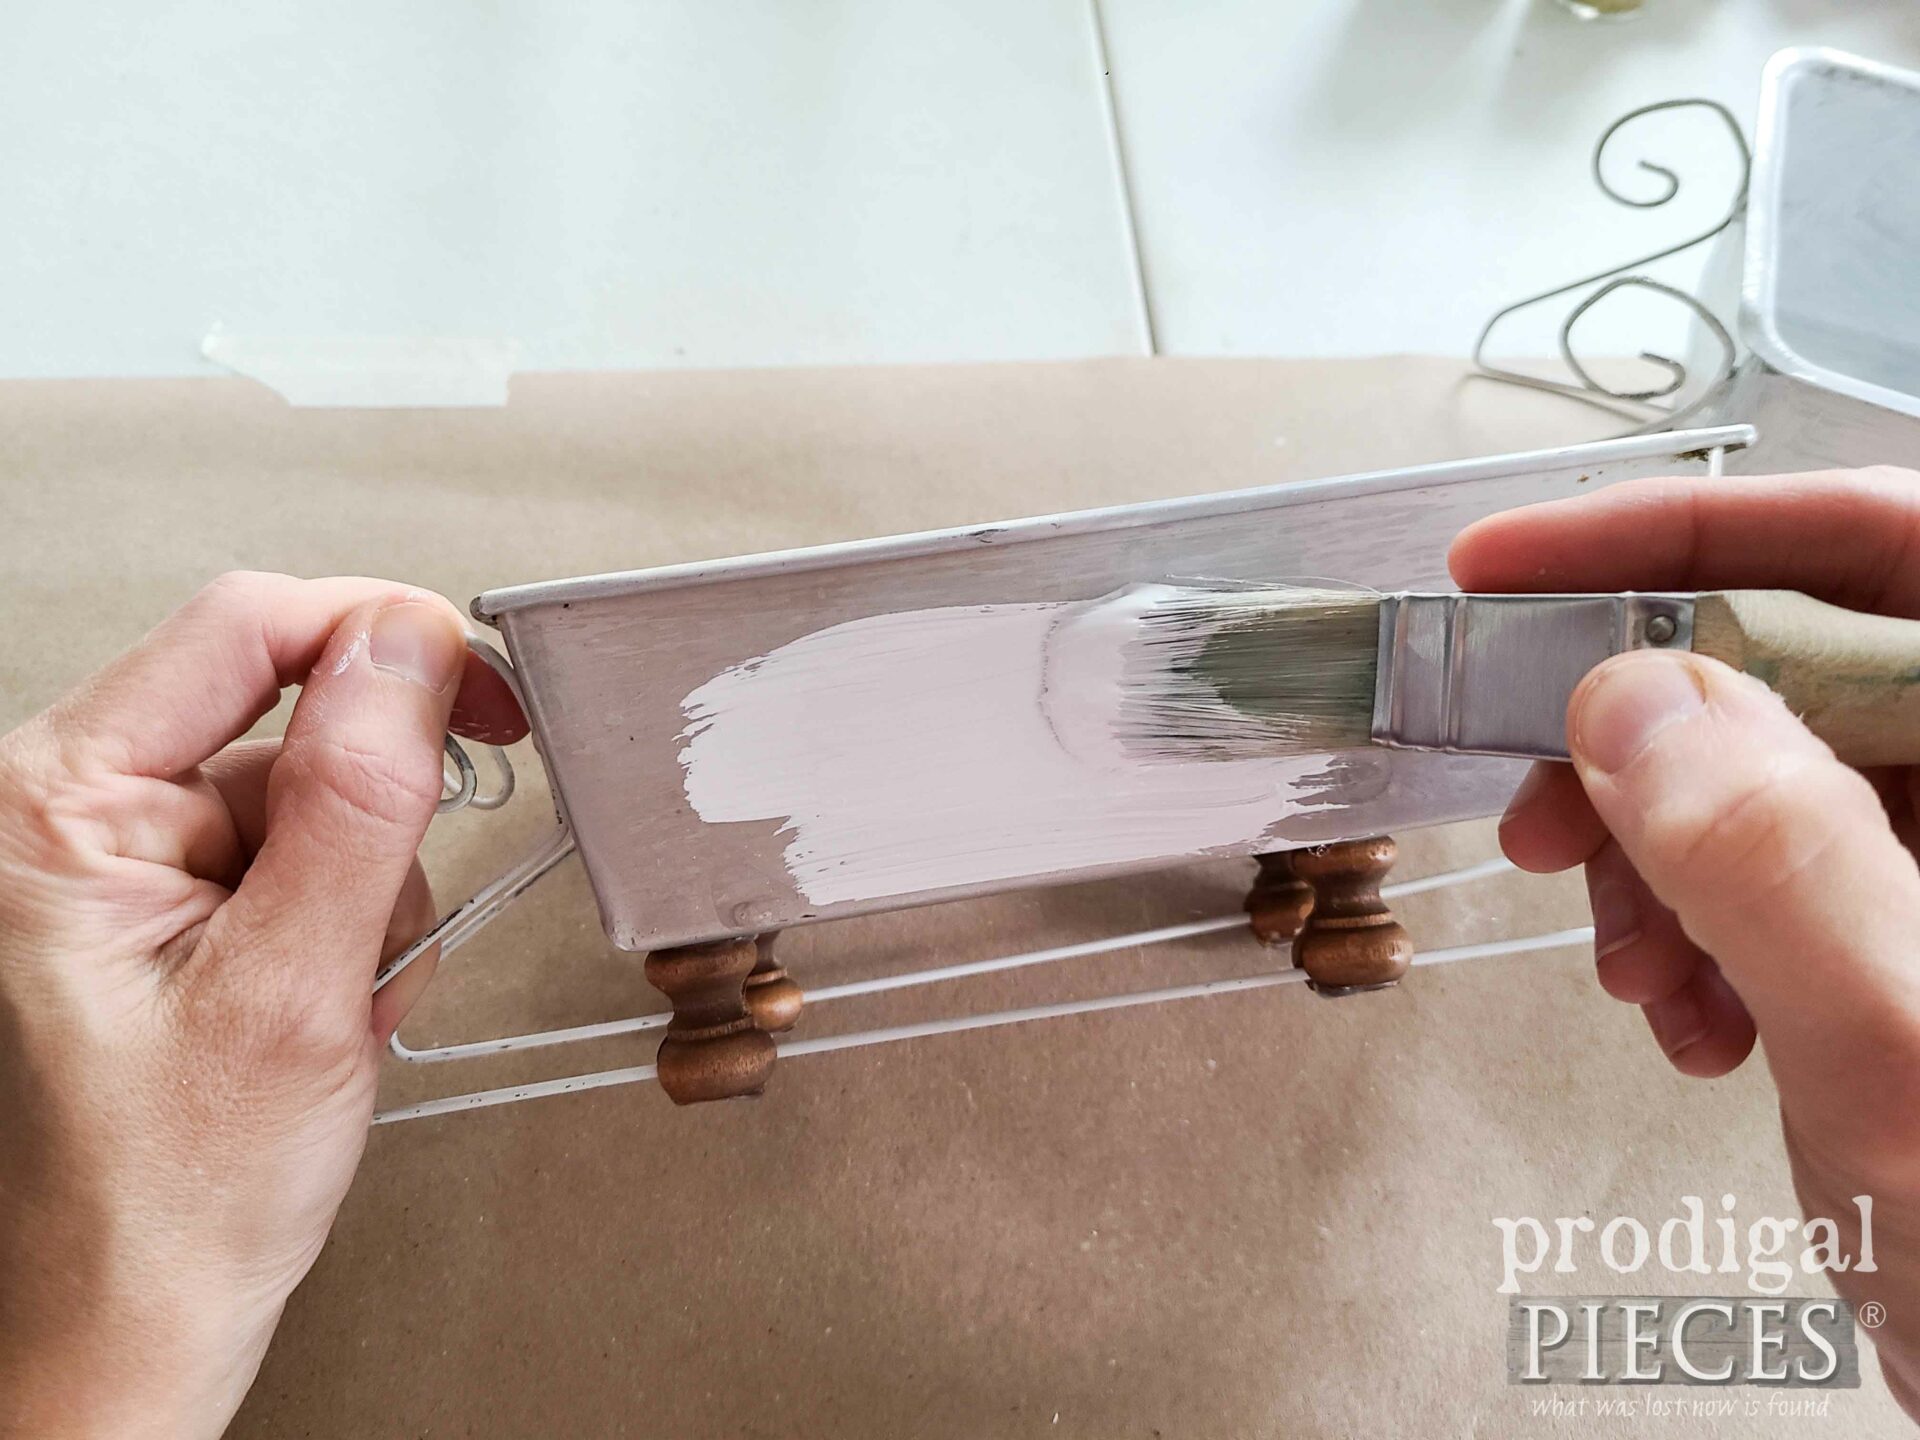
Finally, you can leave it as-is, or paint as I did. Using a brush and a light coat, I cover the turnings and pan. Then, after the paint cures, I apply a dark wax for an aged appeal.
STEP 7
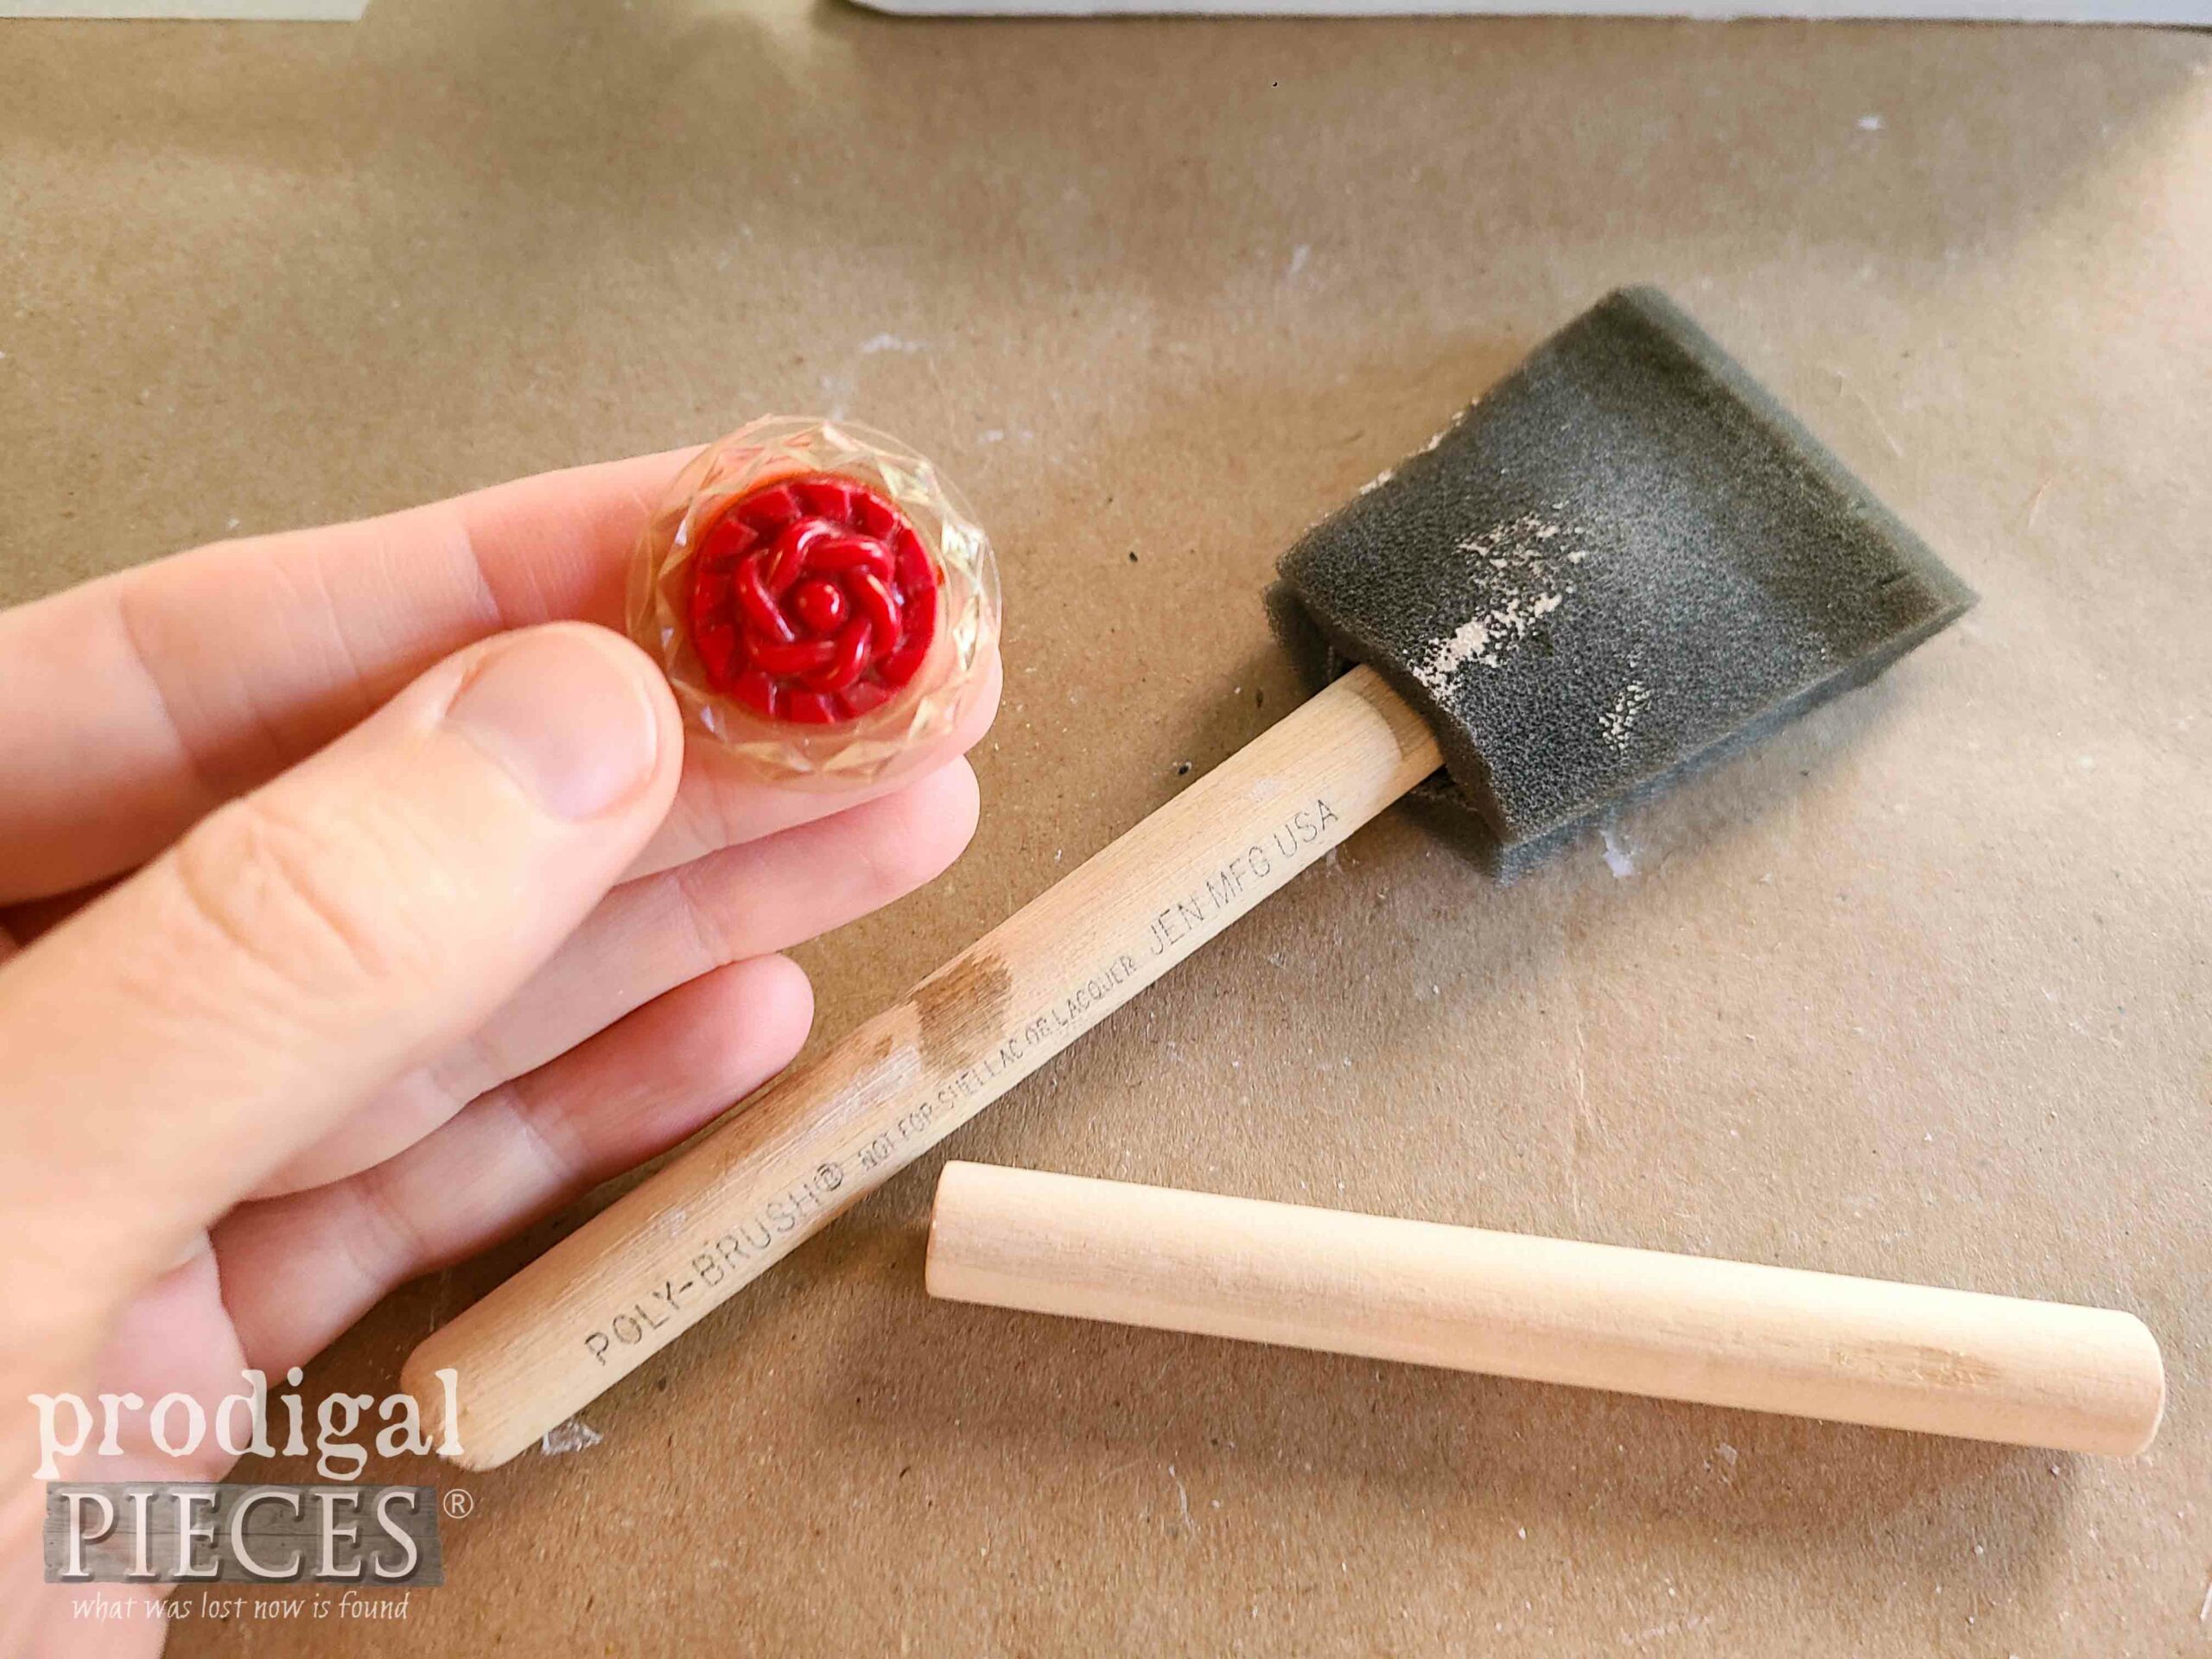
Because I just adore you guys so, I want to share one more mini DIY project using a vintage toggle button and a sponge brush handle. I tell ya, nothing goes to waste around here. I save the dowel from my brushes to make oodles of things. For instance, see my boot storage for my family of 8 HERE.
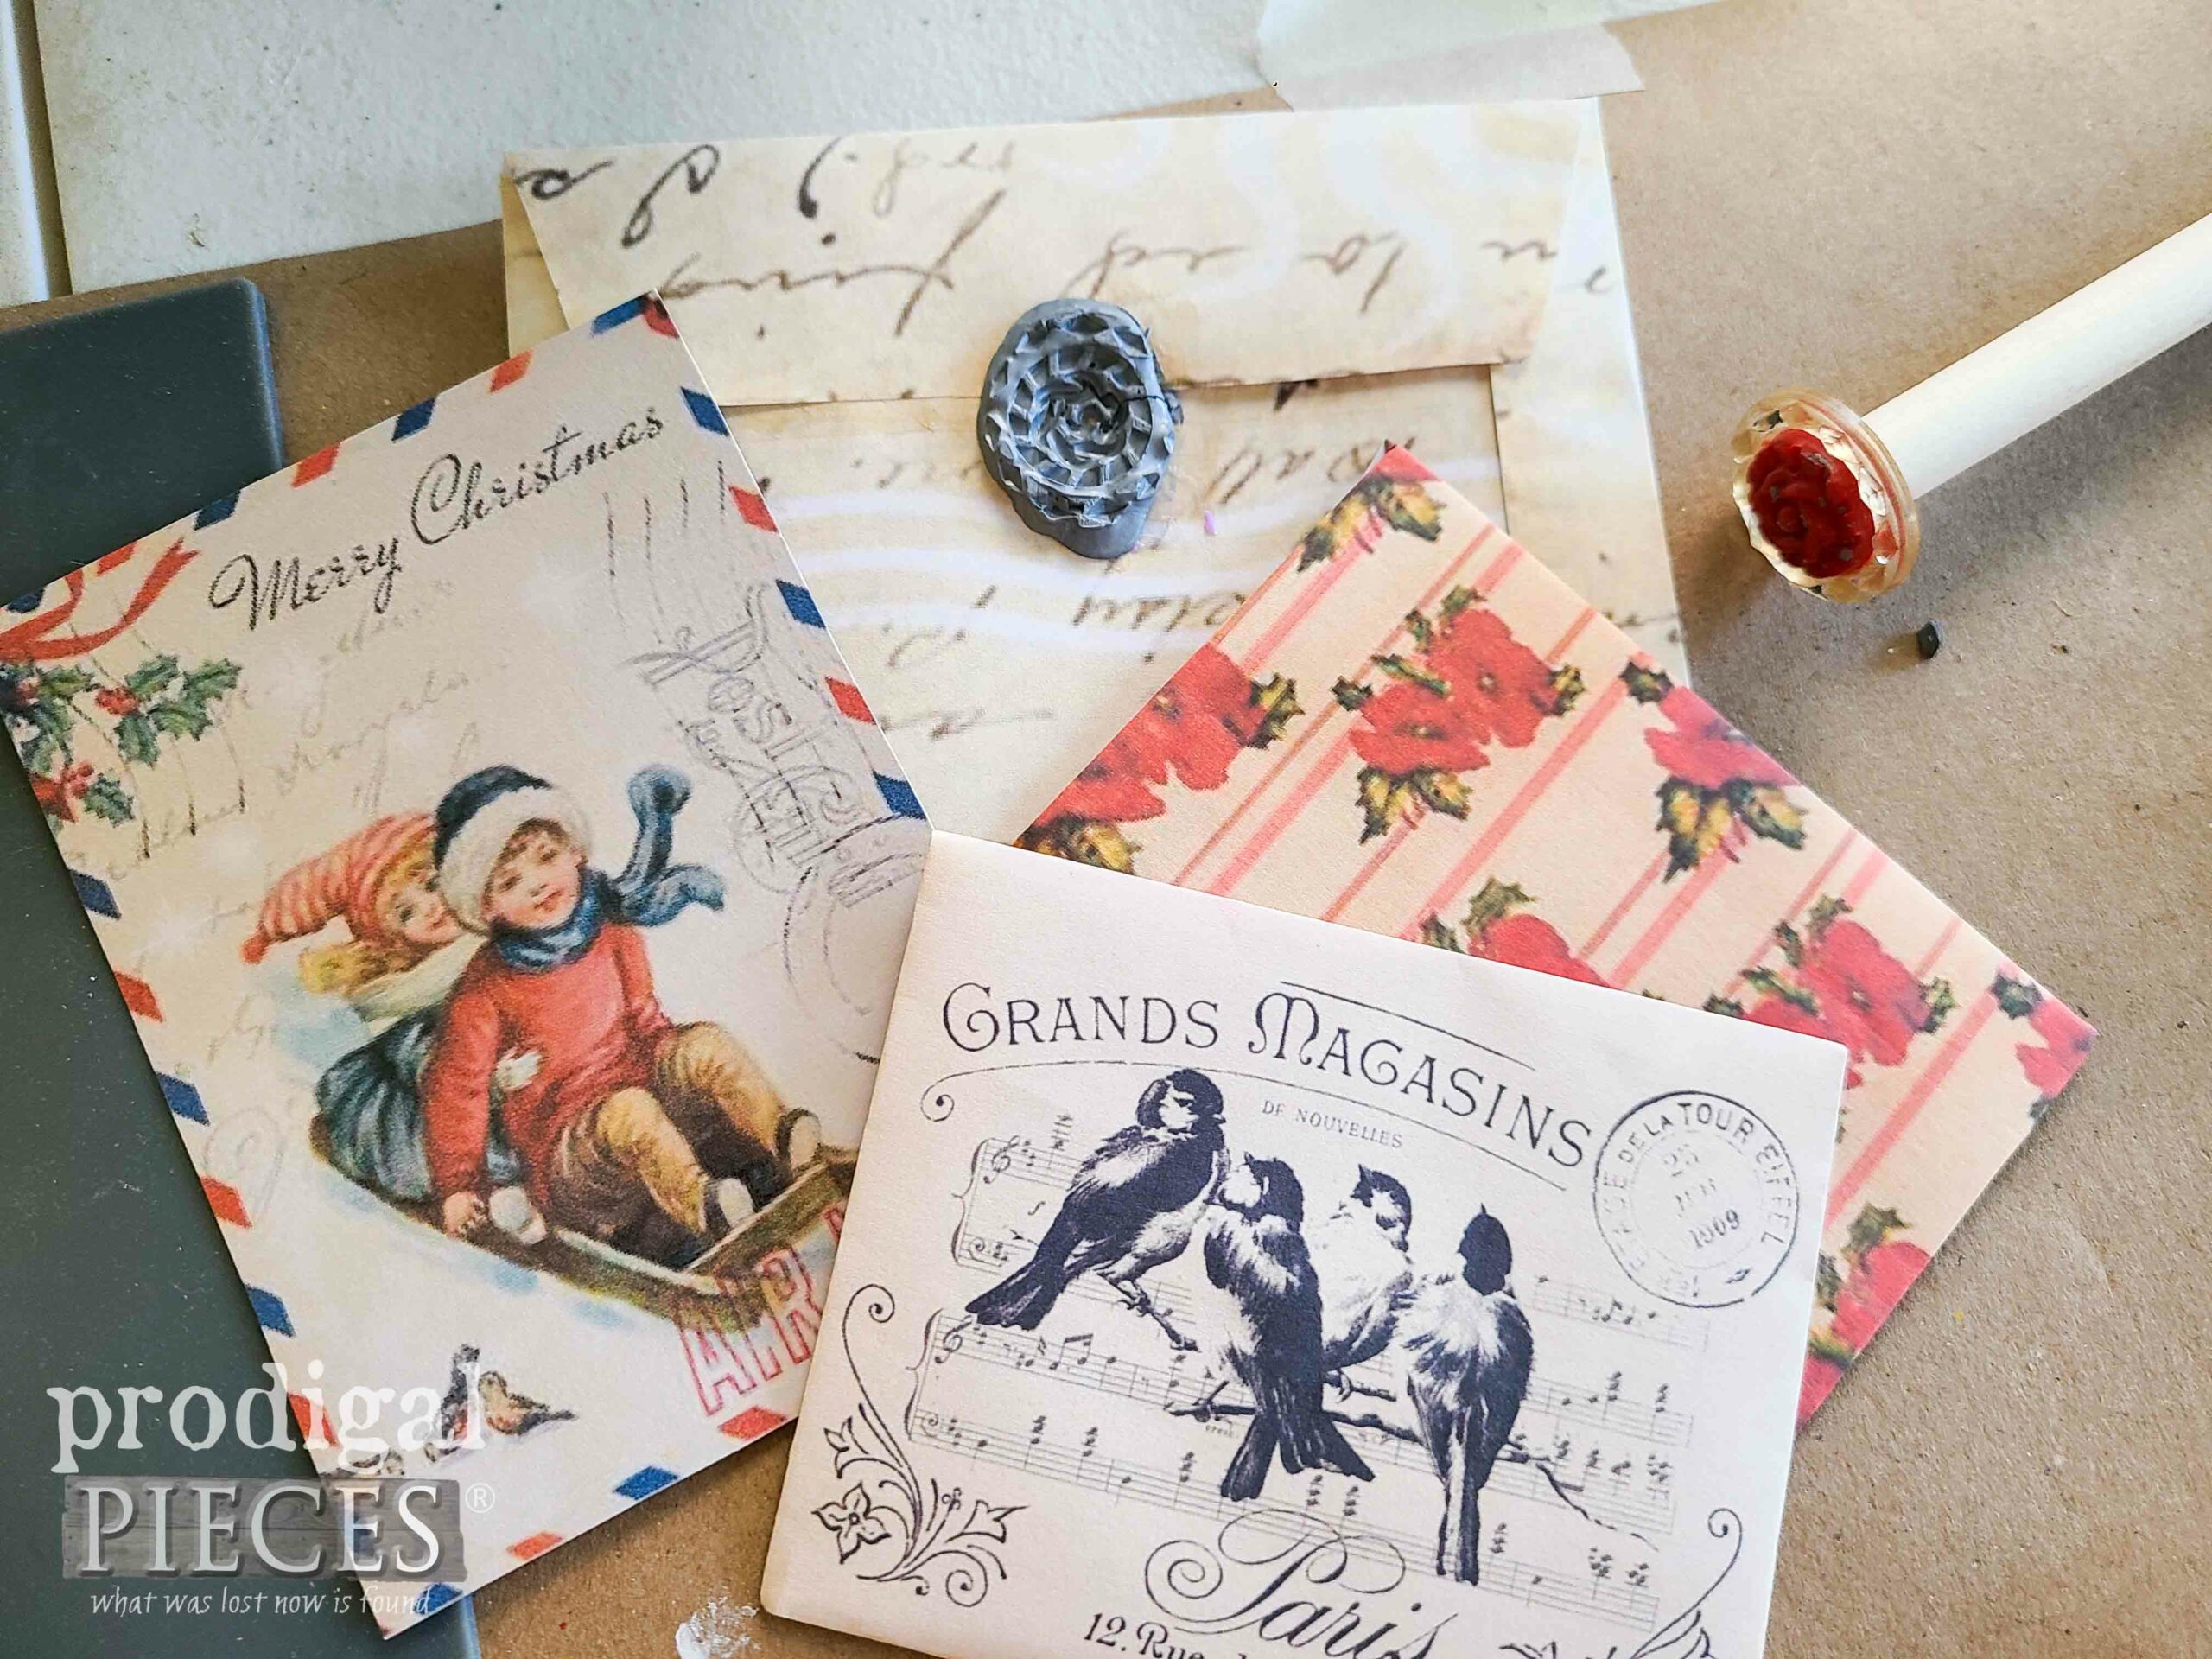
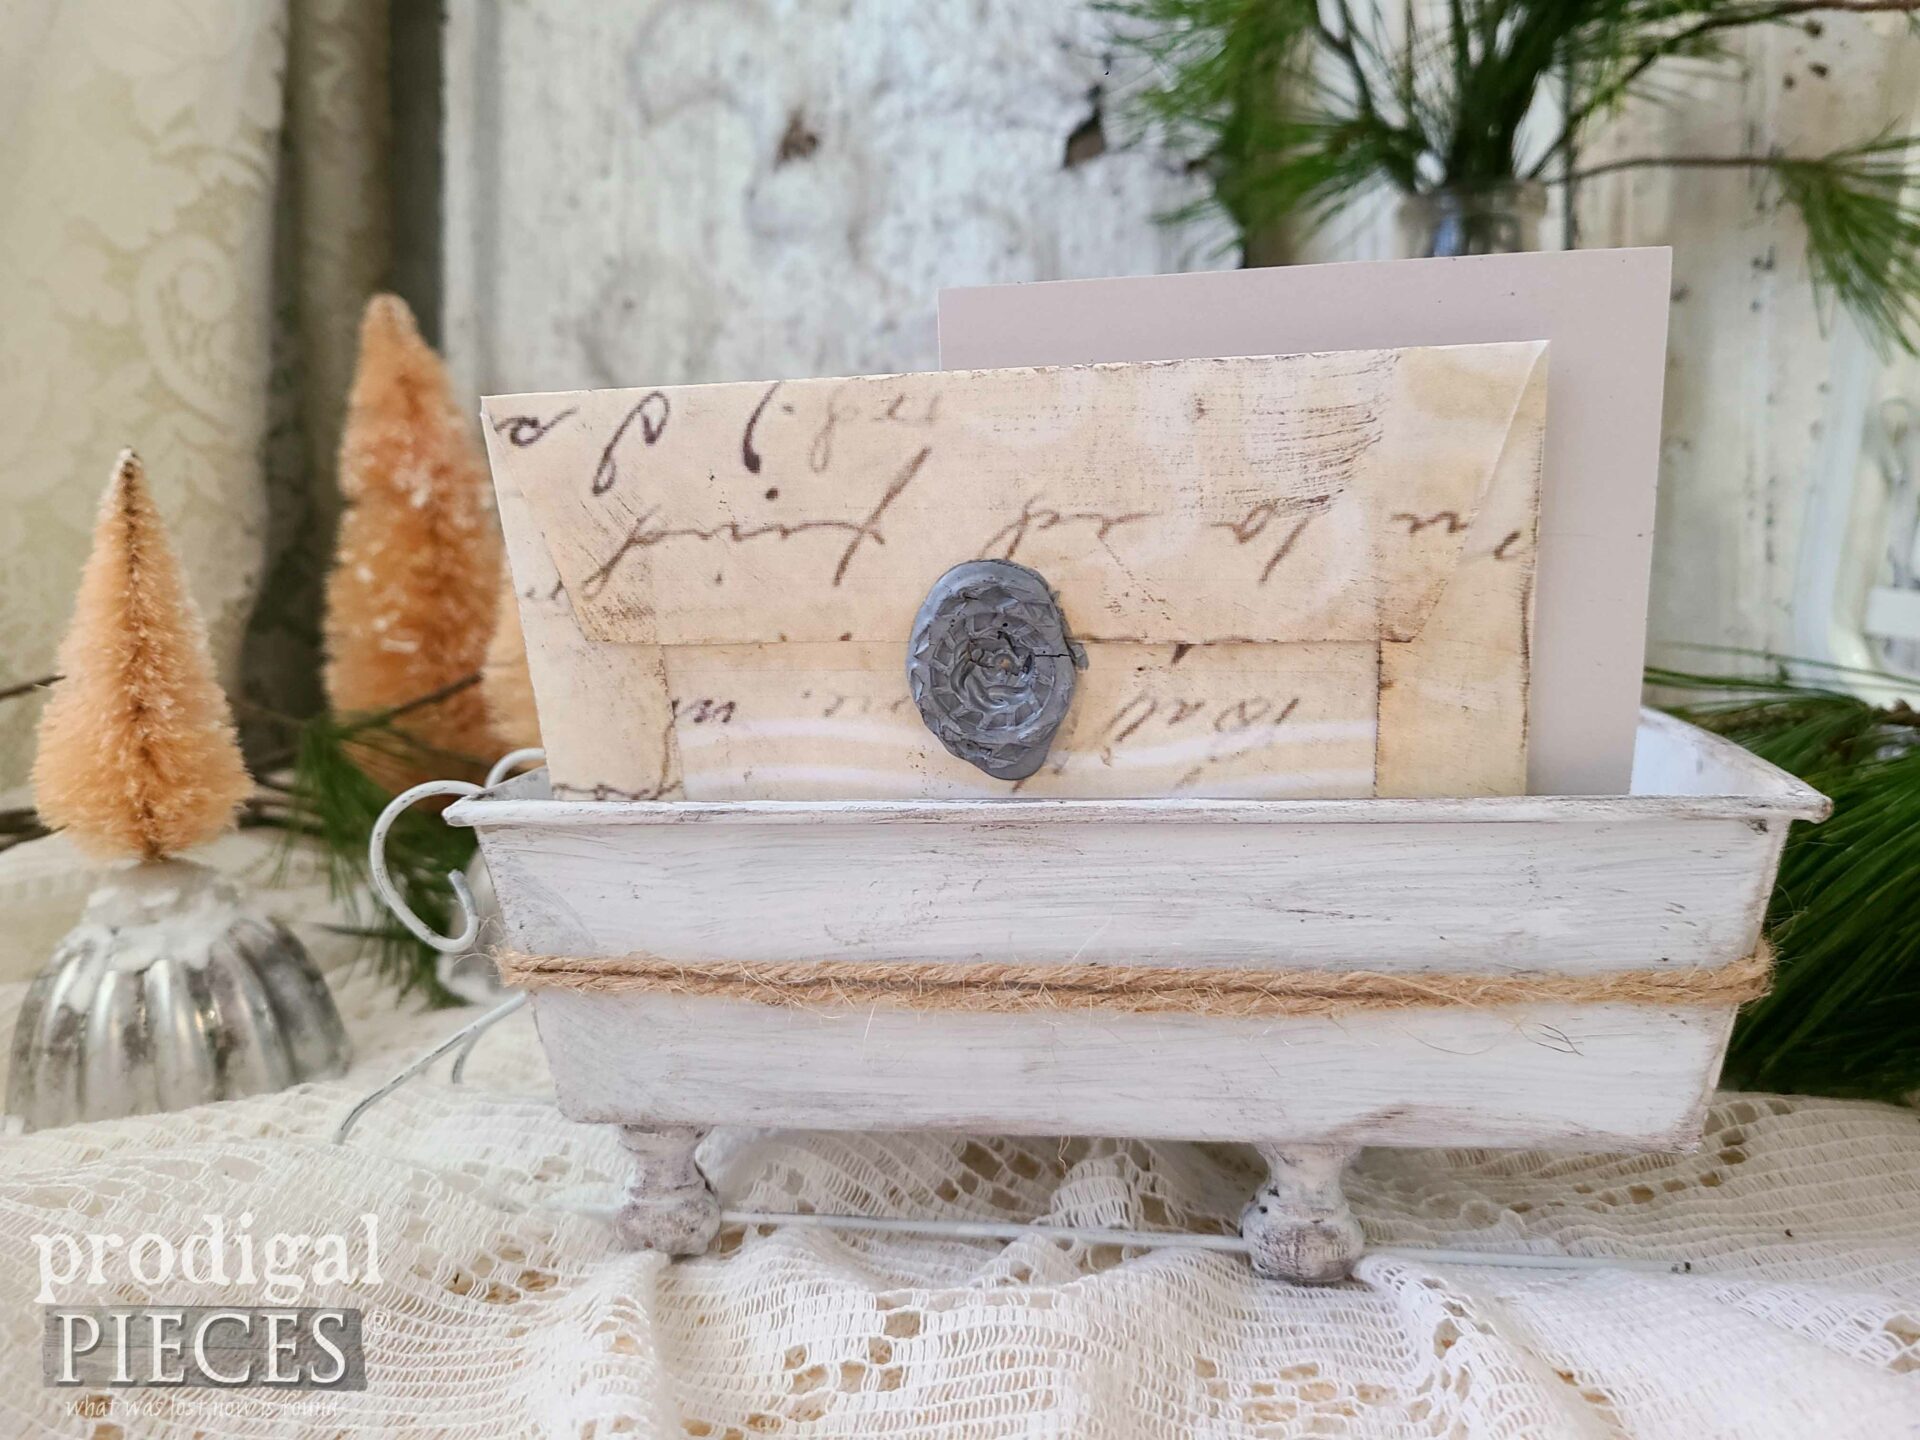
I’ve always been enamored with the lost art of letter writing. Do you enjoy sending letters? I’m so thankful for you readers that send me encouraging notes. It means more than you know! {{hugs}} With that in mind, to add a bit of vintage vibe to our repurposed Christmas ornaments I found free printable envelopes to tuck in my sleigh.
Free printable envelopes:
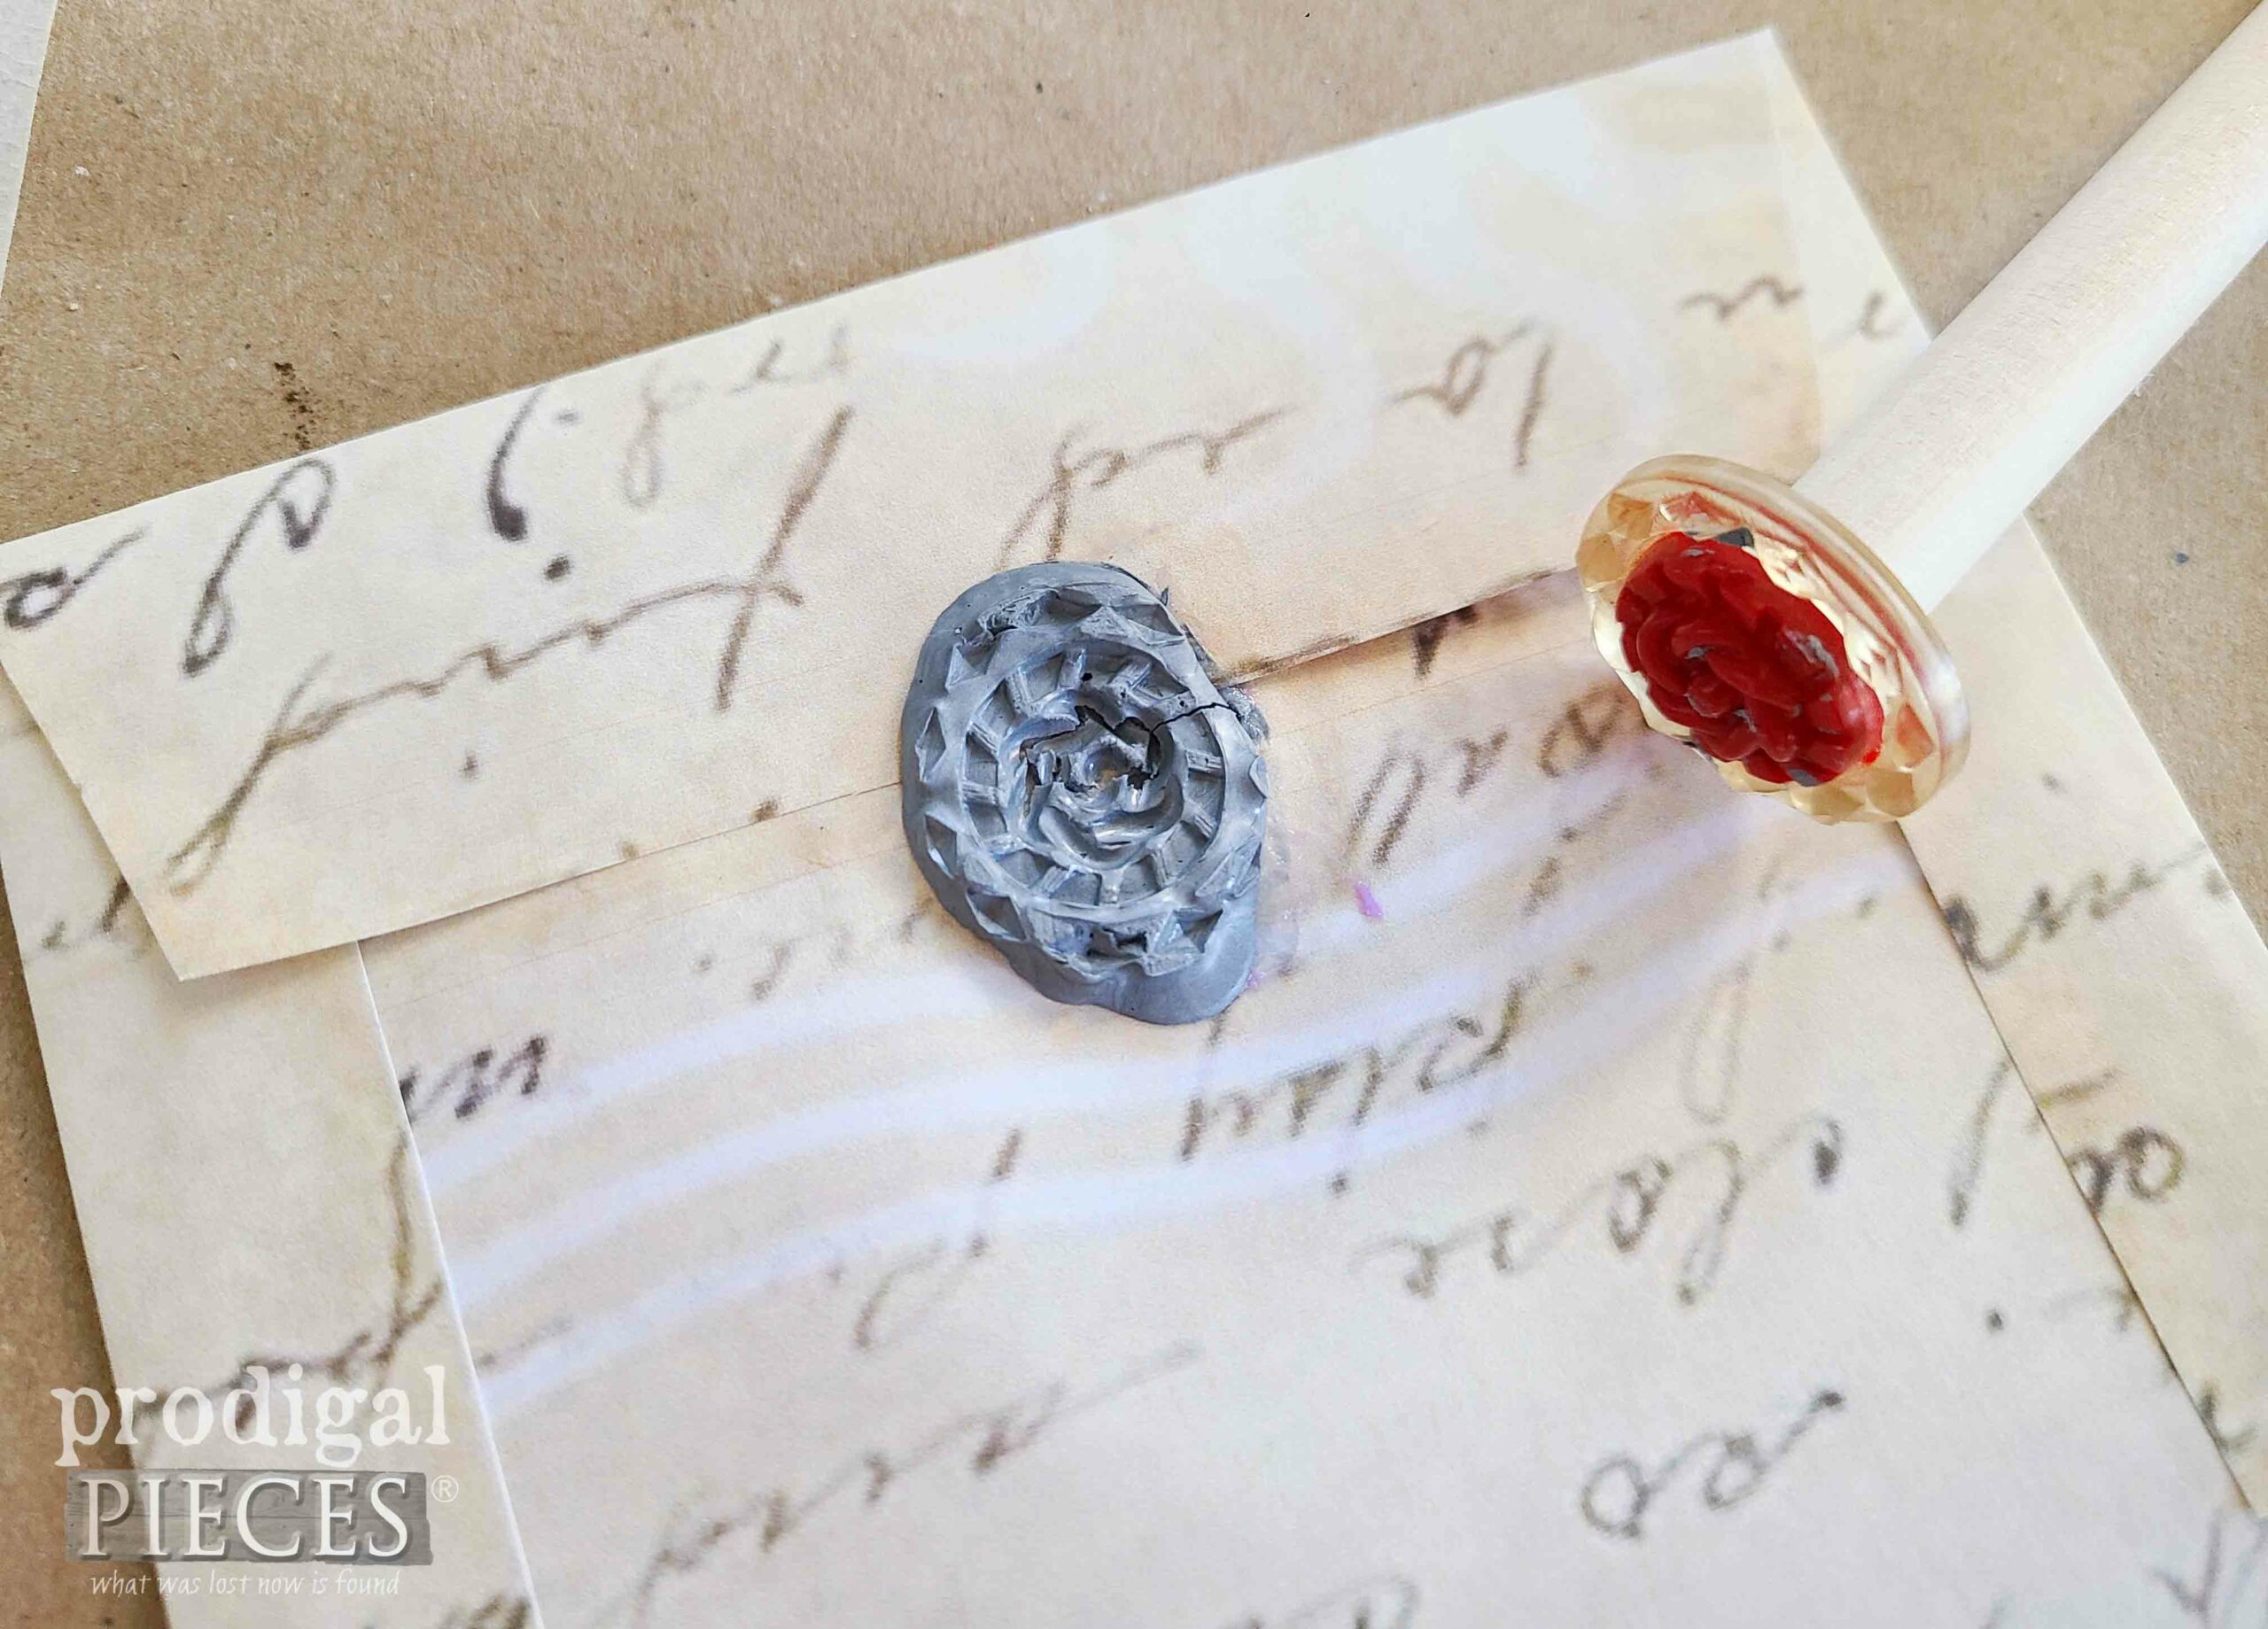
Of course, however, I need to make them even more fun with a wax stamp seal. tee hee! I demonstrate the steps in the video using a crayon, glue stick, and my heat gun.
DECK THE HALLS
Deck the halls with vintage bakeware, fa la la la la…la la la la!! haha. Box stores ain’t got nothin’ on us creative folk. As always, my goal is to inspire you. Which is your favorite…the sleighs or the trees?
It almost makes me wish it was snowing huge flakes outside…almost. As a matter of fact, I have plenty of snow for all the rest of the year. tsk.
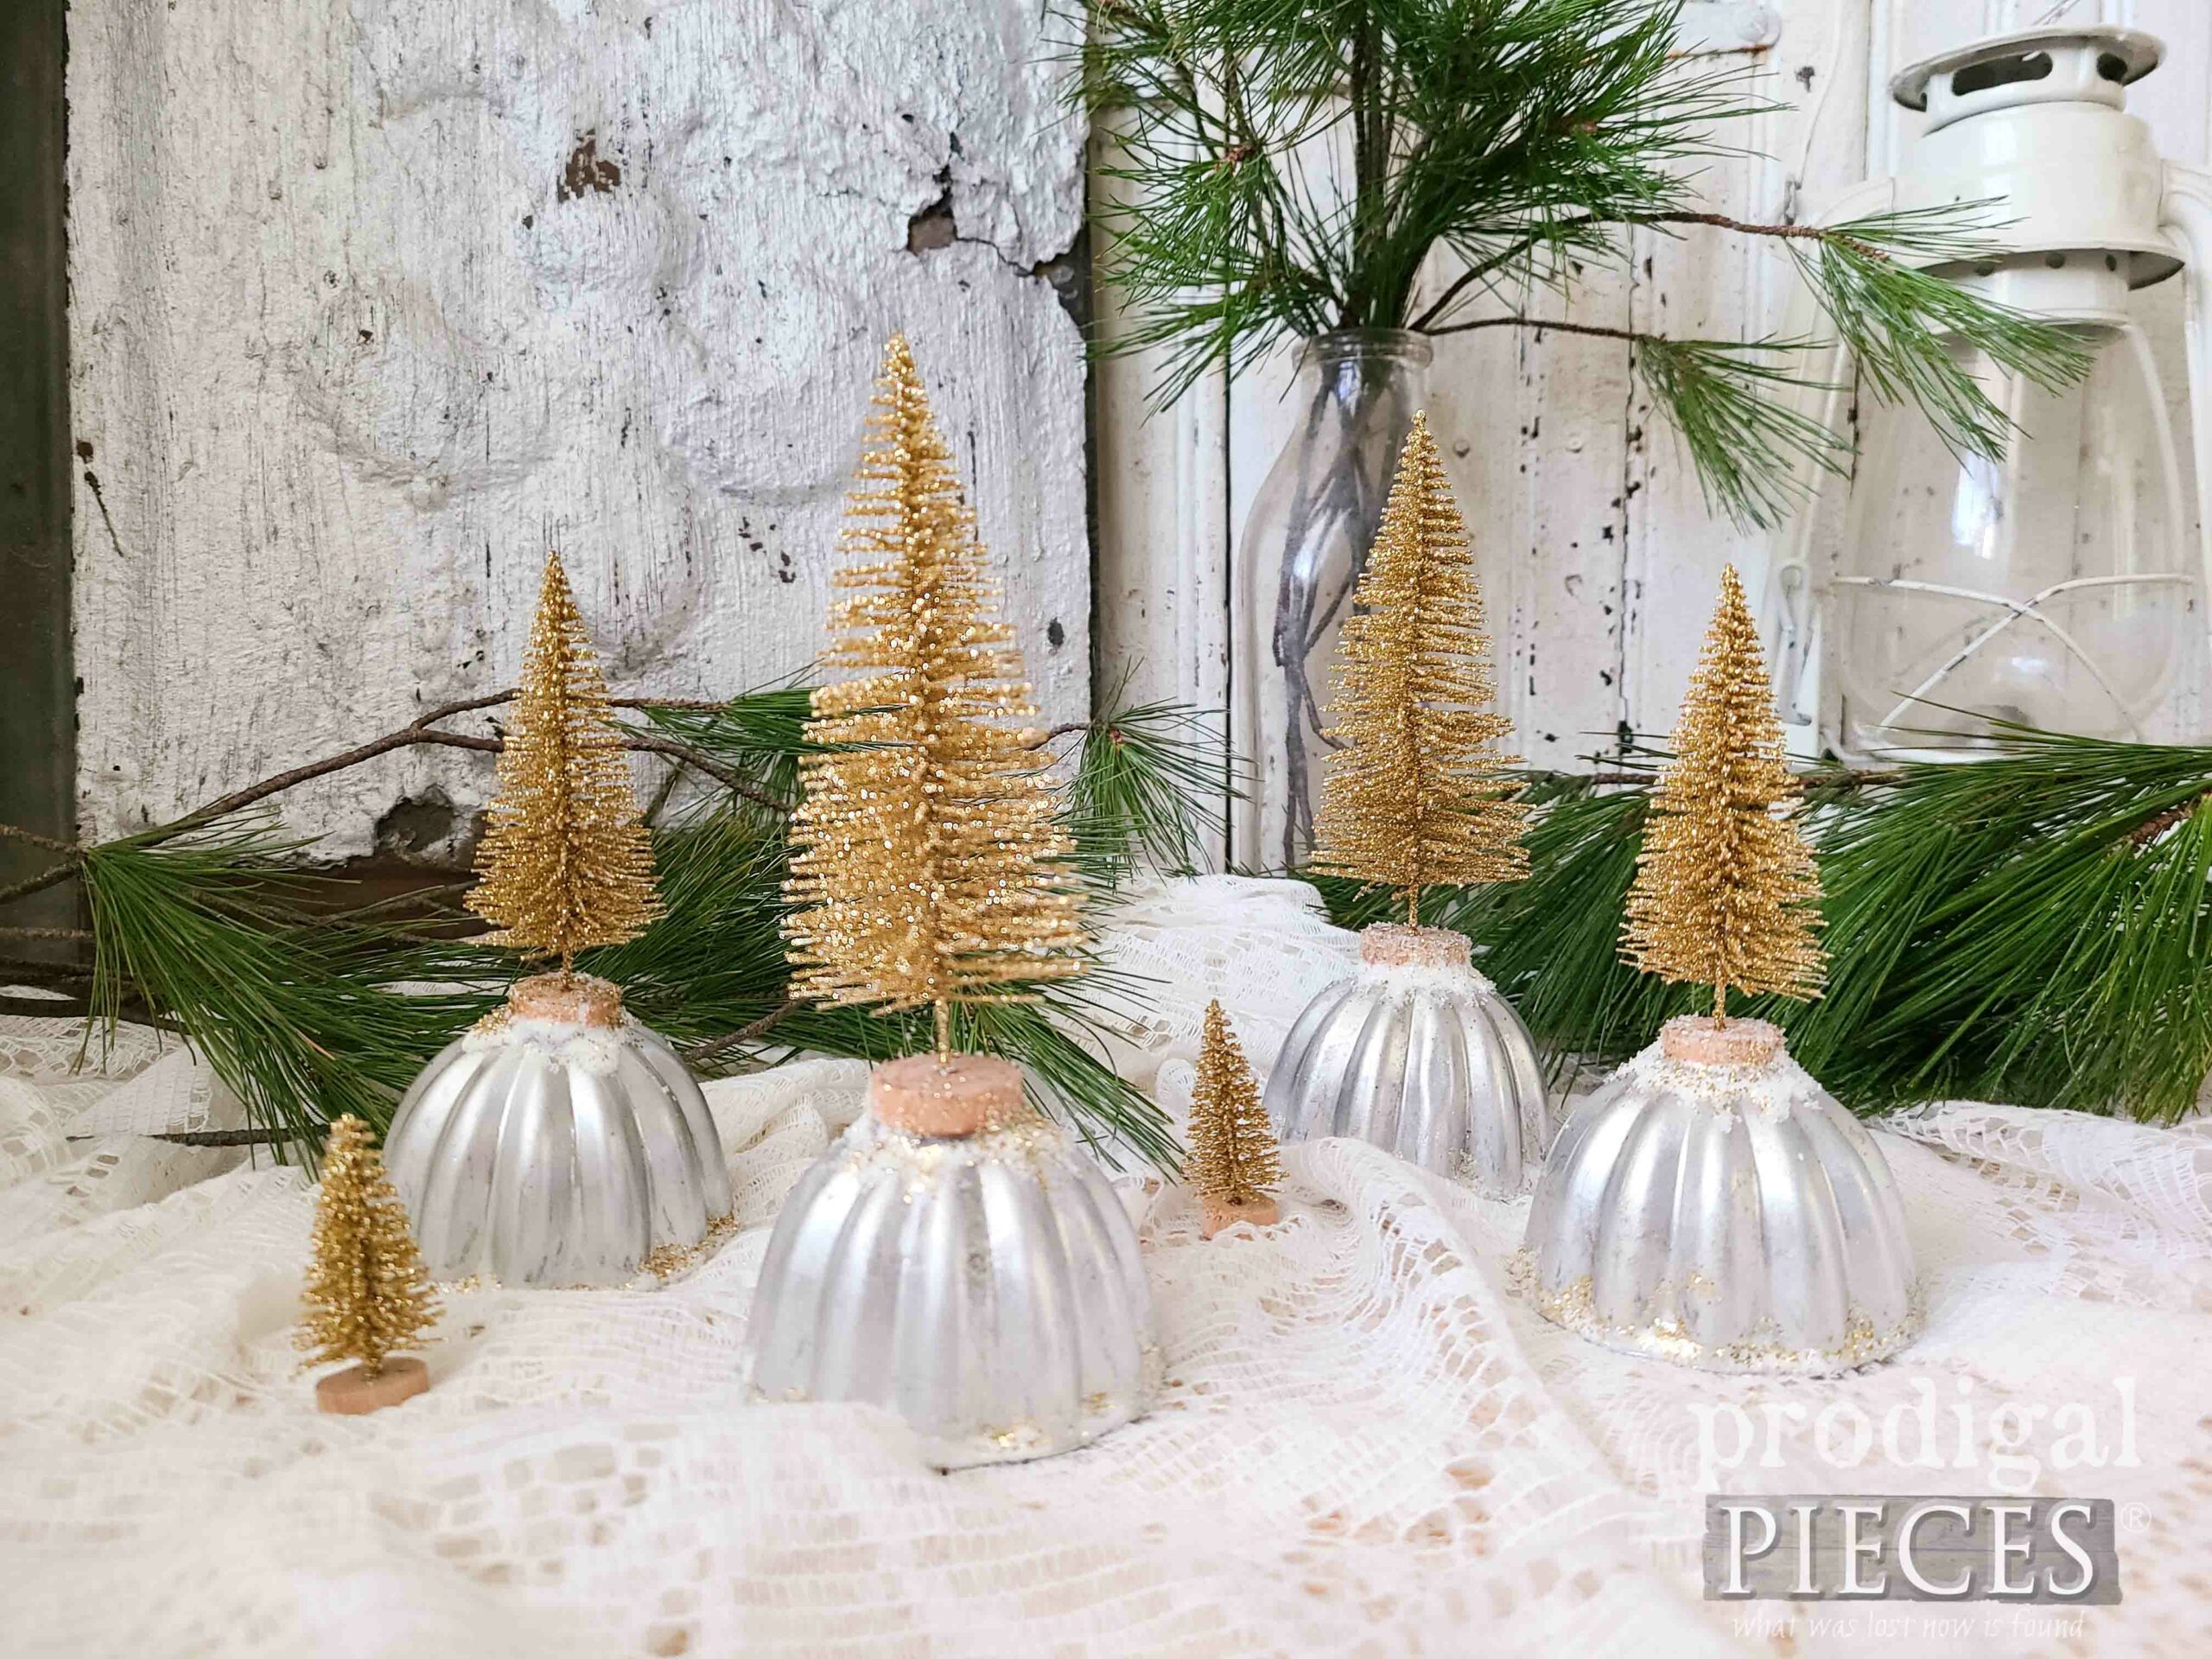
Likewise, I couldn’t resist making these gilded jello mold trees as well. This brings to mind the classic silver and gold song, doesn’t it?
Not only can you make any of these a part of your Christmas story, but you can also find more in my online store.
SHARE
With that in mind, leave me some comment love below on my repurposed Christmas ornaments so I know what I’m doing is inspiring you. In addition, pin and share to spread the holiday cheer too!
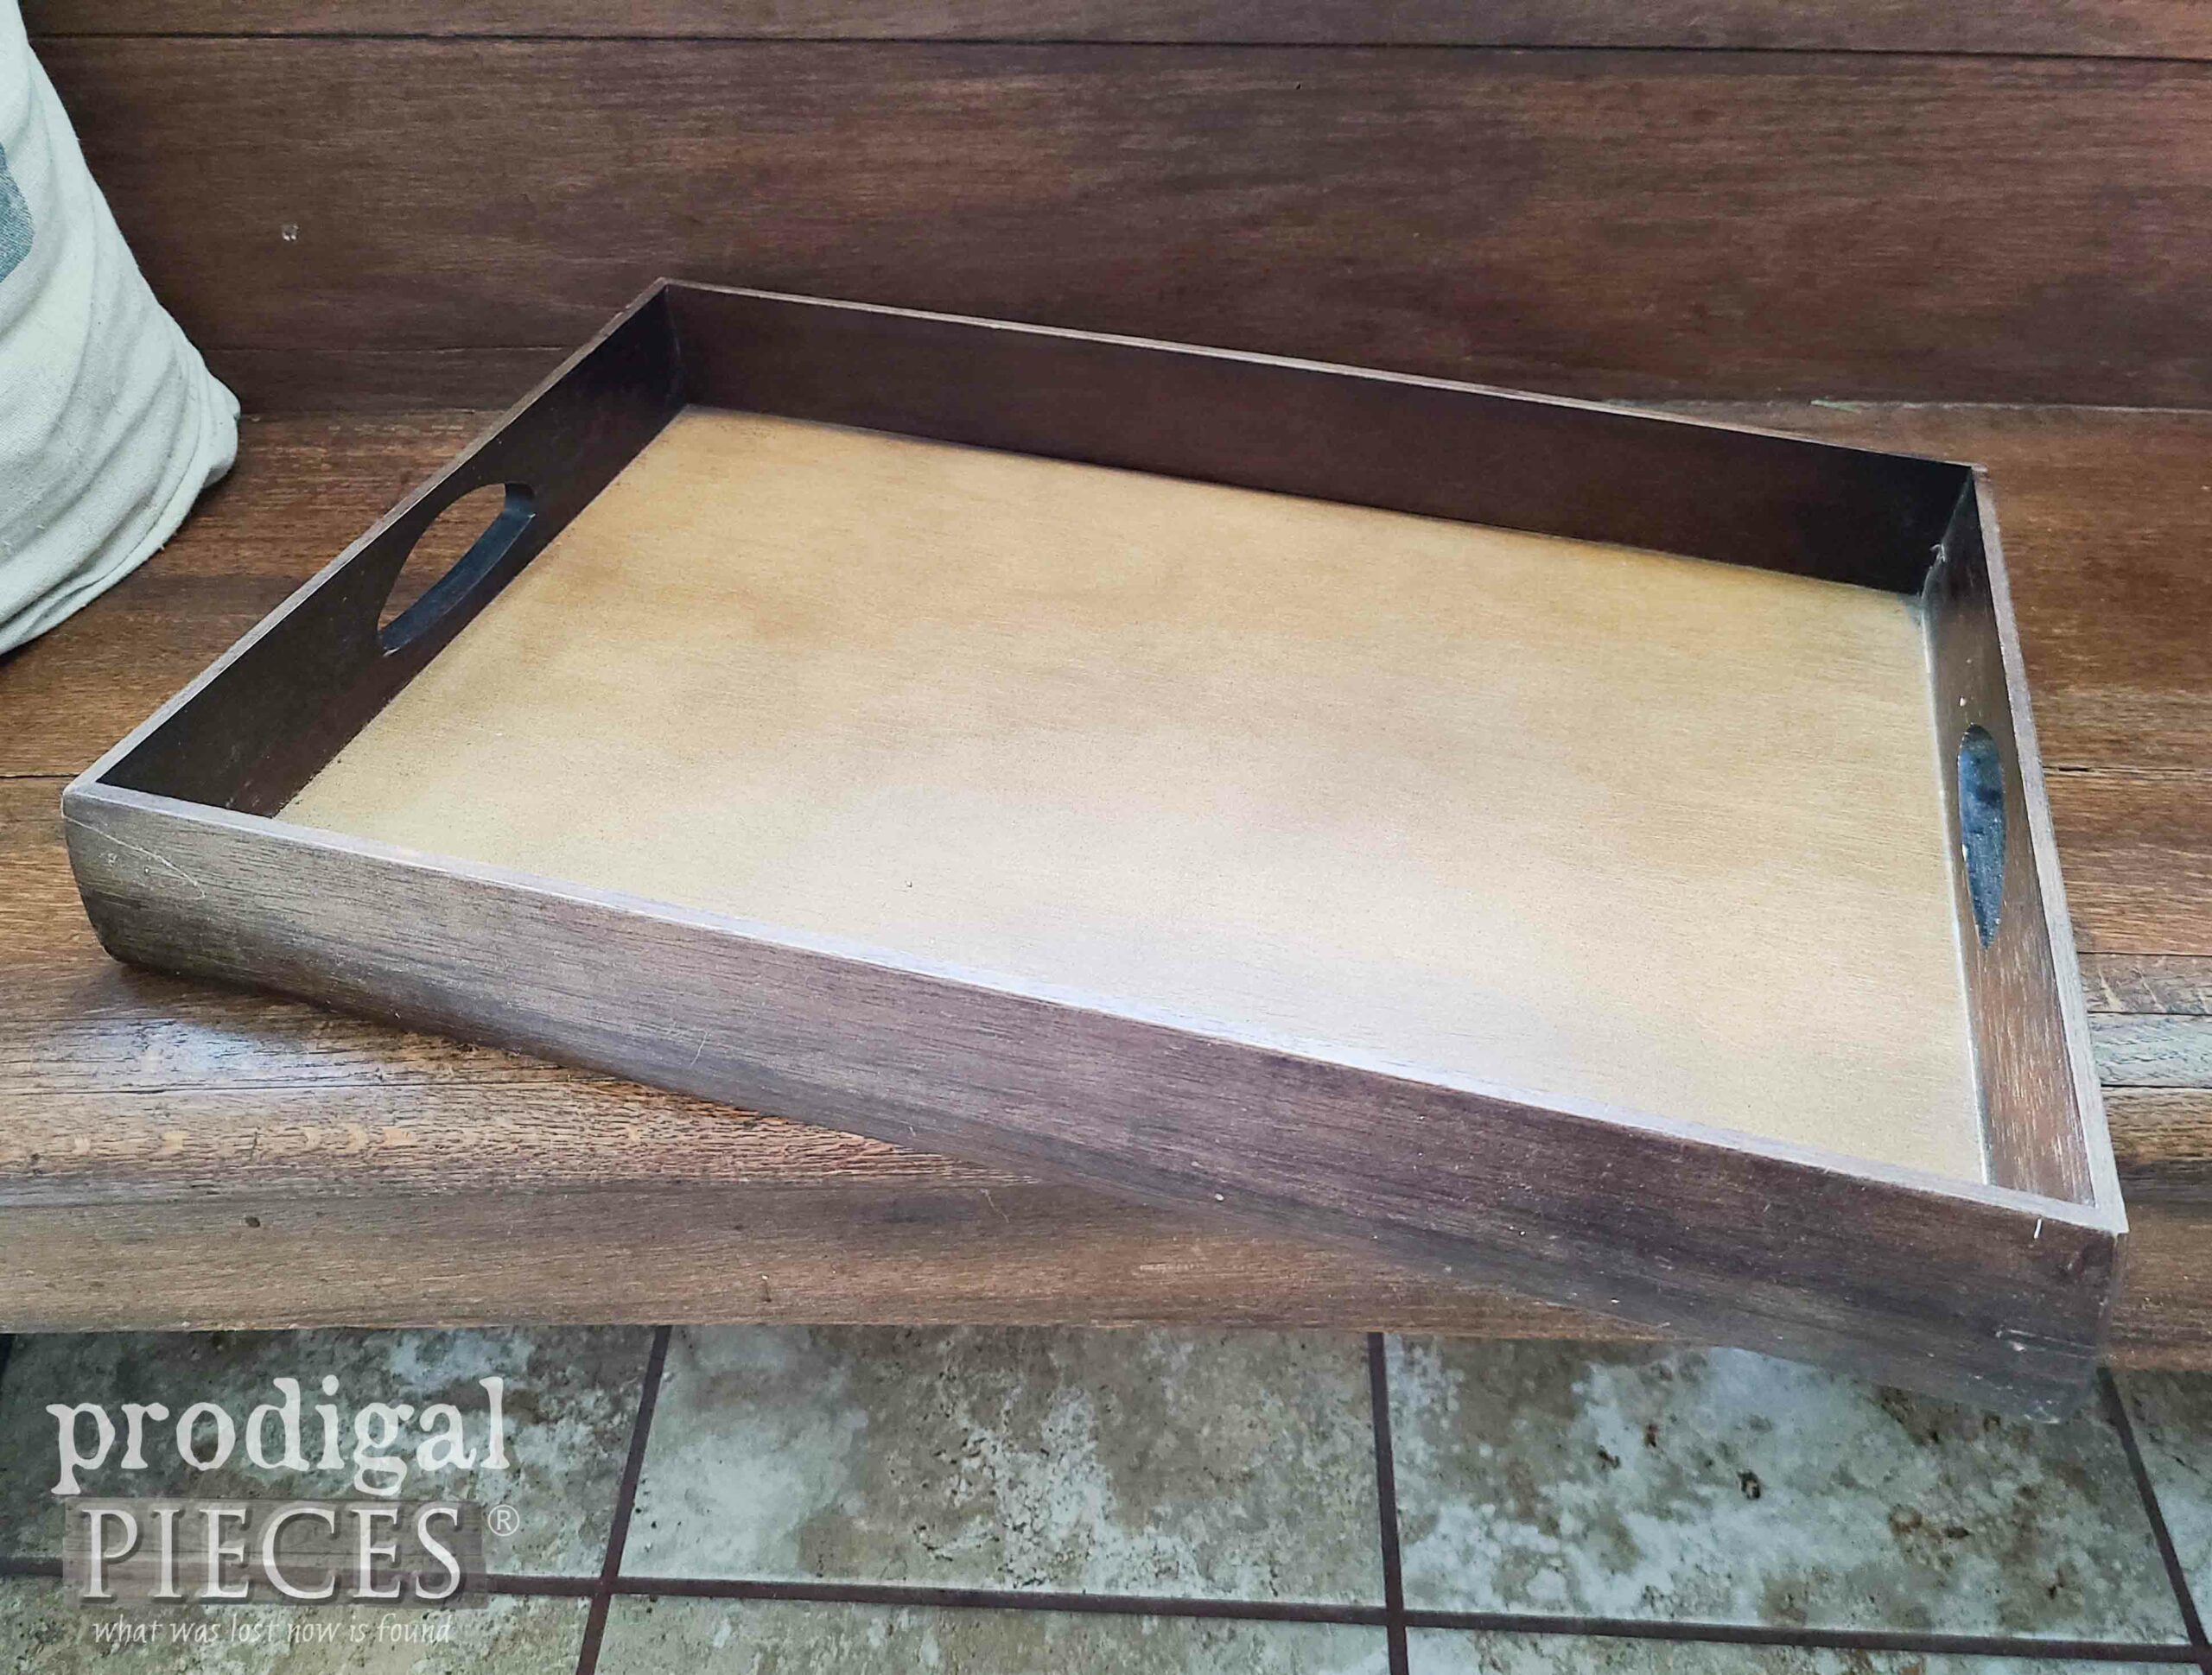
WAIT! Before you go, make sure to sign up for my FREE newsletter so you can see what becomes of this thrifted tray. eep! Until next time!



Larissa this is such a great way to reuse the jello molds. Merry Christmas to you and your family.
How fun to hear! Thank you, Mary. I can’t say enough how fun it is to create, but also hear from readers.
You are so creative Larissa!! I’m sitting here looking at my rather boring non-decorated home thinking I need a seasonal flare, but then my minimalist mind takes over and I don’t want to find room to store things for off seasons. Maybe next year-we will see. Thanks for the fun ideas.
You and me both. I wouldn’t say boring, rather focused. 😉 I prefer to use natural, so it was compost when done – no storing! tee hee.
I did not see that adorable sleigh coming – very clever idea! The mini jelly mold trees are so pretty too.
It’d be fun with bread slices tucked in, right? (unpainted, of course). Thanks, Marie!
Super cute! I love all three little projects! I think I’ll try the little sleigh project. Thanks for sharing!
My pleasure, Wendy! 😀